

Who can do this: Creating a job req needs the All Job Req Access permission. Editing its details and setup needs Manage Job Req Settings. Duplicating needs Duplicate Job Reqs.
Create a job req
1
Click New Job Req
Go to Job Reqs in the top navigation and click New Job Req. The Job Req Details window opens.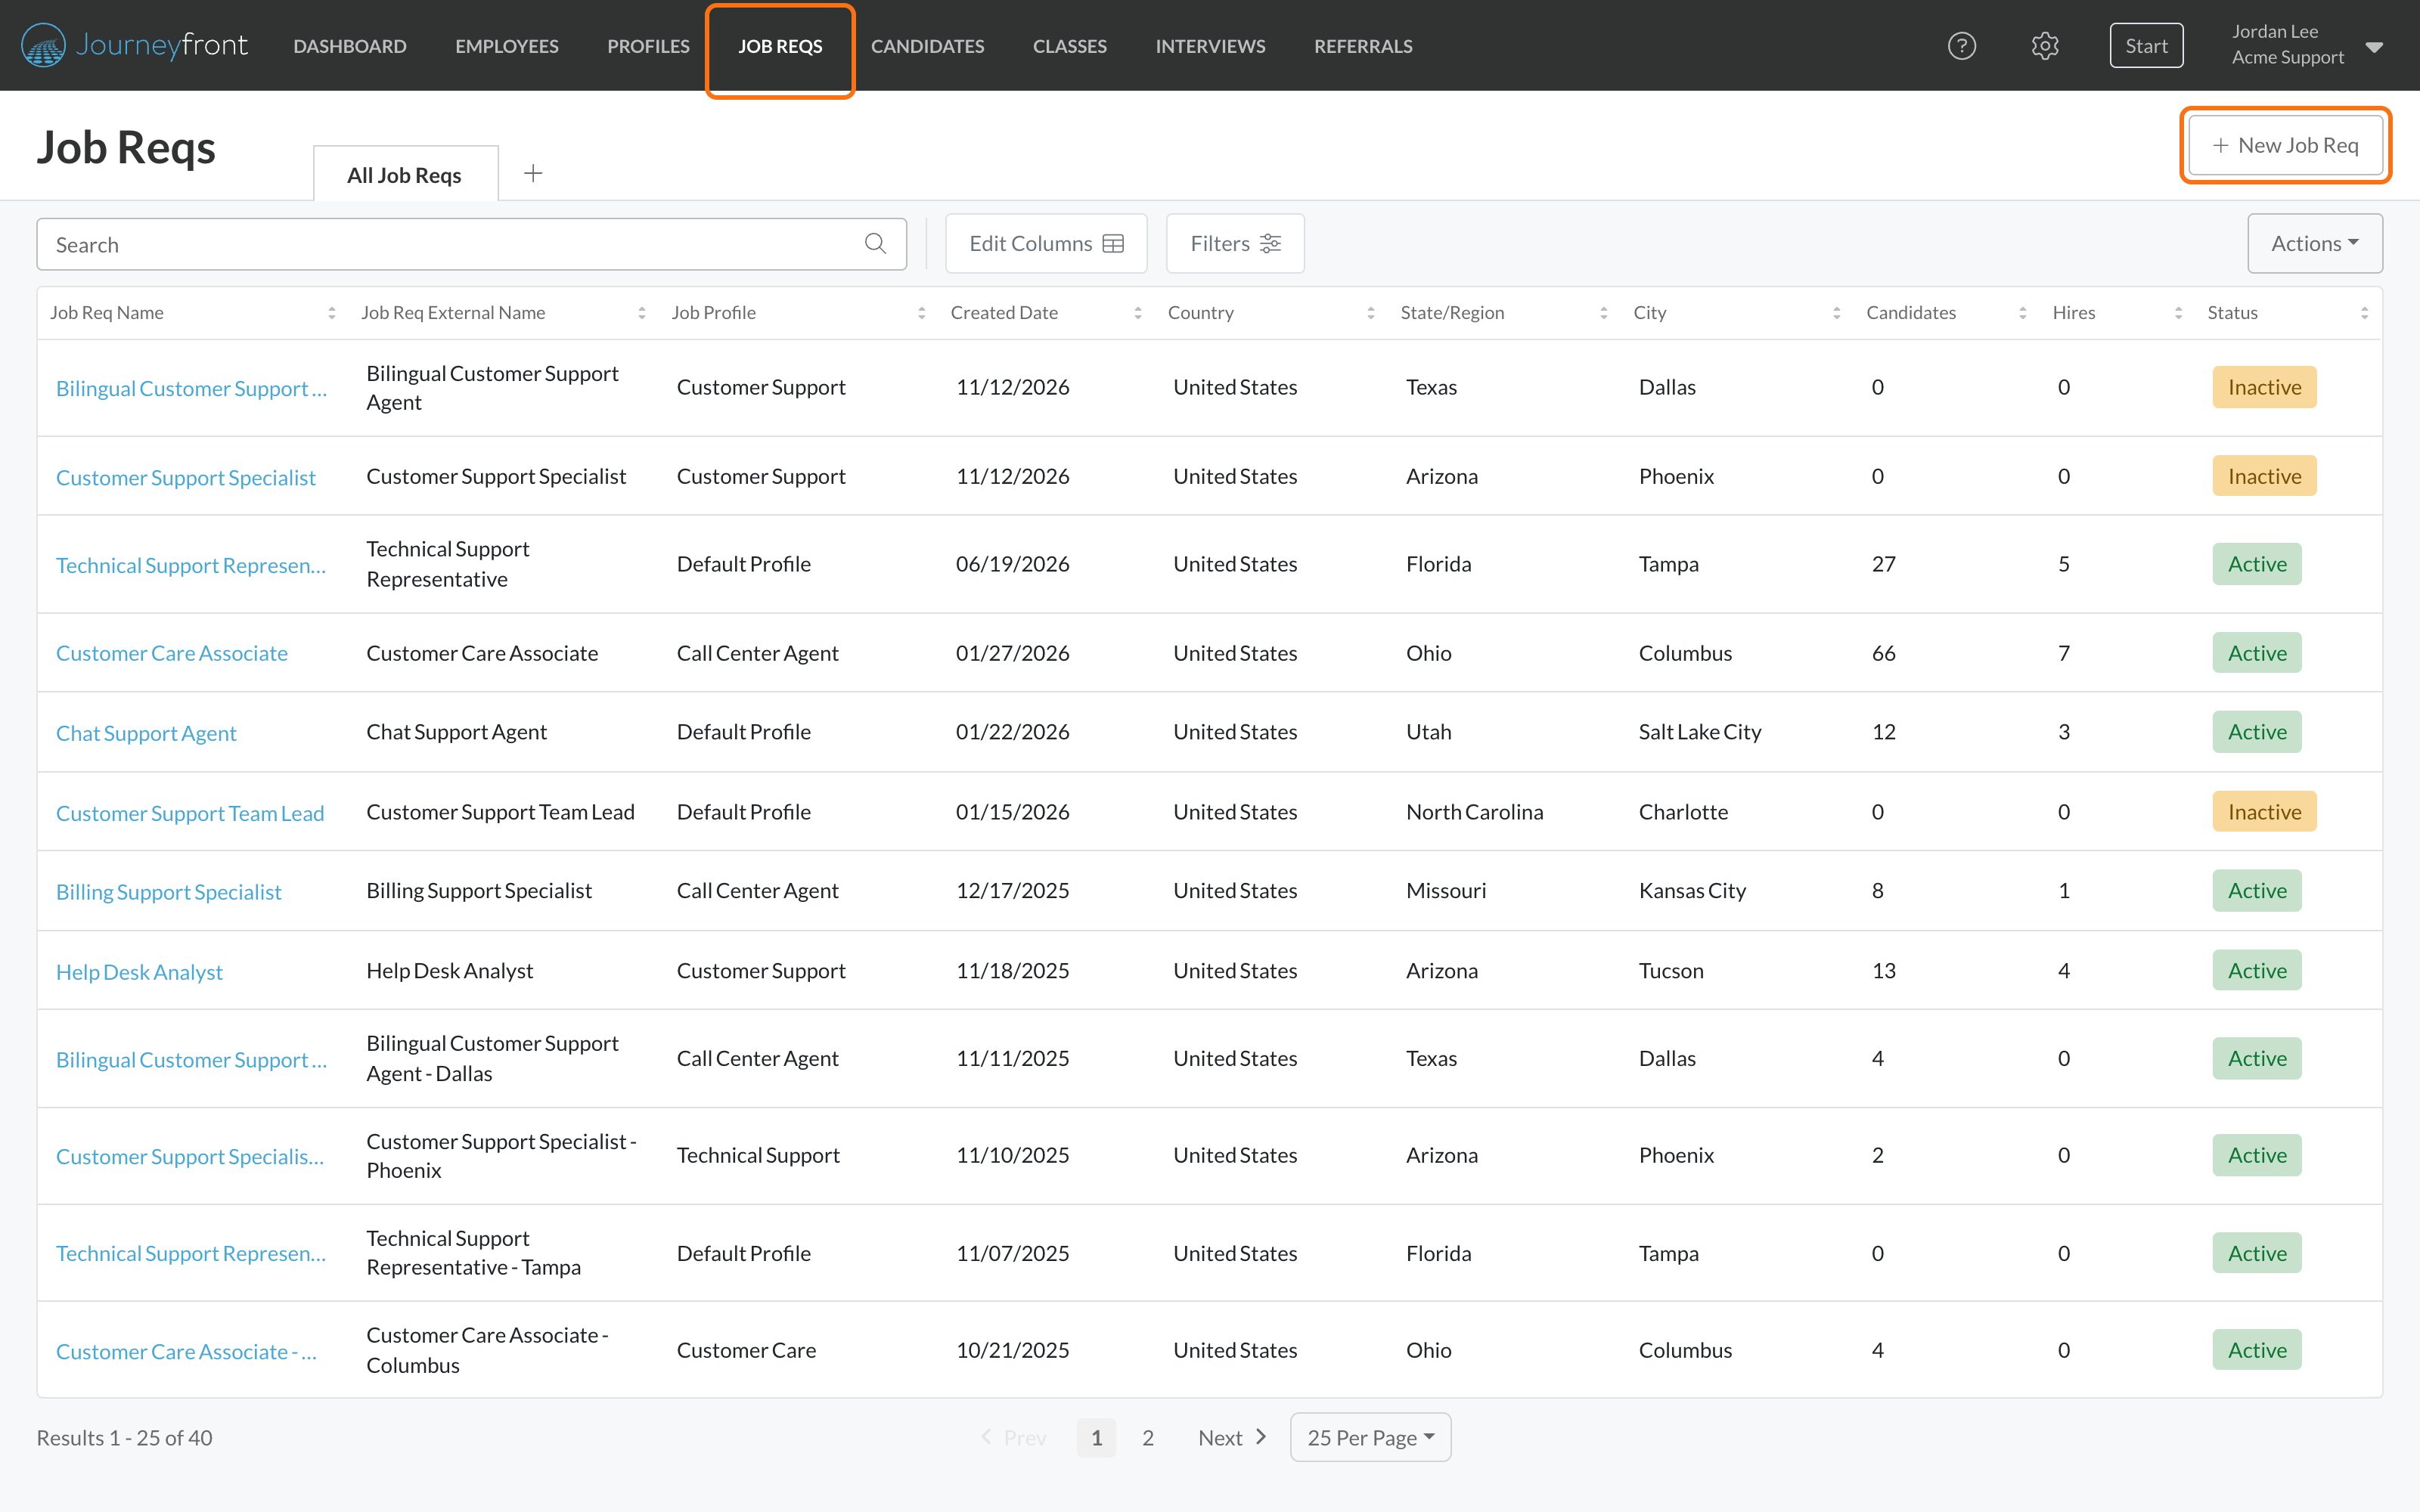
2
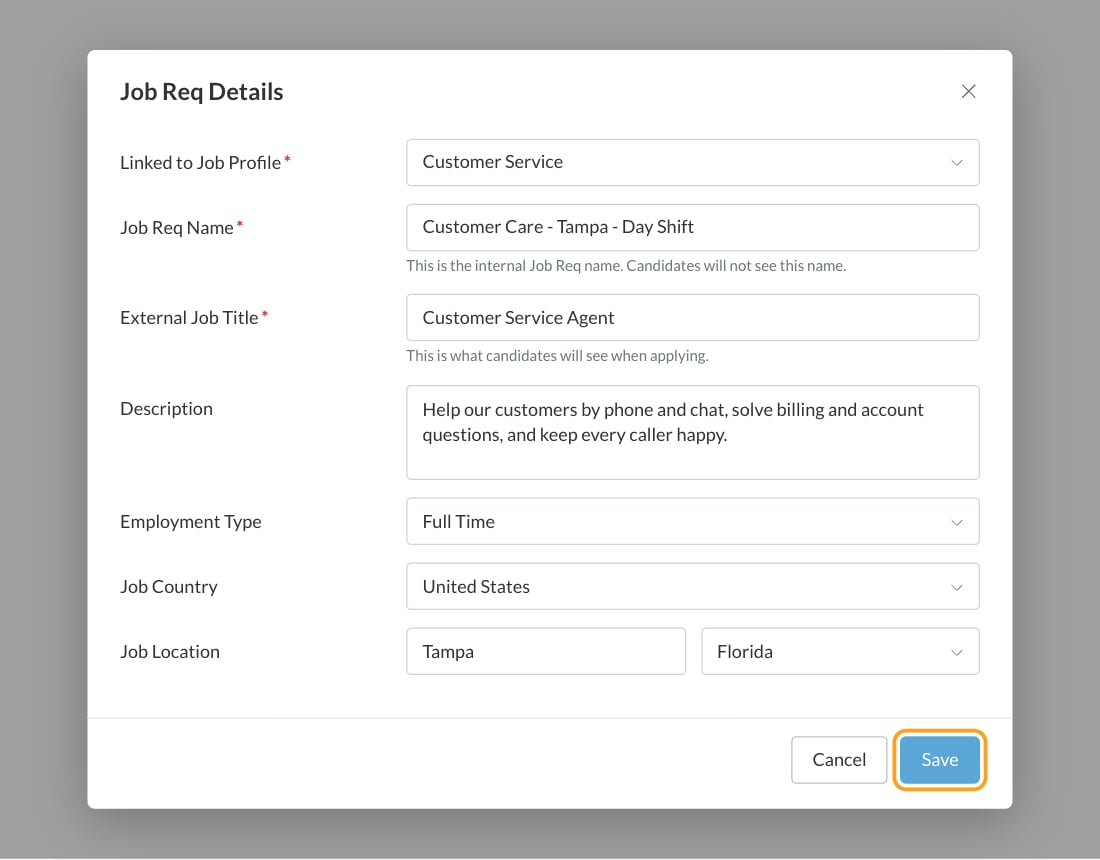
Fill in the details
- Linked to Job Profile (required): the job profile this role belongs to.
- Job Req Name (required): the name your team sees, for example “Customer Care - Tampa - Day Shift”.
- External Job Title (required): the title candidates see, for example “Customer Service Agent”.
- Description (optional).
- Employment Type, Job Country and Job Location (city and state), all optional.
3
Click Save
Journeyfront creates the job req and opens it on the Setup tab.
Finish setting it up
Work through the Setup tab. You can do these in any order:- Details: check the basics and fill in your account’s custom fields in the Custom Fields card. Custom fields aren’t in the New Job Req window, so add them here and click Save.
- Application Form: choose what candidates fill in when they apply. See Application form.
- Attributes: check what the job req measures. See Attributes.
- Workflow: every new job req starts with a draft workflow, Workflow 1.0, with Pre-screen, Recruiter Interview, Hiring Manager Interview, Offer and Onboarding steps. Click Edit Draft to change it to match your process. See Build a workflow.
- Team: add the recruiters, hiring managers and interviewers who work on it. See Hiring team.
- Configurations: candidate assignment, interview reminders and candidate experience options. See Job settings.
- Job Postings: advertise the job on your career site and job boards. See Job postings.
Open it to candidates
A new job req is Inactive, so its application link tells candidates the position isn’t accepting applications yet. When everything is ready:- Click Actions, then Activate. This needs the Deactivate Job Reqs permission.
- Or publish the workflow. Publishing makes an inactive job req Active. See Publish workflow changes.
Edit a job req’s details
Open the job req and go to Setup, then Details. Change any field in the Basic Info card or the Custom Fields card. Save and Cancel appear at the top as soon as you change something. If you leave the page without saving, Journeyfront asks whether to save or discard your changes.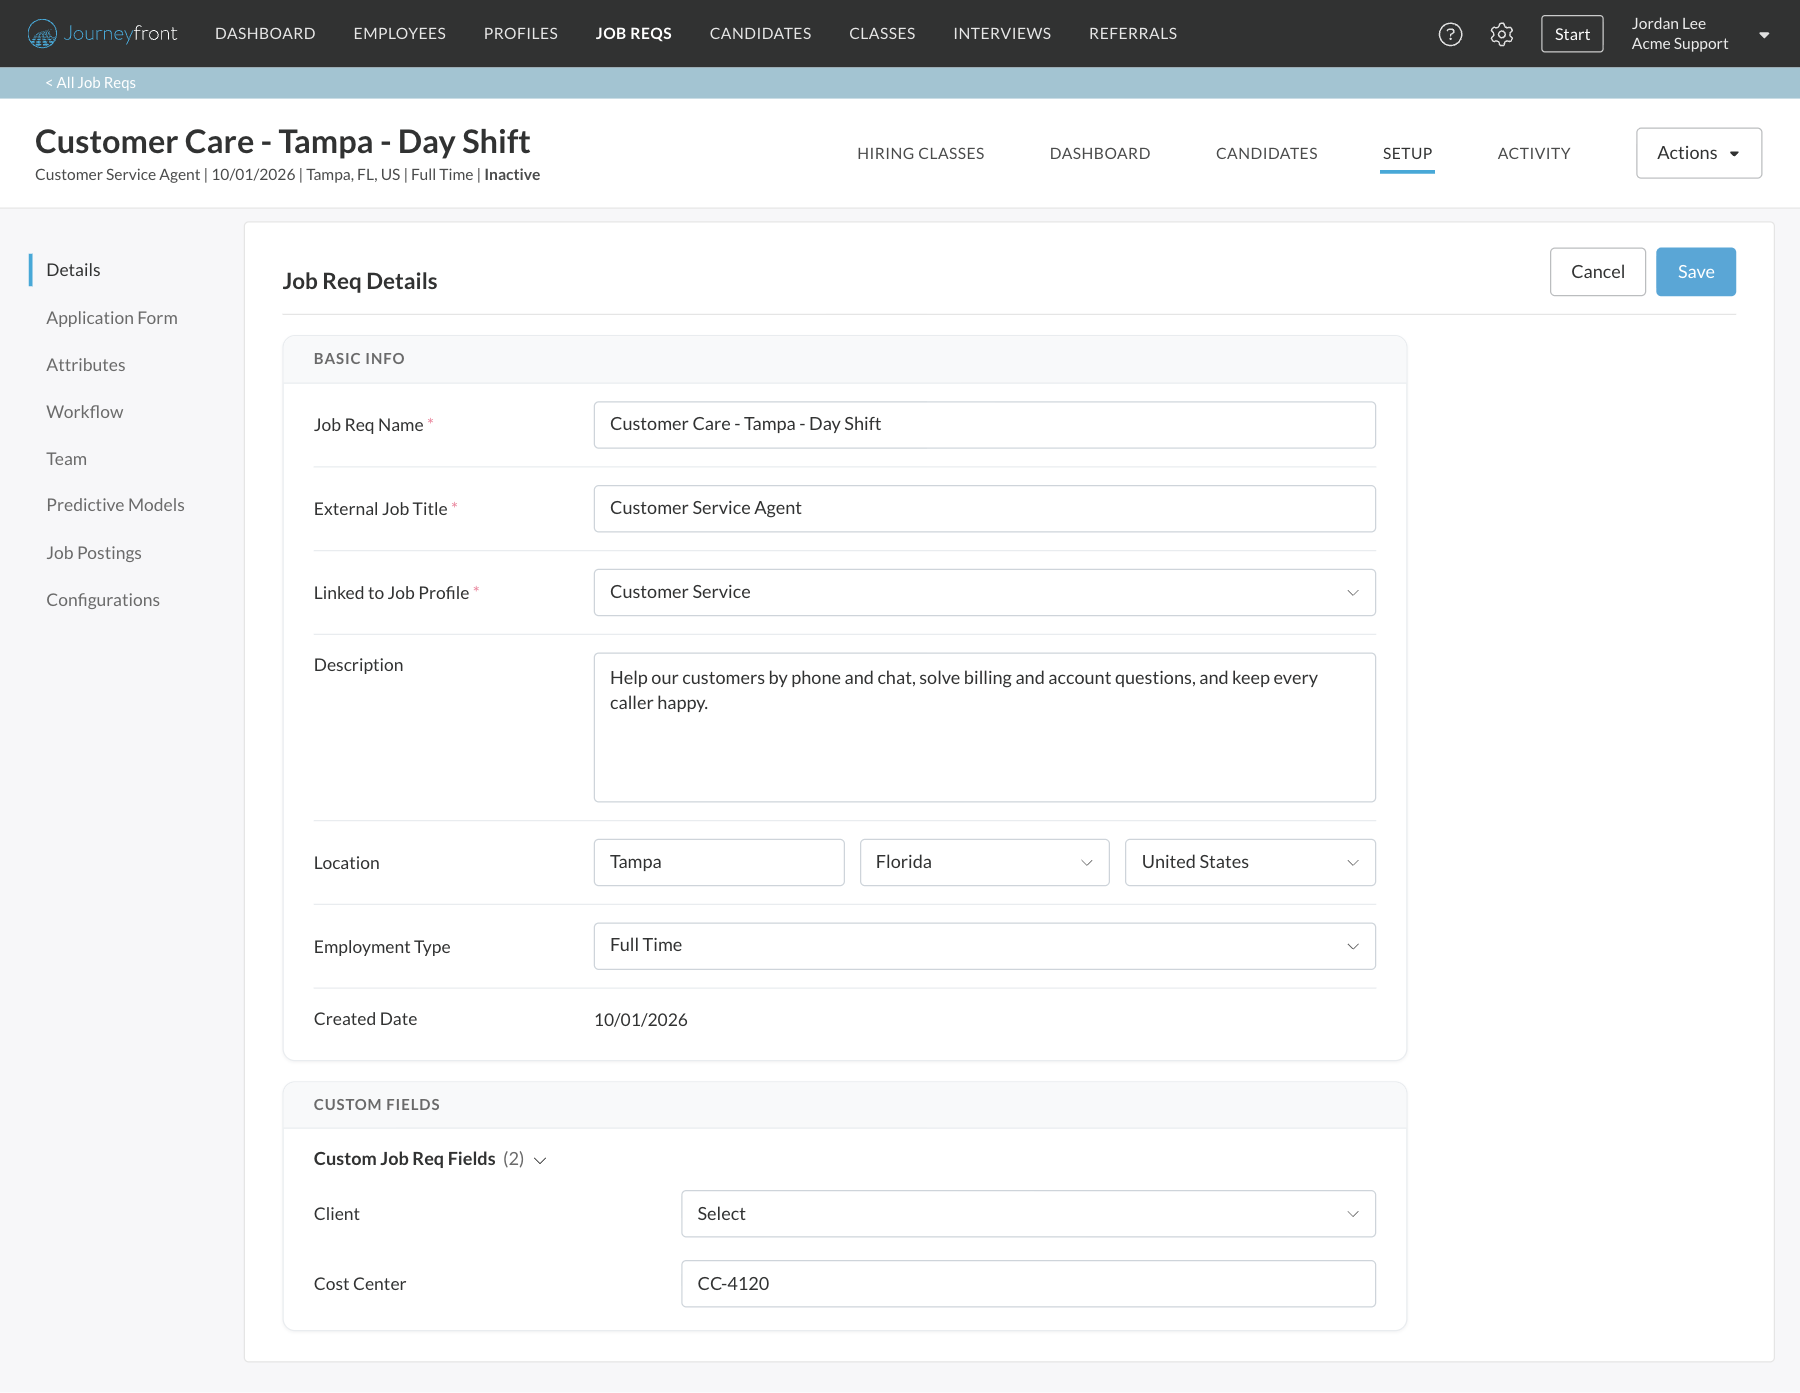
Start from an existing job req
When a new role works like one you already run, for example the same process for a new site or client, copy it instead of starting from scratch.1
Open the job req to copy
Open the job req and click Actions, then Duplicate Job Req.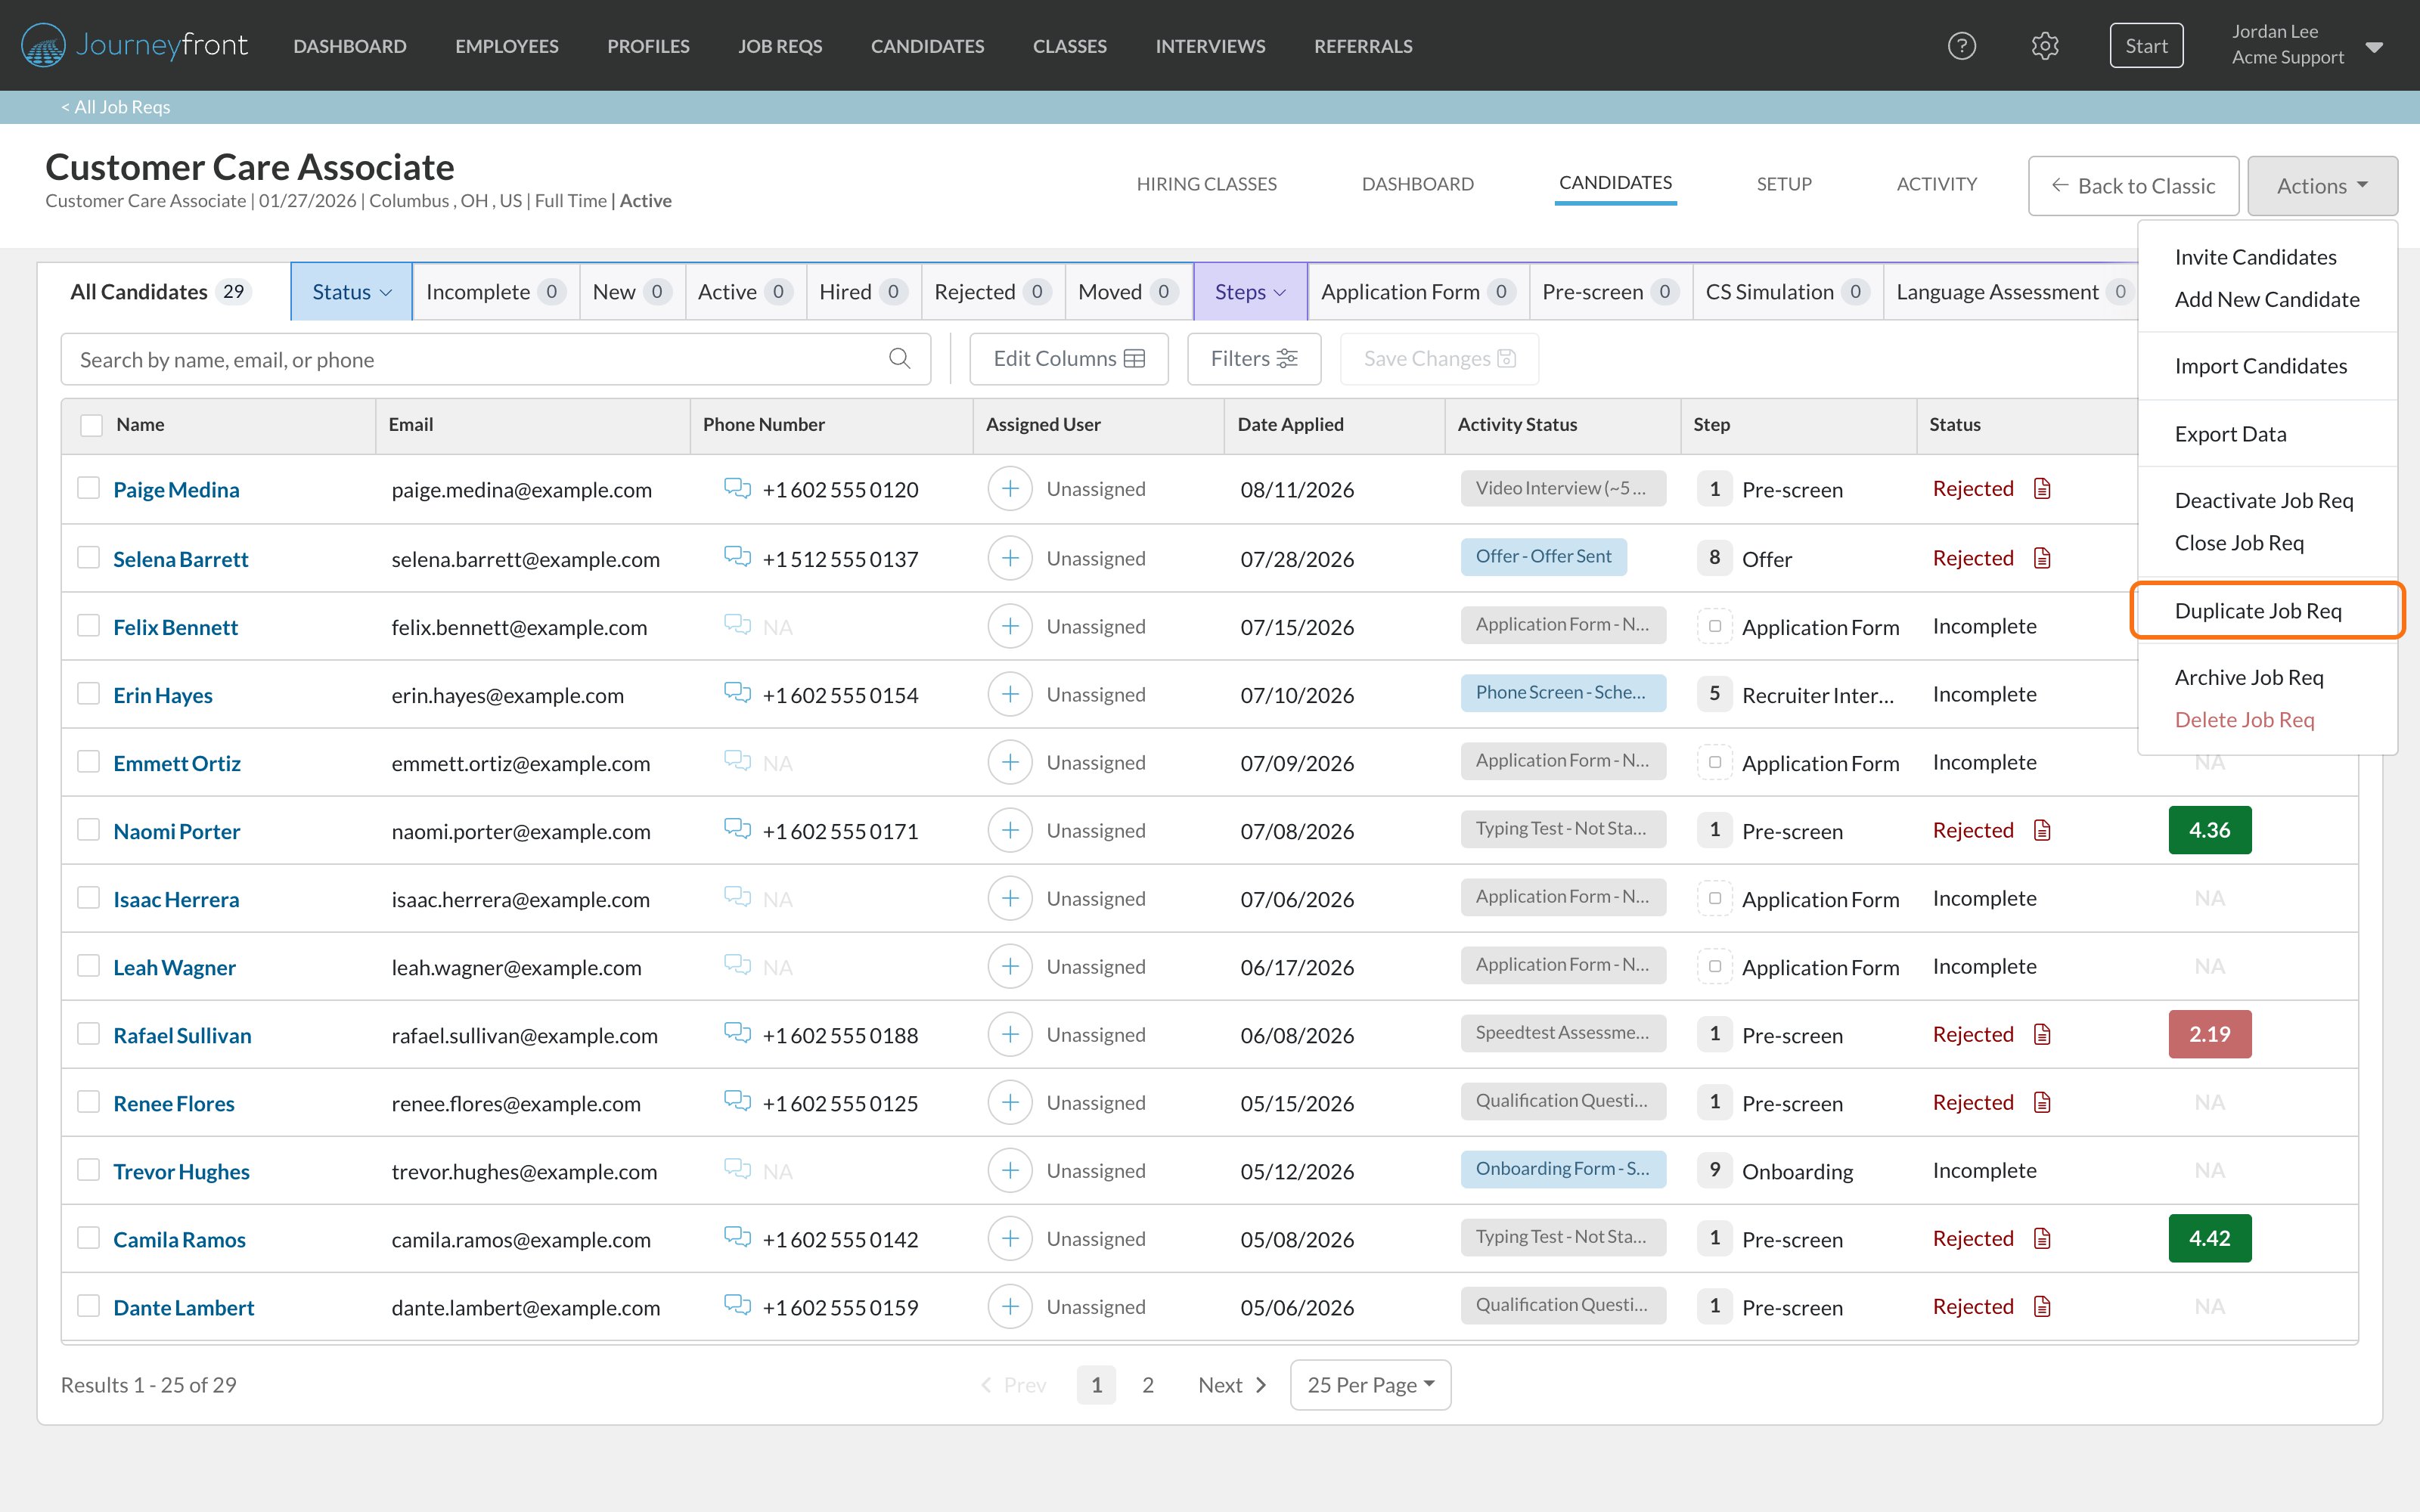
2
Confirm
Click Duplicate. Journeyfront creates the copy, named after the original with ”- copy” at the end, and opens it.
3
Update the copy
Rename it on Setup, then Details, and update anything that’s different for the new role.
- The job req’s details, settings and custom field values
- Its published workflow: steps, activities, questions, assessments, attributes and automation rules
- The application form
- The hiring team and candidate assignment (with each team member’s “Candidate completes application” emails turned off)
FAQ
Why can't I create a job req?
Why can't I create a job req?
Creating a job req needs the All Job Req Access permission. Ask your Journeyfront admin to check your security role.
Where did options like Require Resume and Allow Retakes go?
Where did options like Require Resume and Allow Retakes go?
The job req’s options now live on the Setup tab. Whether candidates must give a resume or LinkedIn profile is set on the application form. Re-takes, hiding interviewer names, the predictive model and the other candidate experience options are under Setup, then Configurations. See Job settings.
Why can't candidates apply to my new job req?
Why can't candidates apply to my new job req?
New job reqs start Inactive. Click Actions, then Activate when you’re ready, or publish the workflow.
Does duplicating a job req copy its candidates?
Does duplicating a job req copy its candidates?
No. Only the setup is copied. Candidates stay on the original job req.
Can I change the job profile later?
Can I change the job profile later?
Yes. Choose a different one in Linked to Job Profile on Setup, then Details, and click Save.
Related
Workflows overview
The steps and activities every candidate follows.
Job settings
Assignment, reminders, gate steps and scoring options.
Job req statuses
Activate, deactivate, close, archive or delete a job req.
Job postings
Advertise the job on your career site and job boards.