

Who can do this: Everyone can use the Job Reqs page. It lists every job req for users with the All Job Req Access permission, and only the job reqs you’re on the hiring team for otherwise. Creating a job req also needs All Job Req Access.
Search and sort
- Search matches the Job Req Name and the External Job Title.
- Click a column header to sort by that column. Click it again to reverse the order.
- The list shows 25 job reqs per page. Change it to 50 or 100 at the bottom of the table, and use the page numbers to move through the list.
Columns
The list starts with these columns: Job Req Name, Job Req External Name, Job Profile, Created Date, Country, State/Region, City, Candidates, Hires and Status. Candidates counts everyone who has applied to the job req, and Hires counts those hired. To change them, click Edit Columns. Add or remove columns, drag them into the order you want, and click Save. Job Req Name is always shown. If your account has custom job req fields, they’re listed under their own Custom Job Req Fields heading in Edit Columns. Once a custom field column is showing, you can change a value without opening the job req: hover over the cell, click the pencil, and save.Filter
Click Filters to open the filter bar. It starts with Status, Job Profile, Country, State/Region, City and Created Date. Click More to add the Candidates and Hires filters, or a filter for any custom job req field. Click the X on a filter to take it off the bar.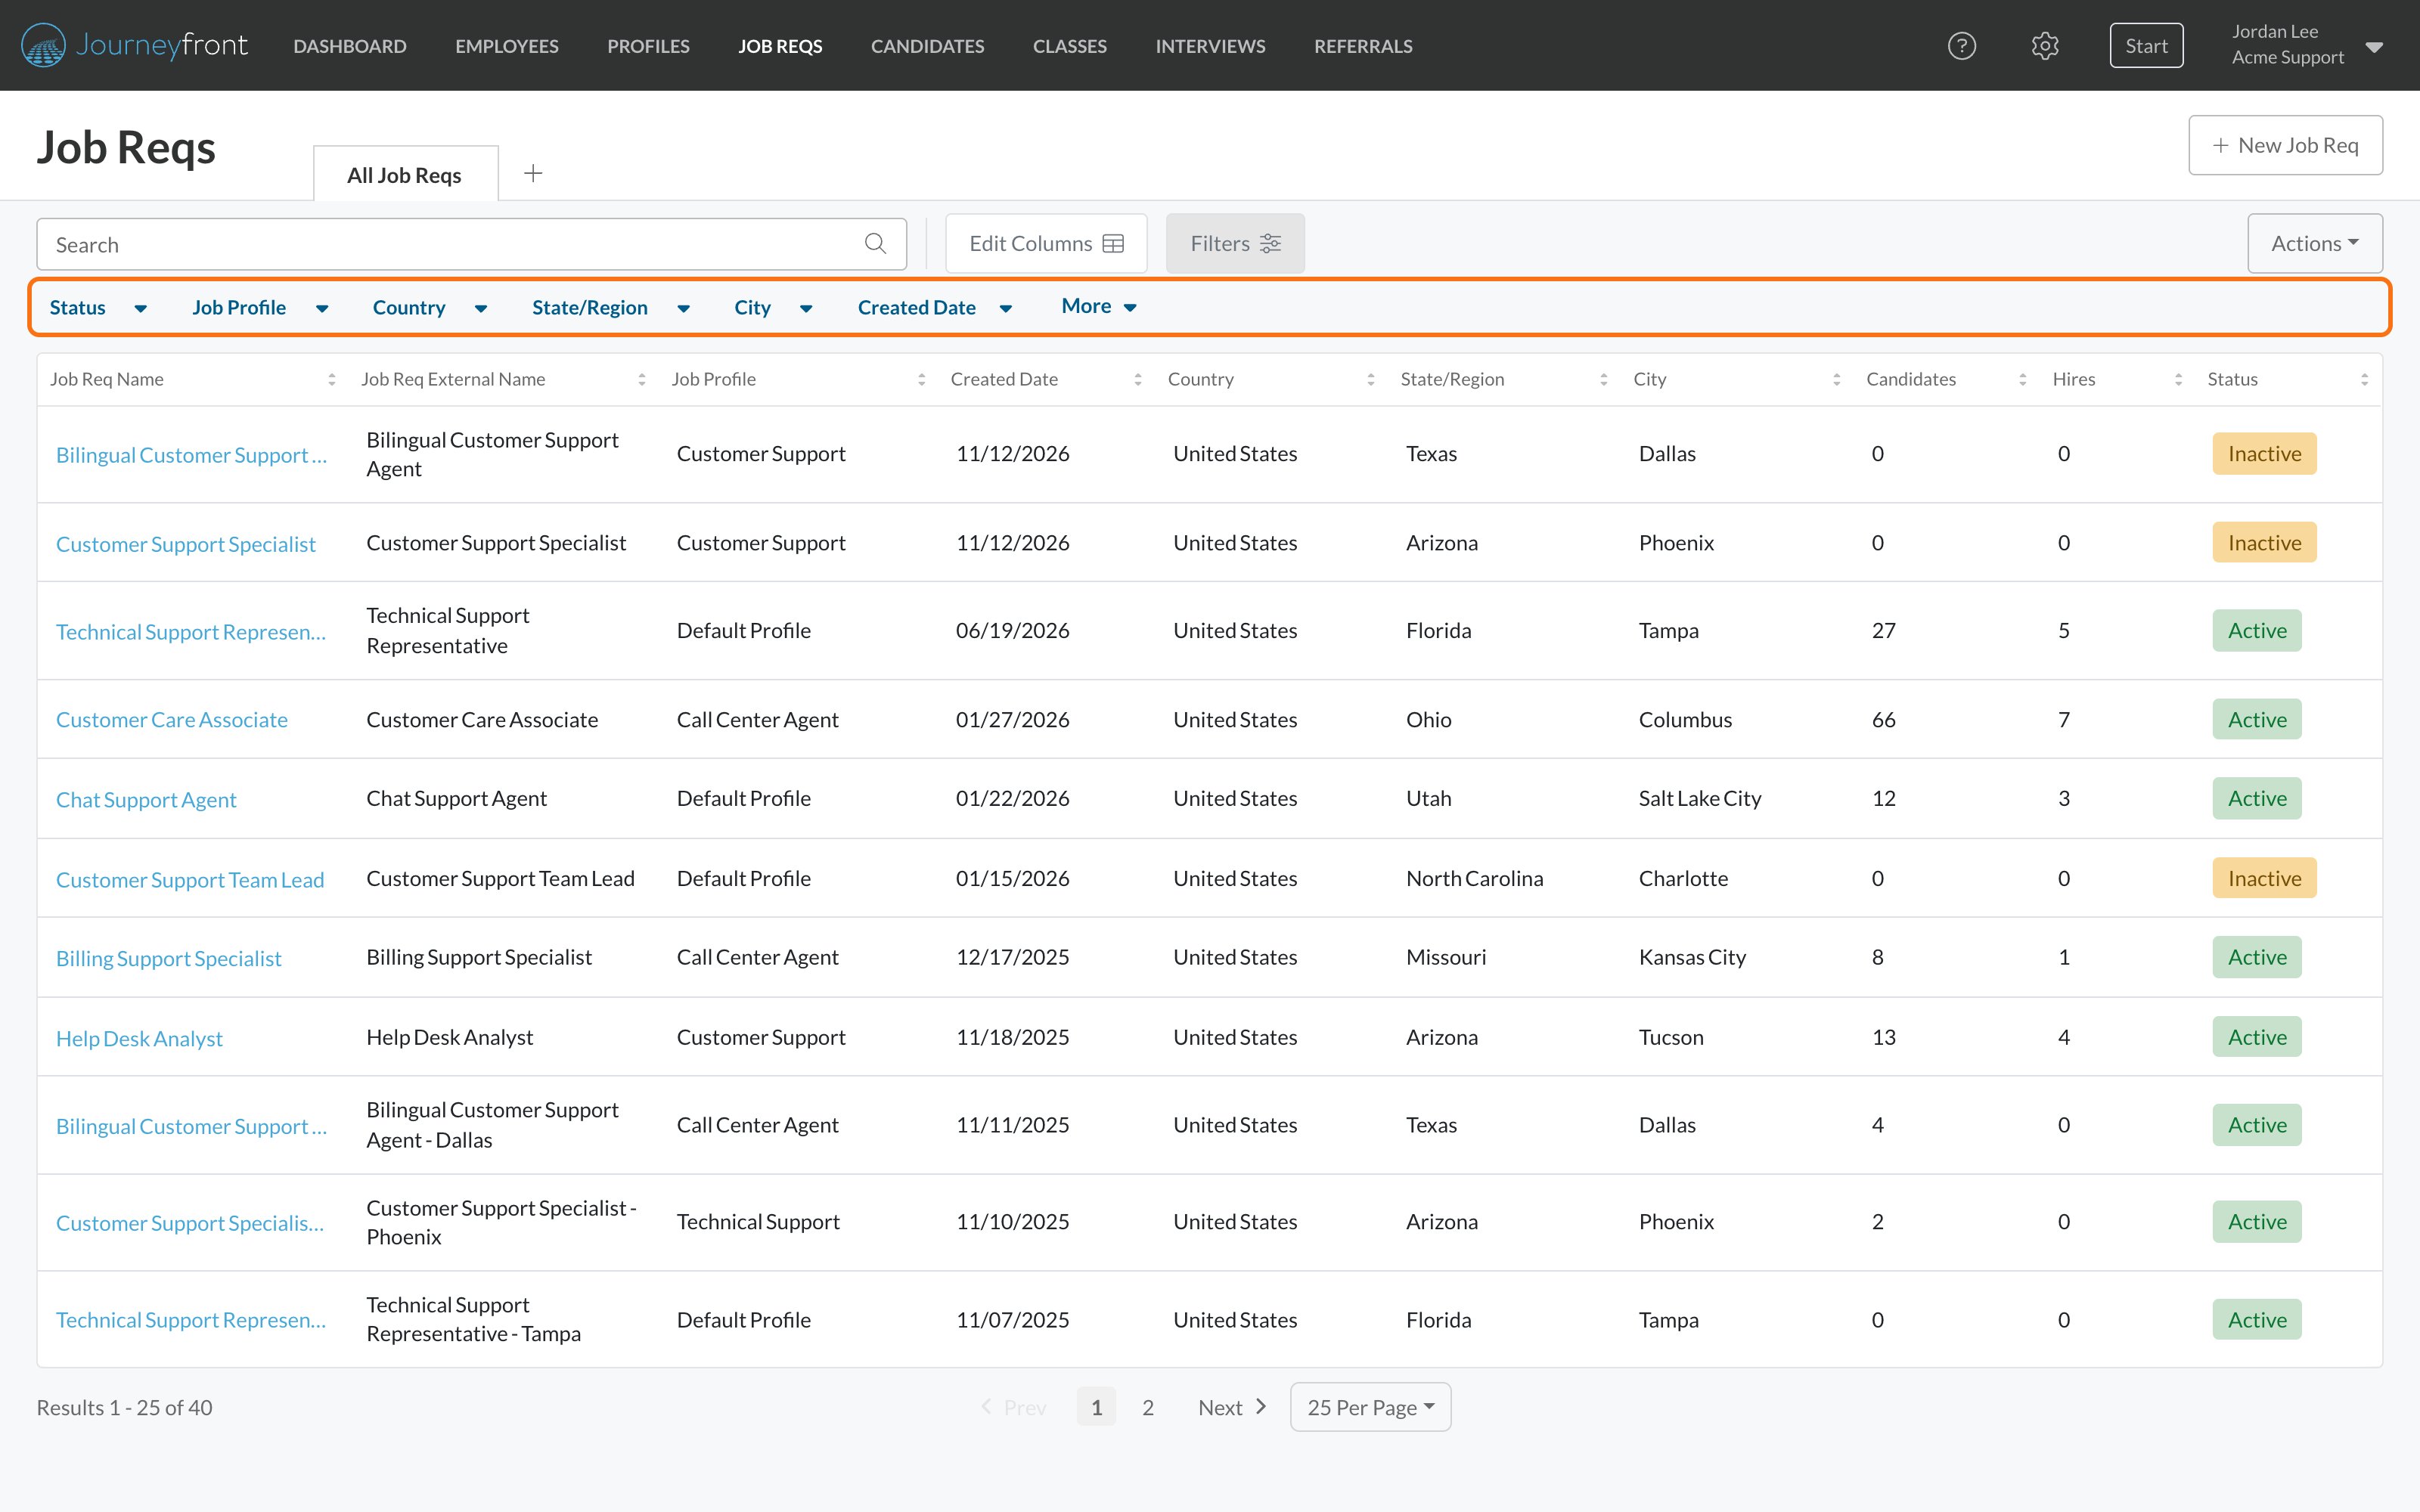
- Candidates and Hires compare numbers, so you can find, for example, open job reqs with more than 50 candidates, or with no hires yet.
- Created Date takes a date range.
- The Filters button shows how many filters are in use.
Archived job reqs don’t appear in the list unless you filter Status to include them. See Job req statuses.
Saved views
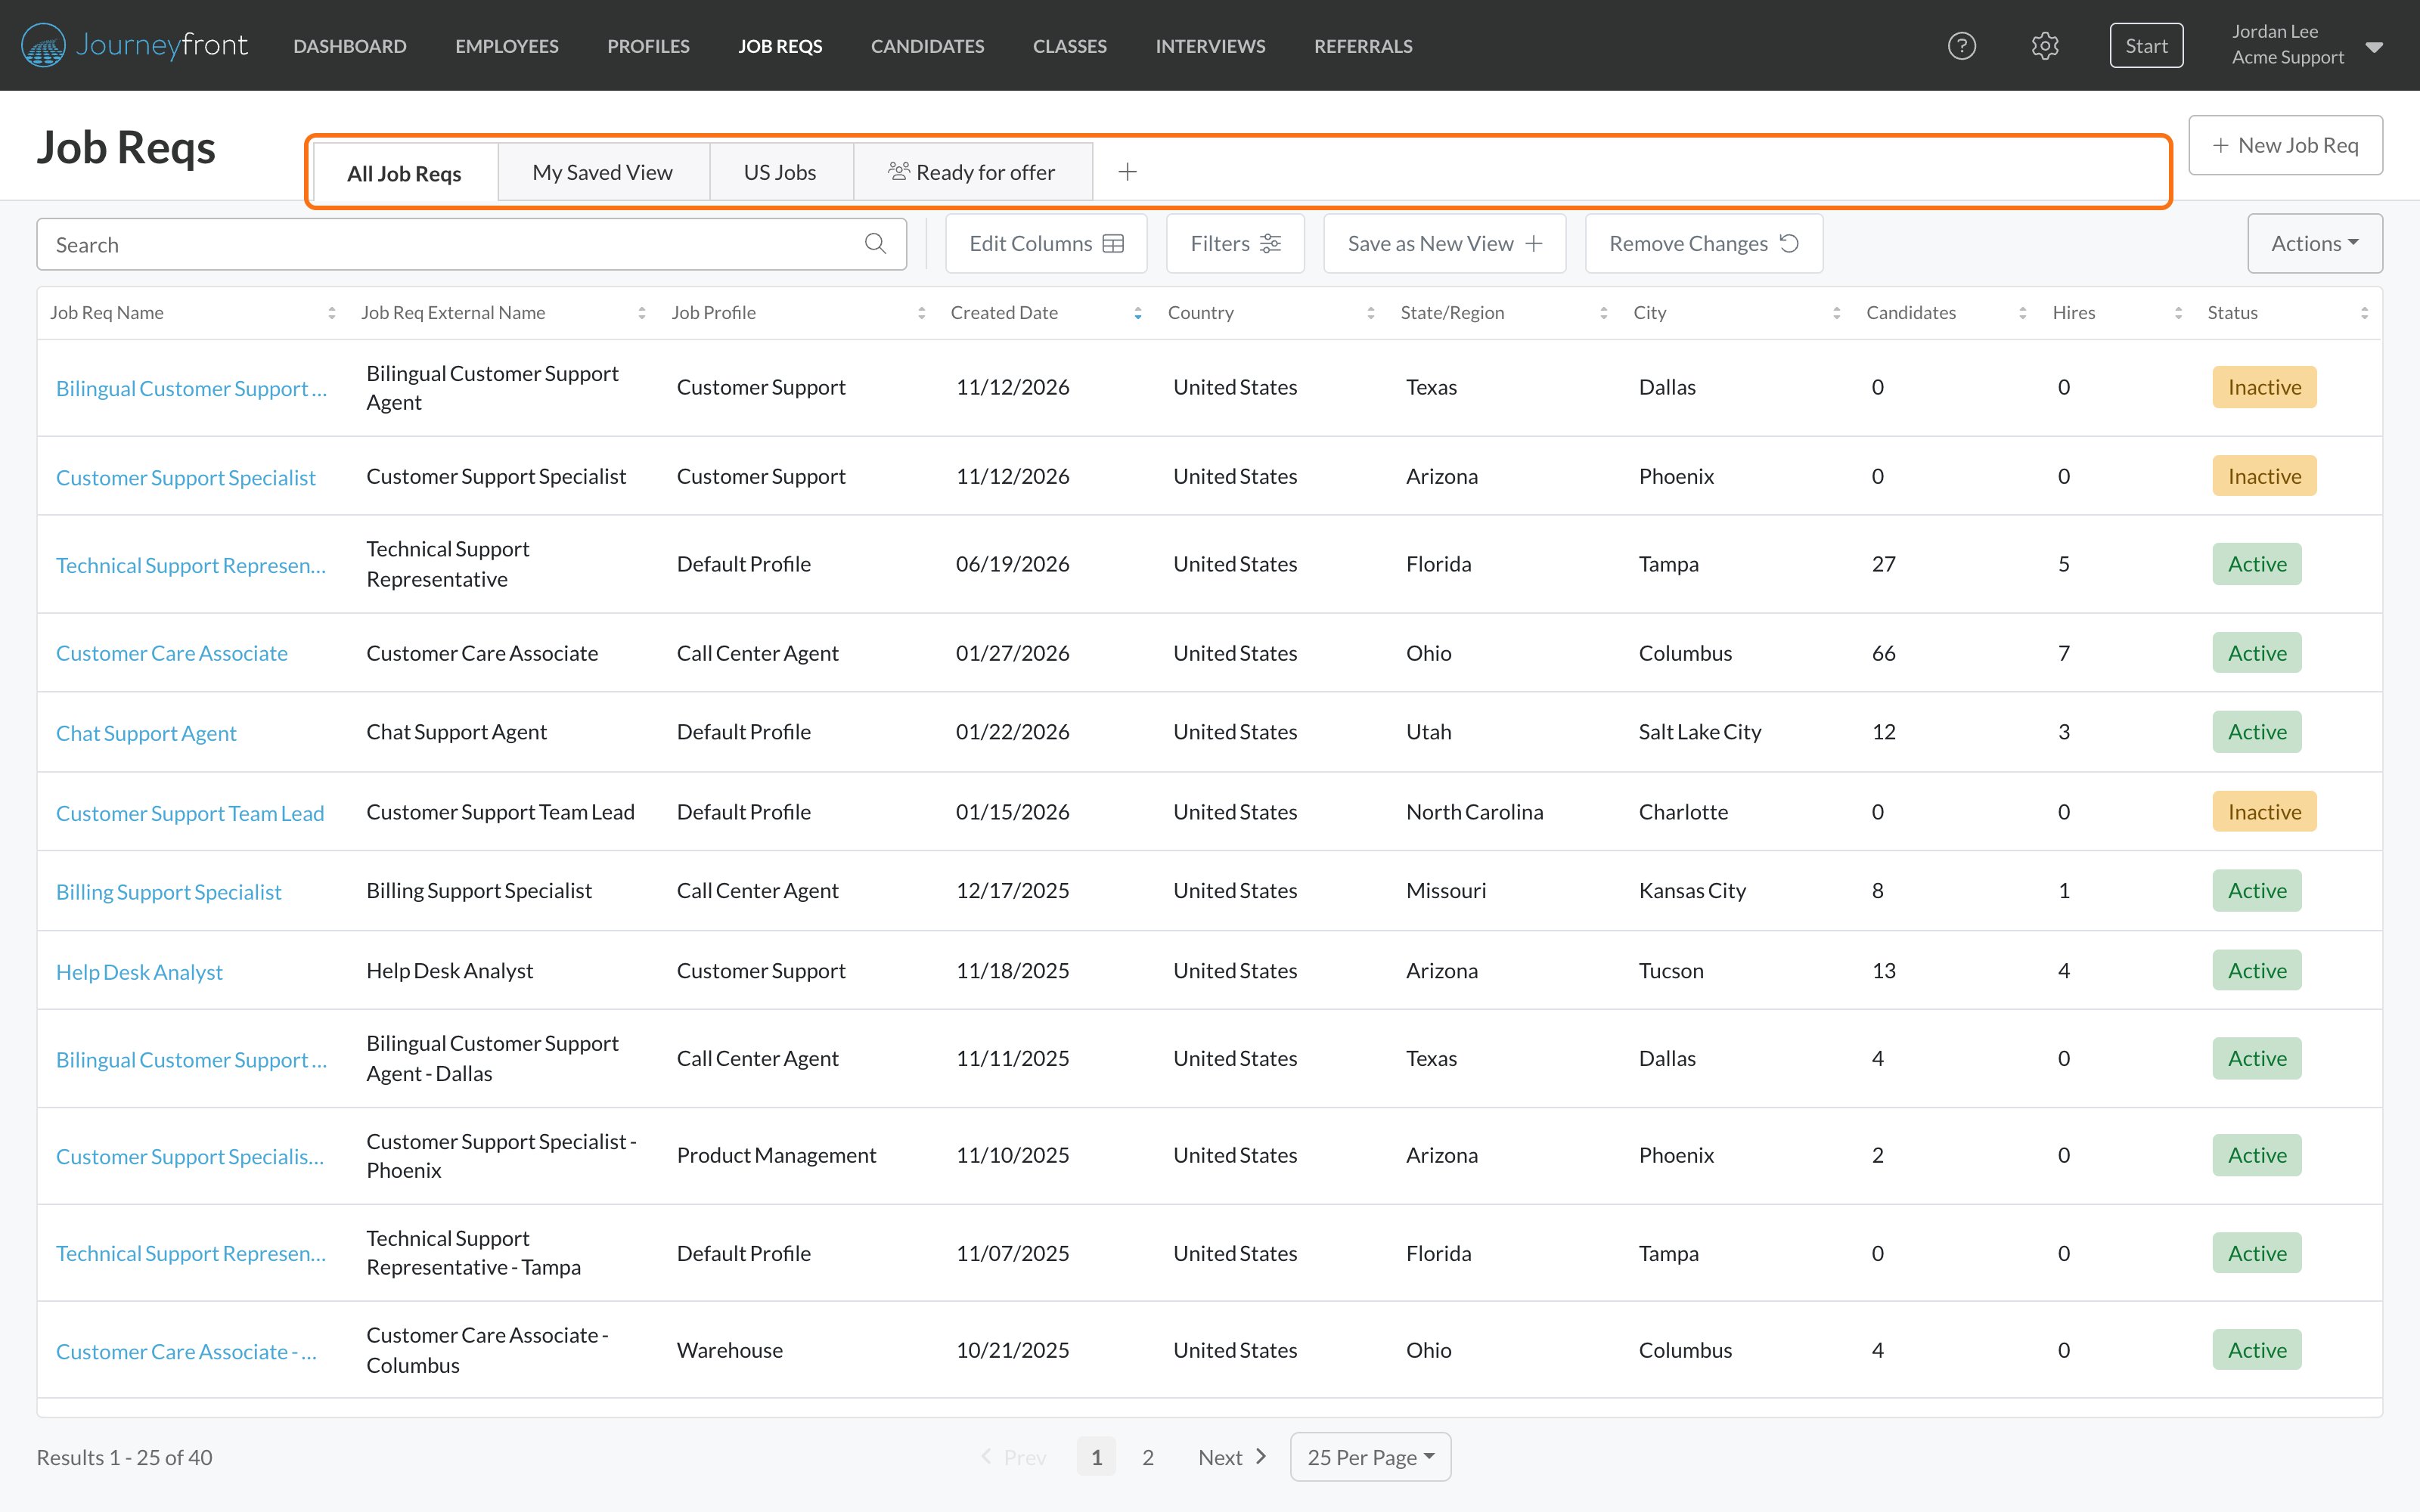
A saved view keeps your filters, columns and sort order together, as a tab across the top of the page. All Job Reqs is the starting view. Set up the list, click Save as New View, name it and click Save. When you change a view you own, click Save Changes to keep the changes, or Remove Changes to go back to how it was saved. To rename a view, make it your default, share it or delete it, use the Actions menu. You can share a view with your whole organization or with specific people, and add views your teammates shared from the + at the end of the tabs. See Saved views.Export
1
Click Actions, then Export Data
The export matches your current view: its filters, search and columns.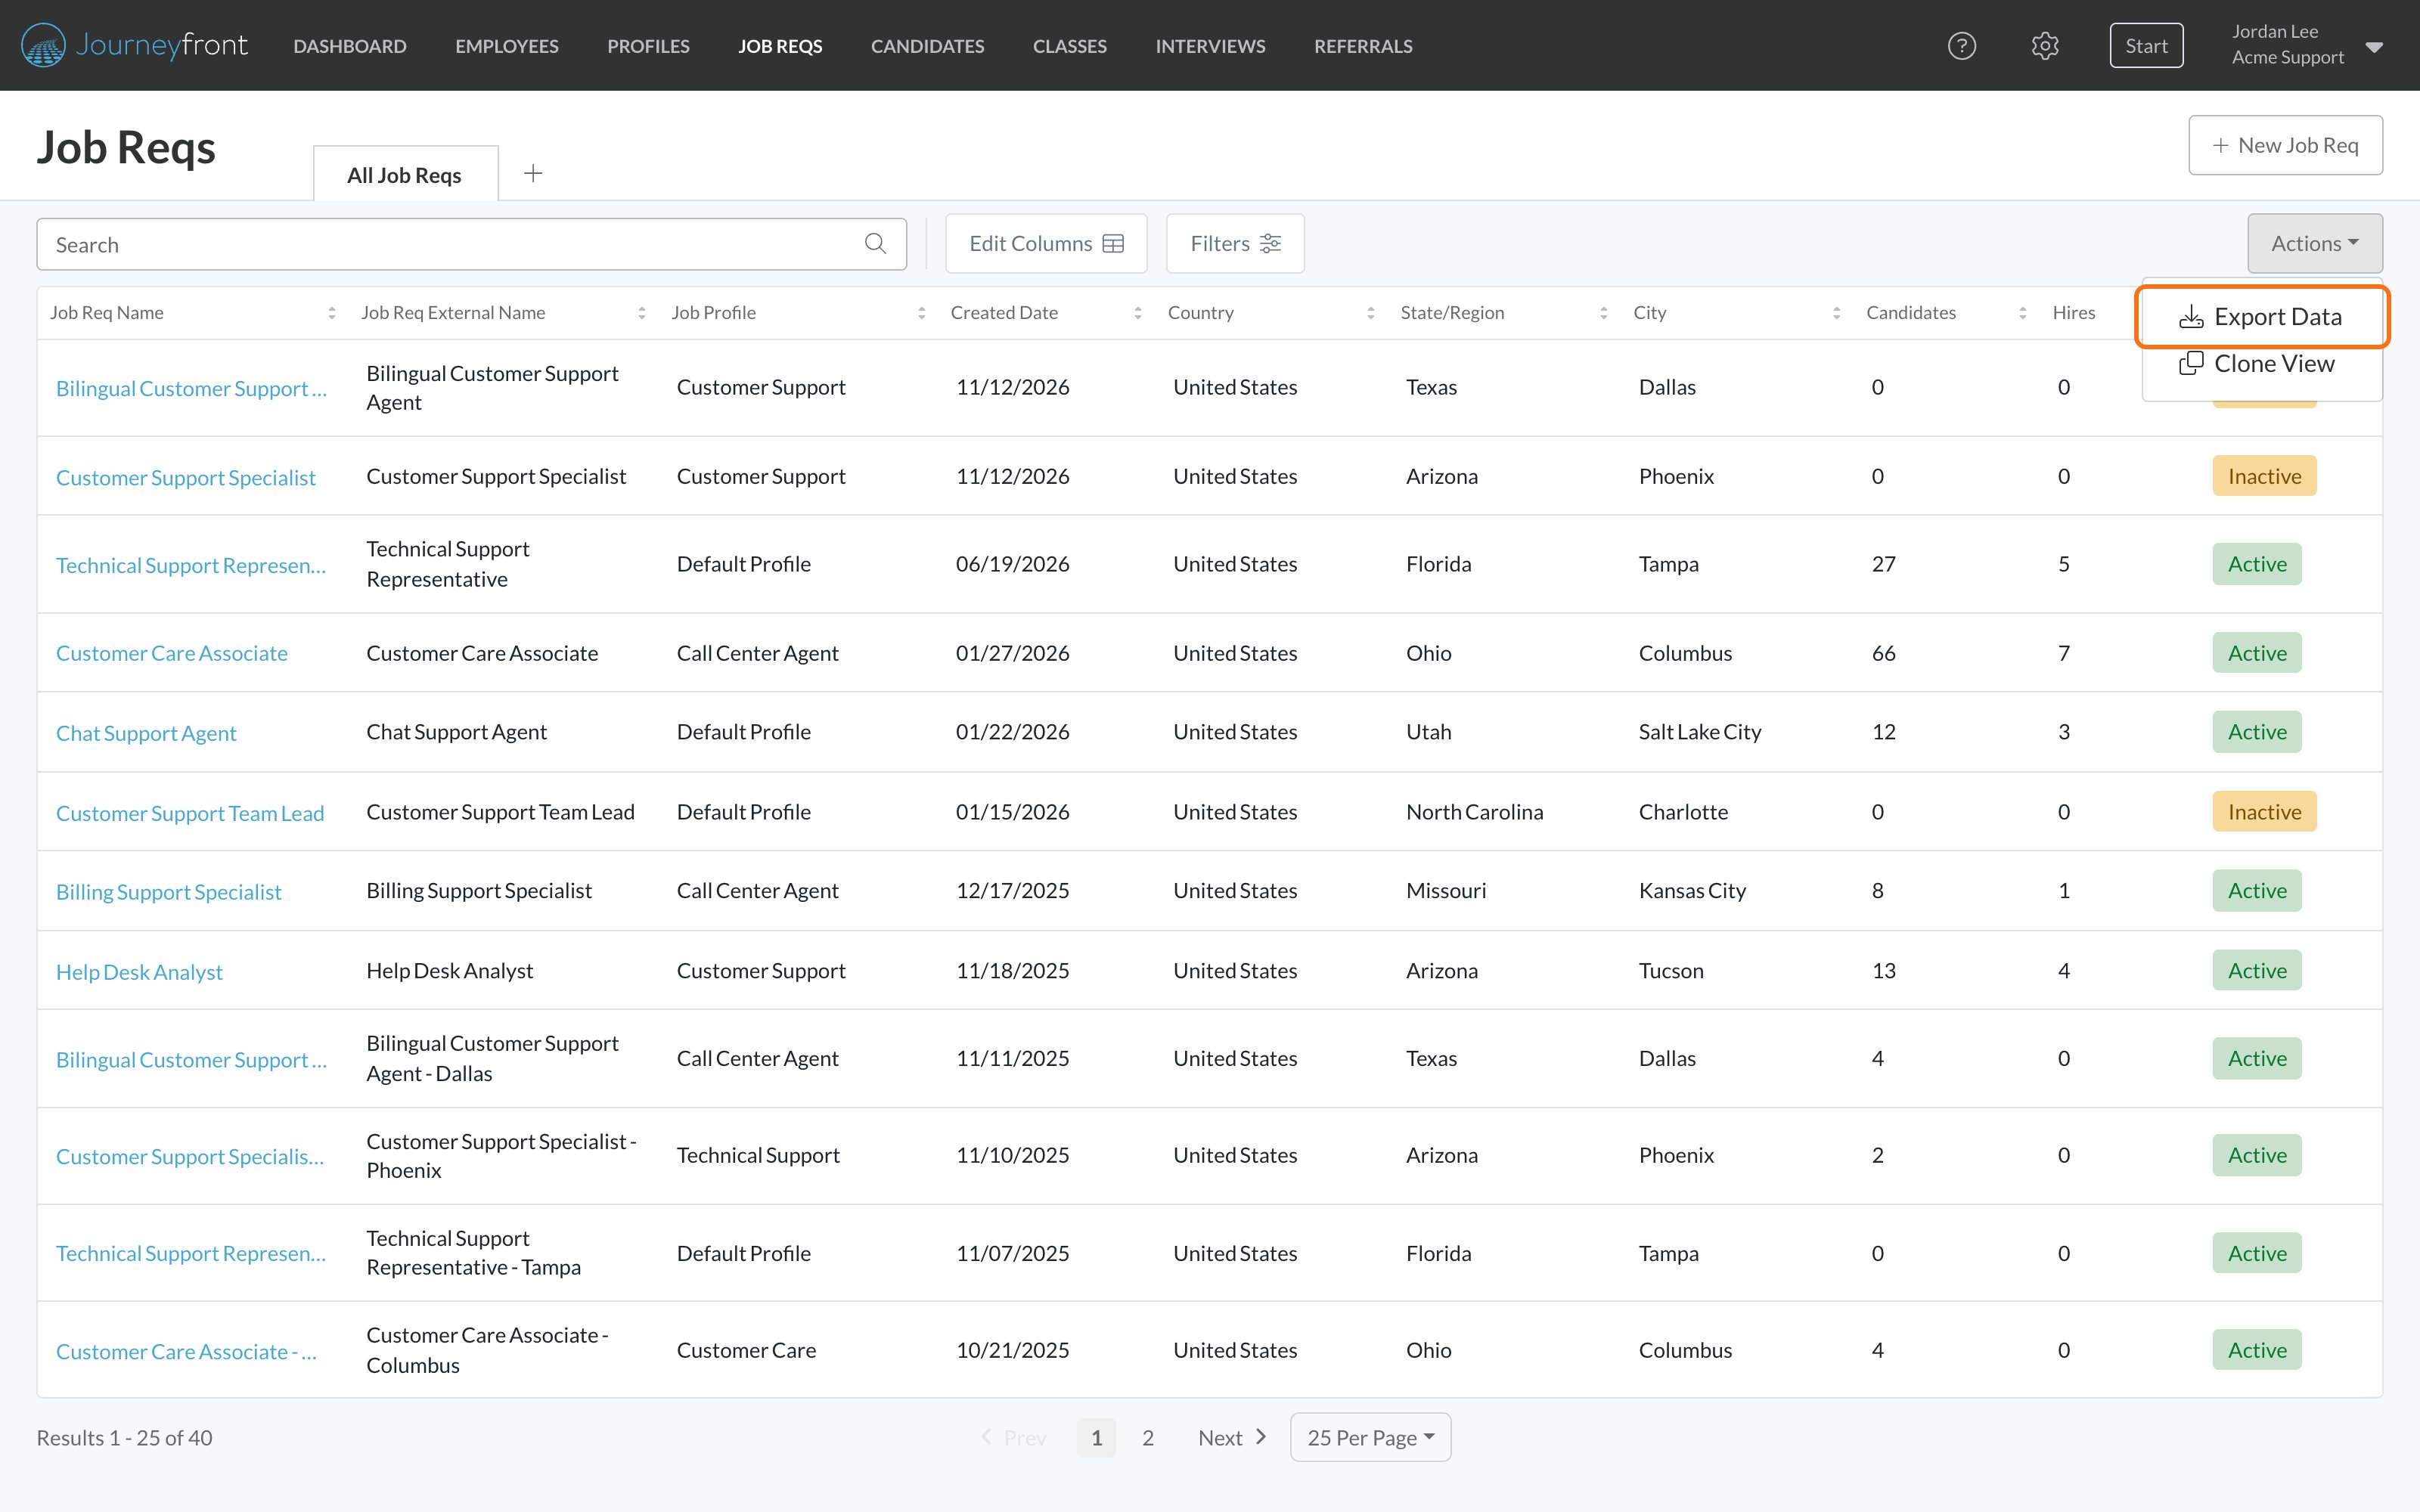
2
Choose the file
Change the Export File Name if you like, and choose CSV or Excel as the File Format.
3
Click Start Export
The file downloads when it’s ready.
FAQ
Can my teammates see my saved views?
Can my teammates see my saved views?
Only if you share them. Views start as Only me. To share one, open it and click Actions, then Edit View, and change Who can see this. See Share a view.
Why is a job req missing from the list?
Why is a job req missing from the list?
Check three things: your filters (including the saved view you’re on), whether the job req is archived (filter Status to include archived job reqs), and whether you’re on its hiring team. Without the All Job Req Access permission, you only see job reqs you’re on the hiring team for.
Can I sort by a custom job req field?
Can I sort by a custom job req field?
No. Custom field columns can be shown, edited, filtered and exported, but not sorted.
Why doesn't New Job Req work for me?
Why doesn't New Job Req work for me?
Creating a job req needs the All Job Req Access permission. Ask your Journeyfront admin to check your security role.
My Job Reqs page looks different from this.
My Job Reqs page looks different from this.
Some accounts can still switch between this page and the classic Job Reqs page. If you see Switch Back to Classic at the top, you’re on the page described here.
Related
Create a job req
Set up a new job req with New Job Req.
Job reqs overview
What’s inside a job req and how its tabs fit together.
Custom fields
Add your own fields to job reqs, like client or cost center.
Export data
Get candidate and hiring data out of Journeyfront.