

Who can do this: Everyone. A shared view only ever shows you the job reqs, candidates and classes you already have access to.
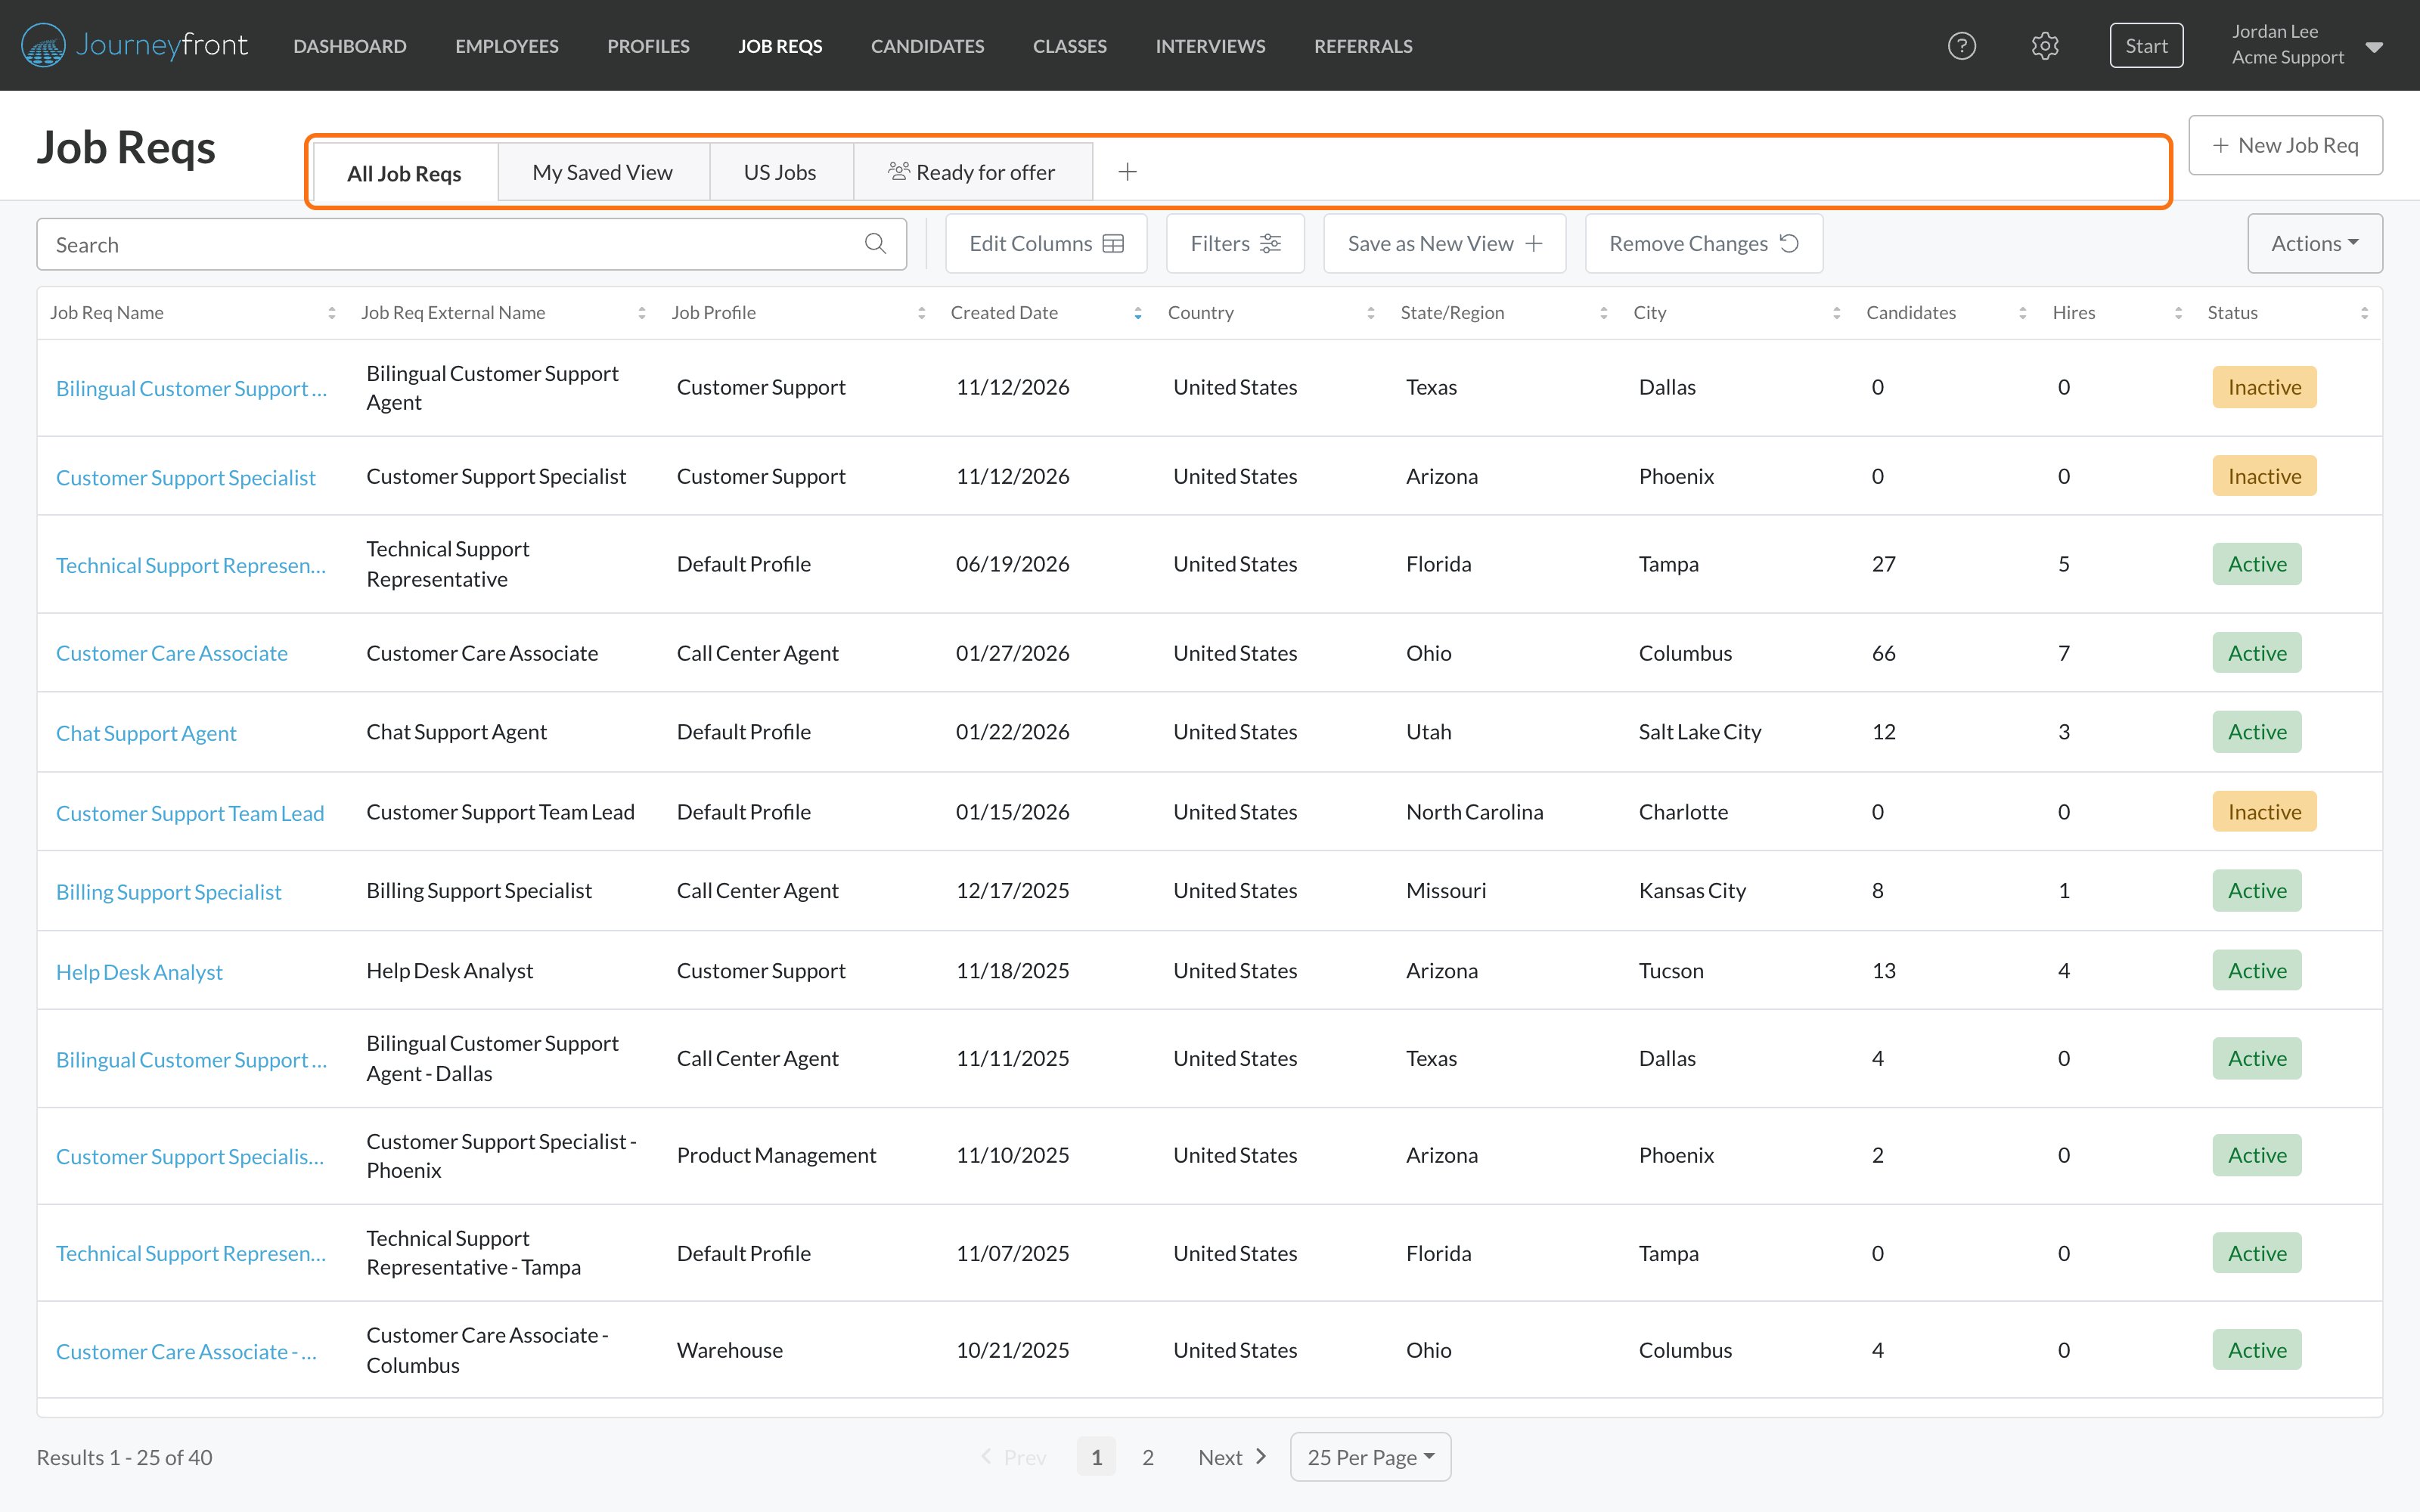
A saved view remembers a list’s filters, columns and sort order, and opens it as a tab above the list. Build “New applicants to screen” or “Ready for offer” once, and it’s one click away every morning. Share it, and your whole team works from the same list instead of each person rebuilding the filters and getting slightly different results.
Saved views work the same way on every list:
Create a view
There are two ways to start, depending on what’s on your screen.From the list you have now
Use this when you’ve already filtered and arranged the list the way you want it.1
Set up the list
On the page’s starting tab, such as All Job Reqs or All Candidates, add your filters and columns and sort the list. As soon as the list differs from the starting tab, Save as New View appears in the toolbar. To start from a saved view instead, open it and click Actions, then Clone View.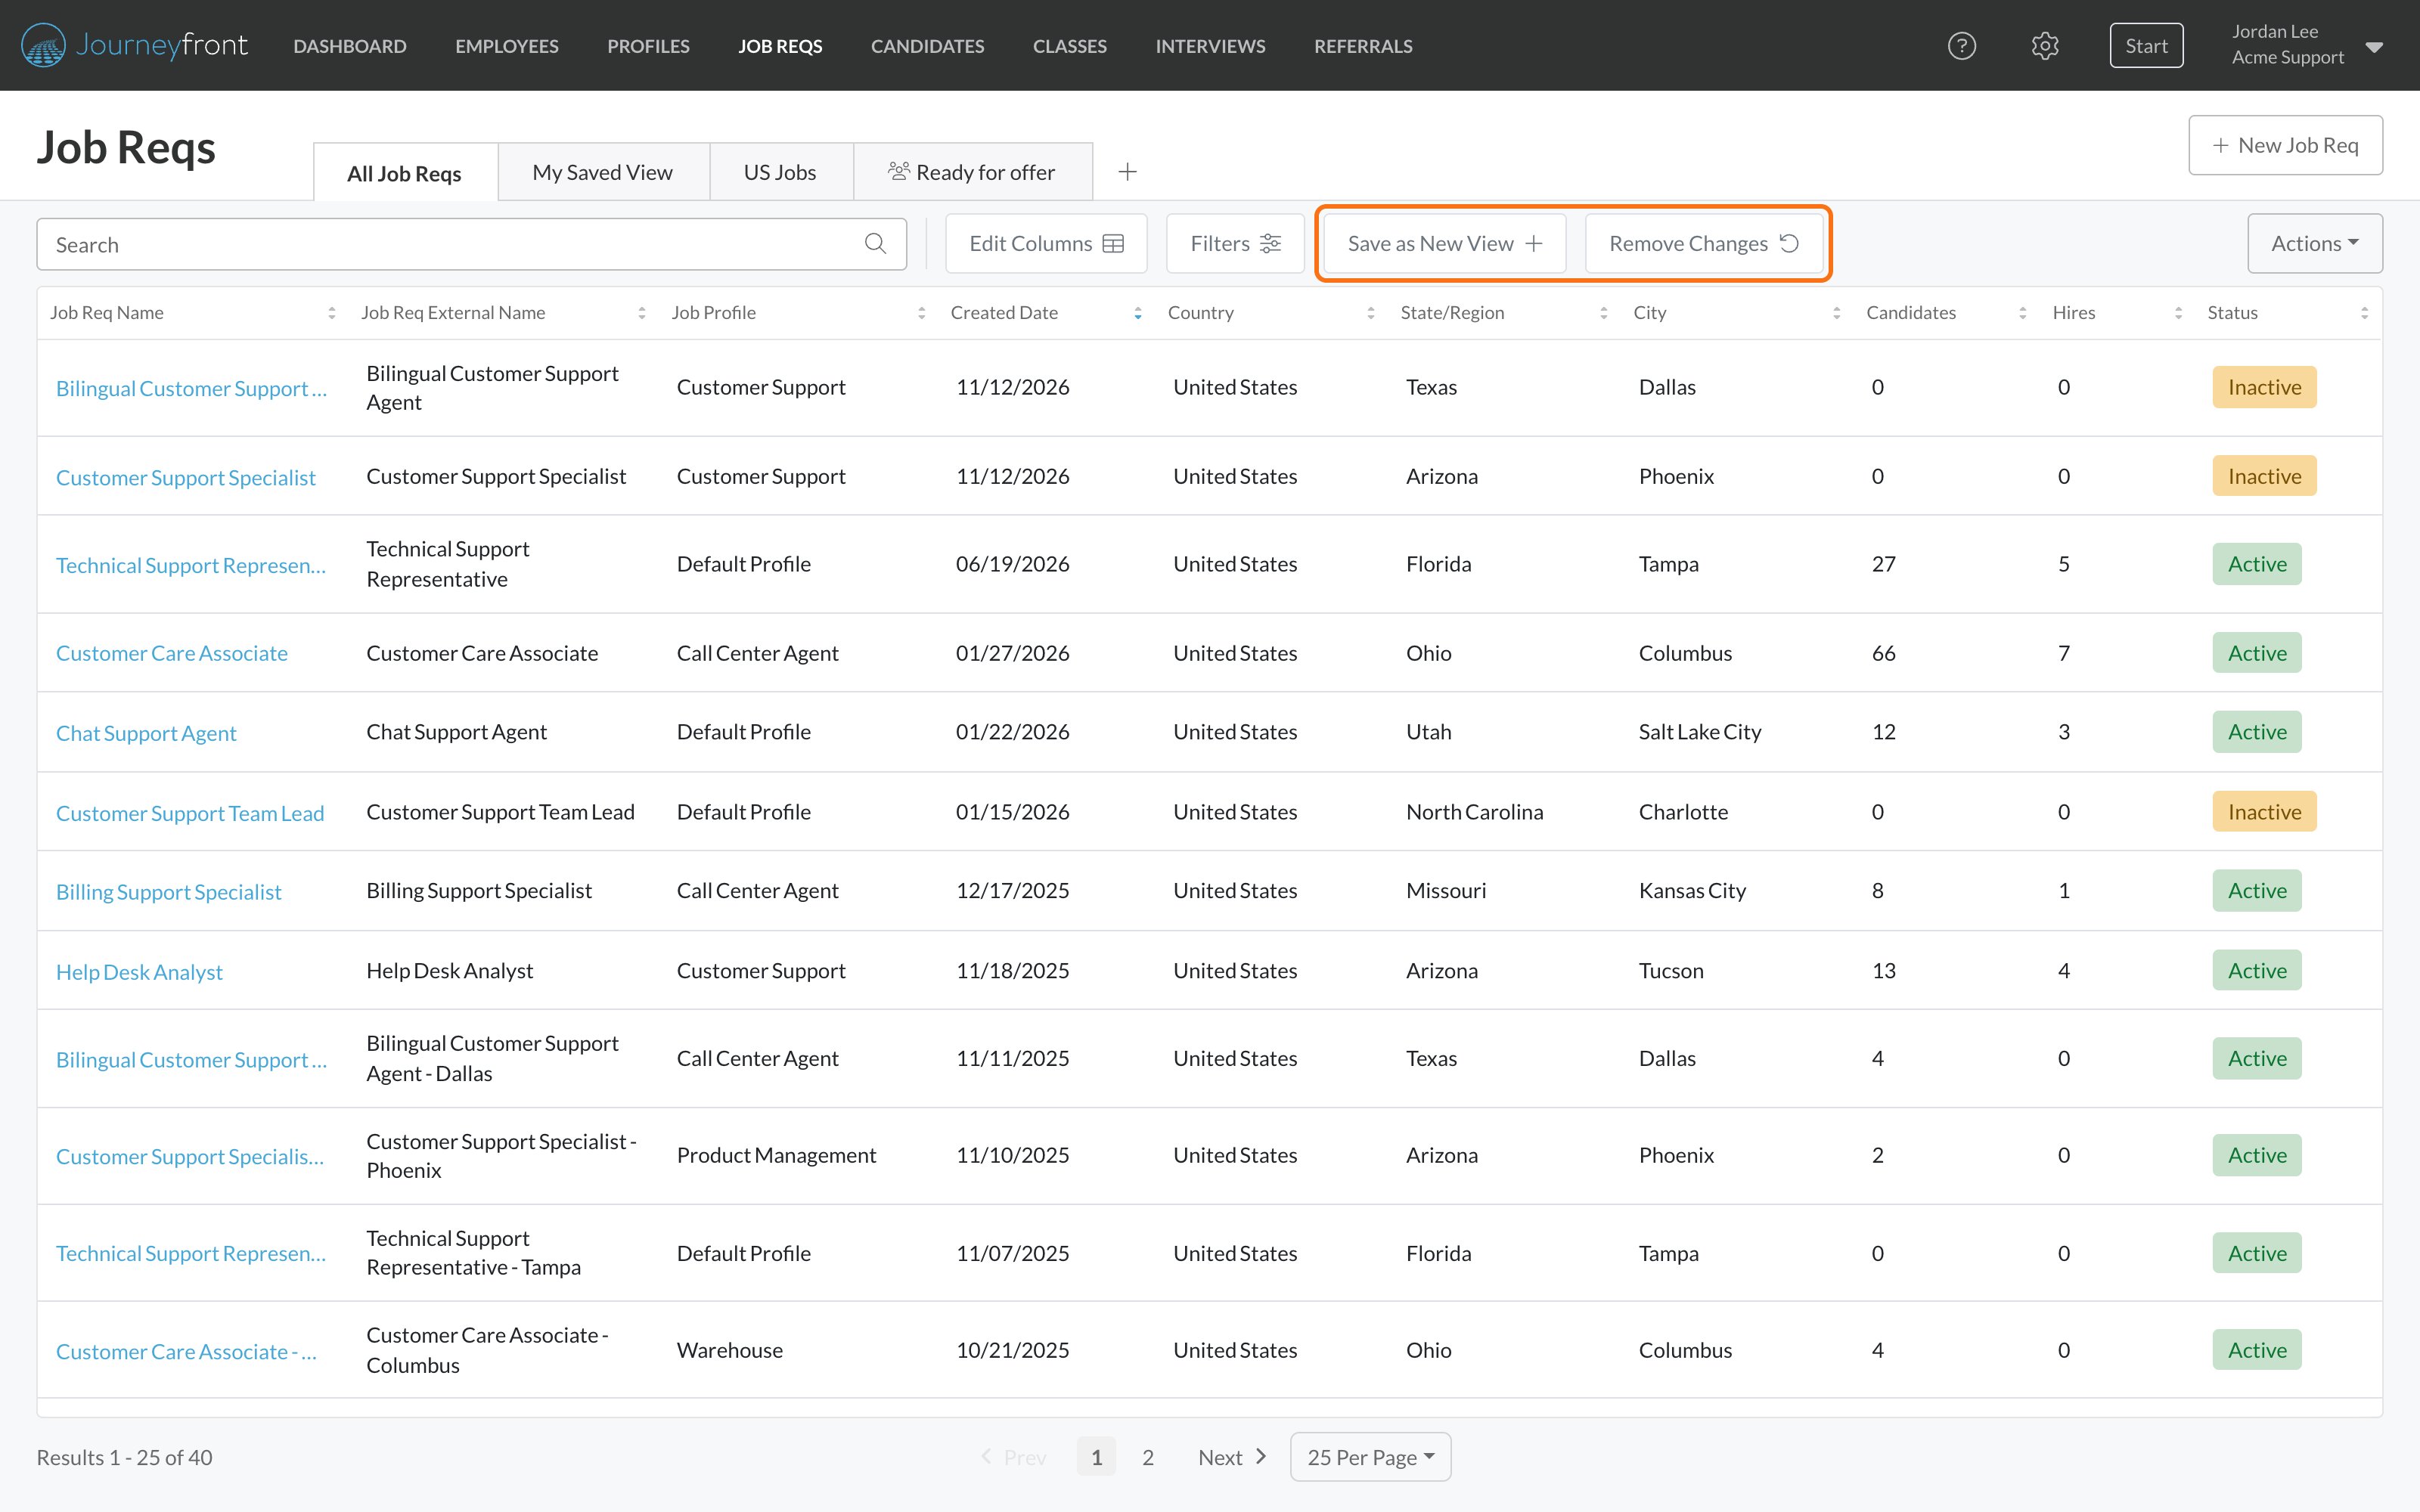
2
Click Save as New View
The Create New View panel opens with your current filters, columns and sort order.
3
Name it and choose who can see it
Enter a View Name. Turn on Make Default if you want the page to open on this view. Under Who can see this, keep Only me or share it (see Share a view).
4
Click Save
The view appears as a new tab and opens. The tab you started from is unchanged.
From scratch
Click + at the end of the tabs, then Create a new view. The panel opens on the page’s standard columns with no filters, whatever tab you were on. Name the view, click Save, then add the filters and columns you want and click Save Changes.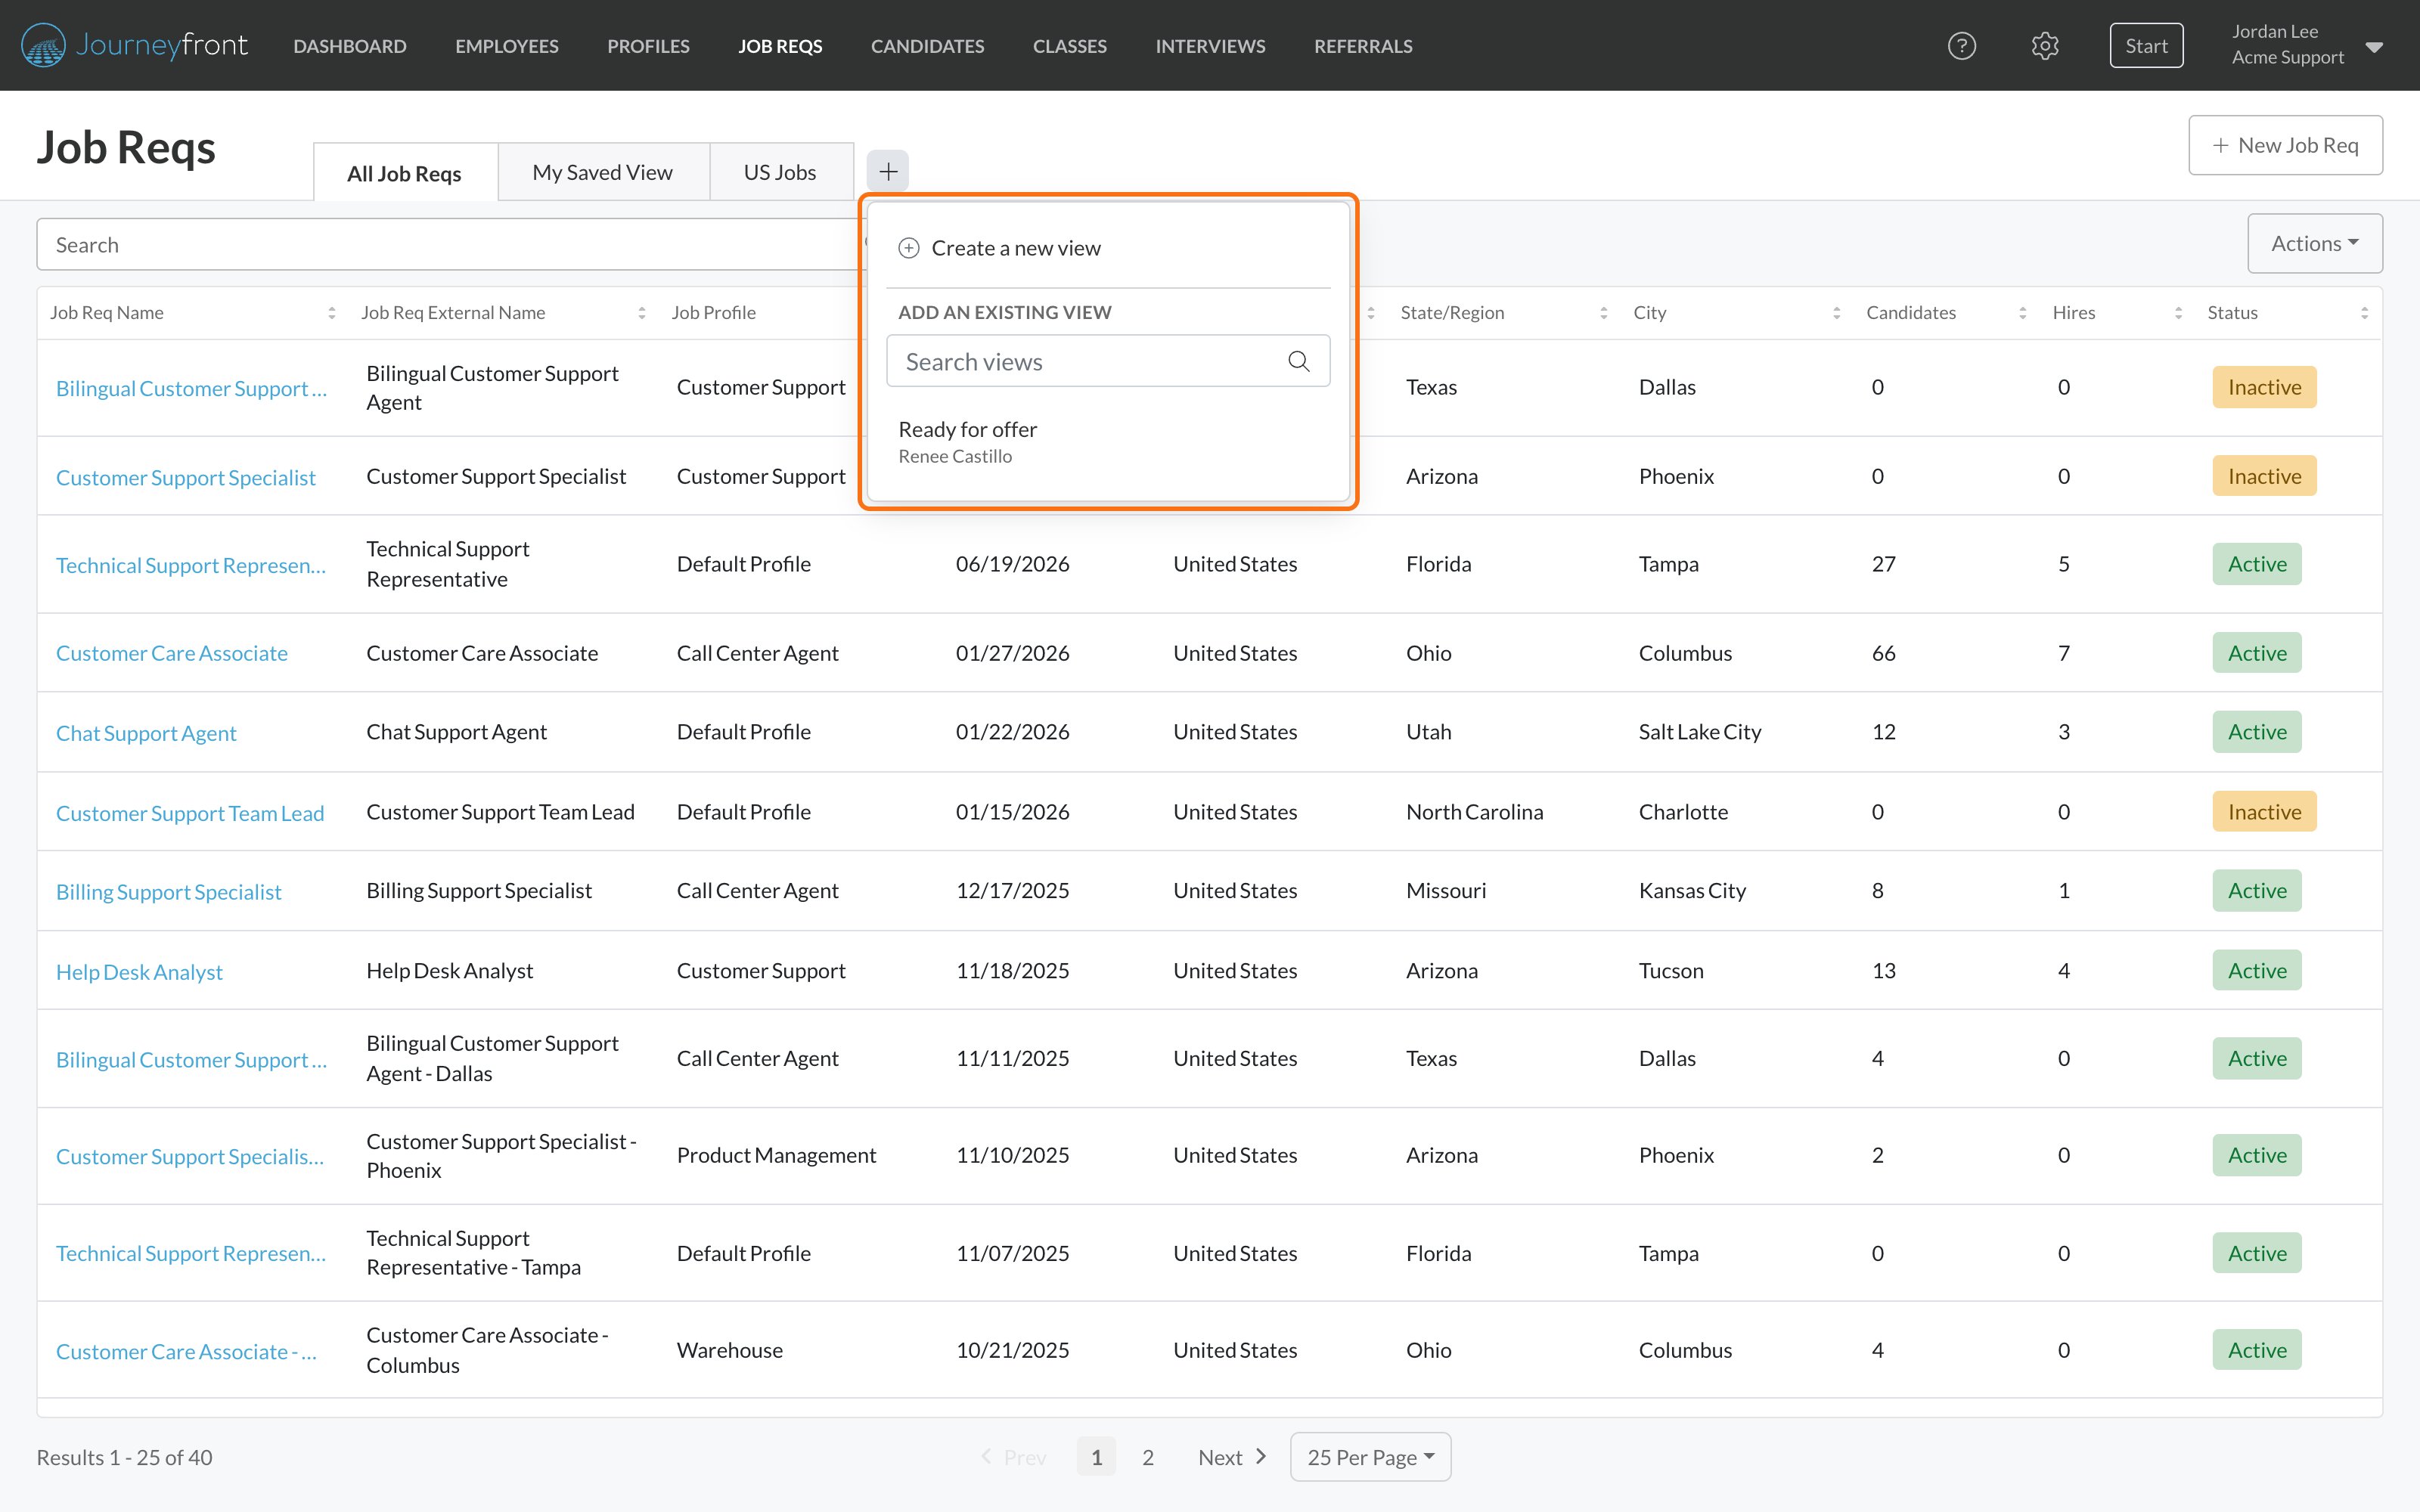
Update your view
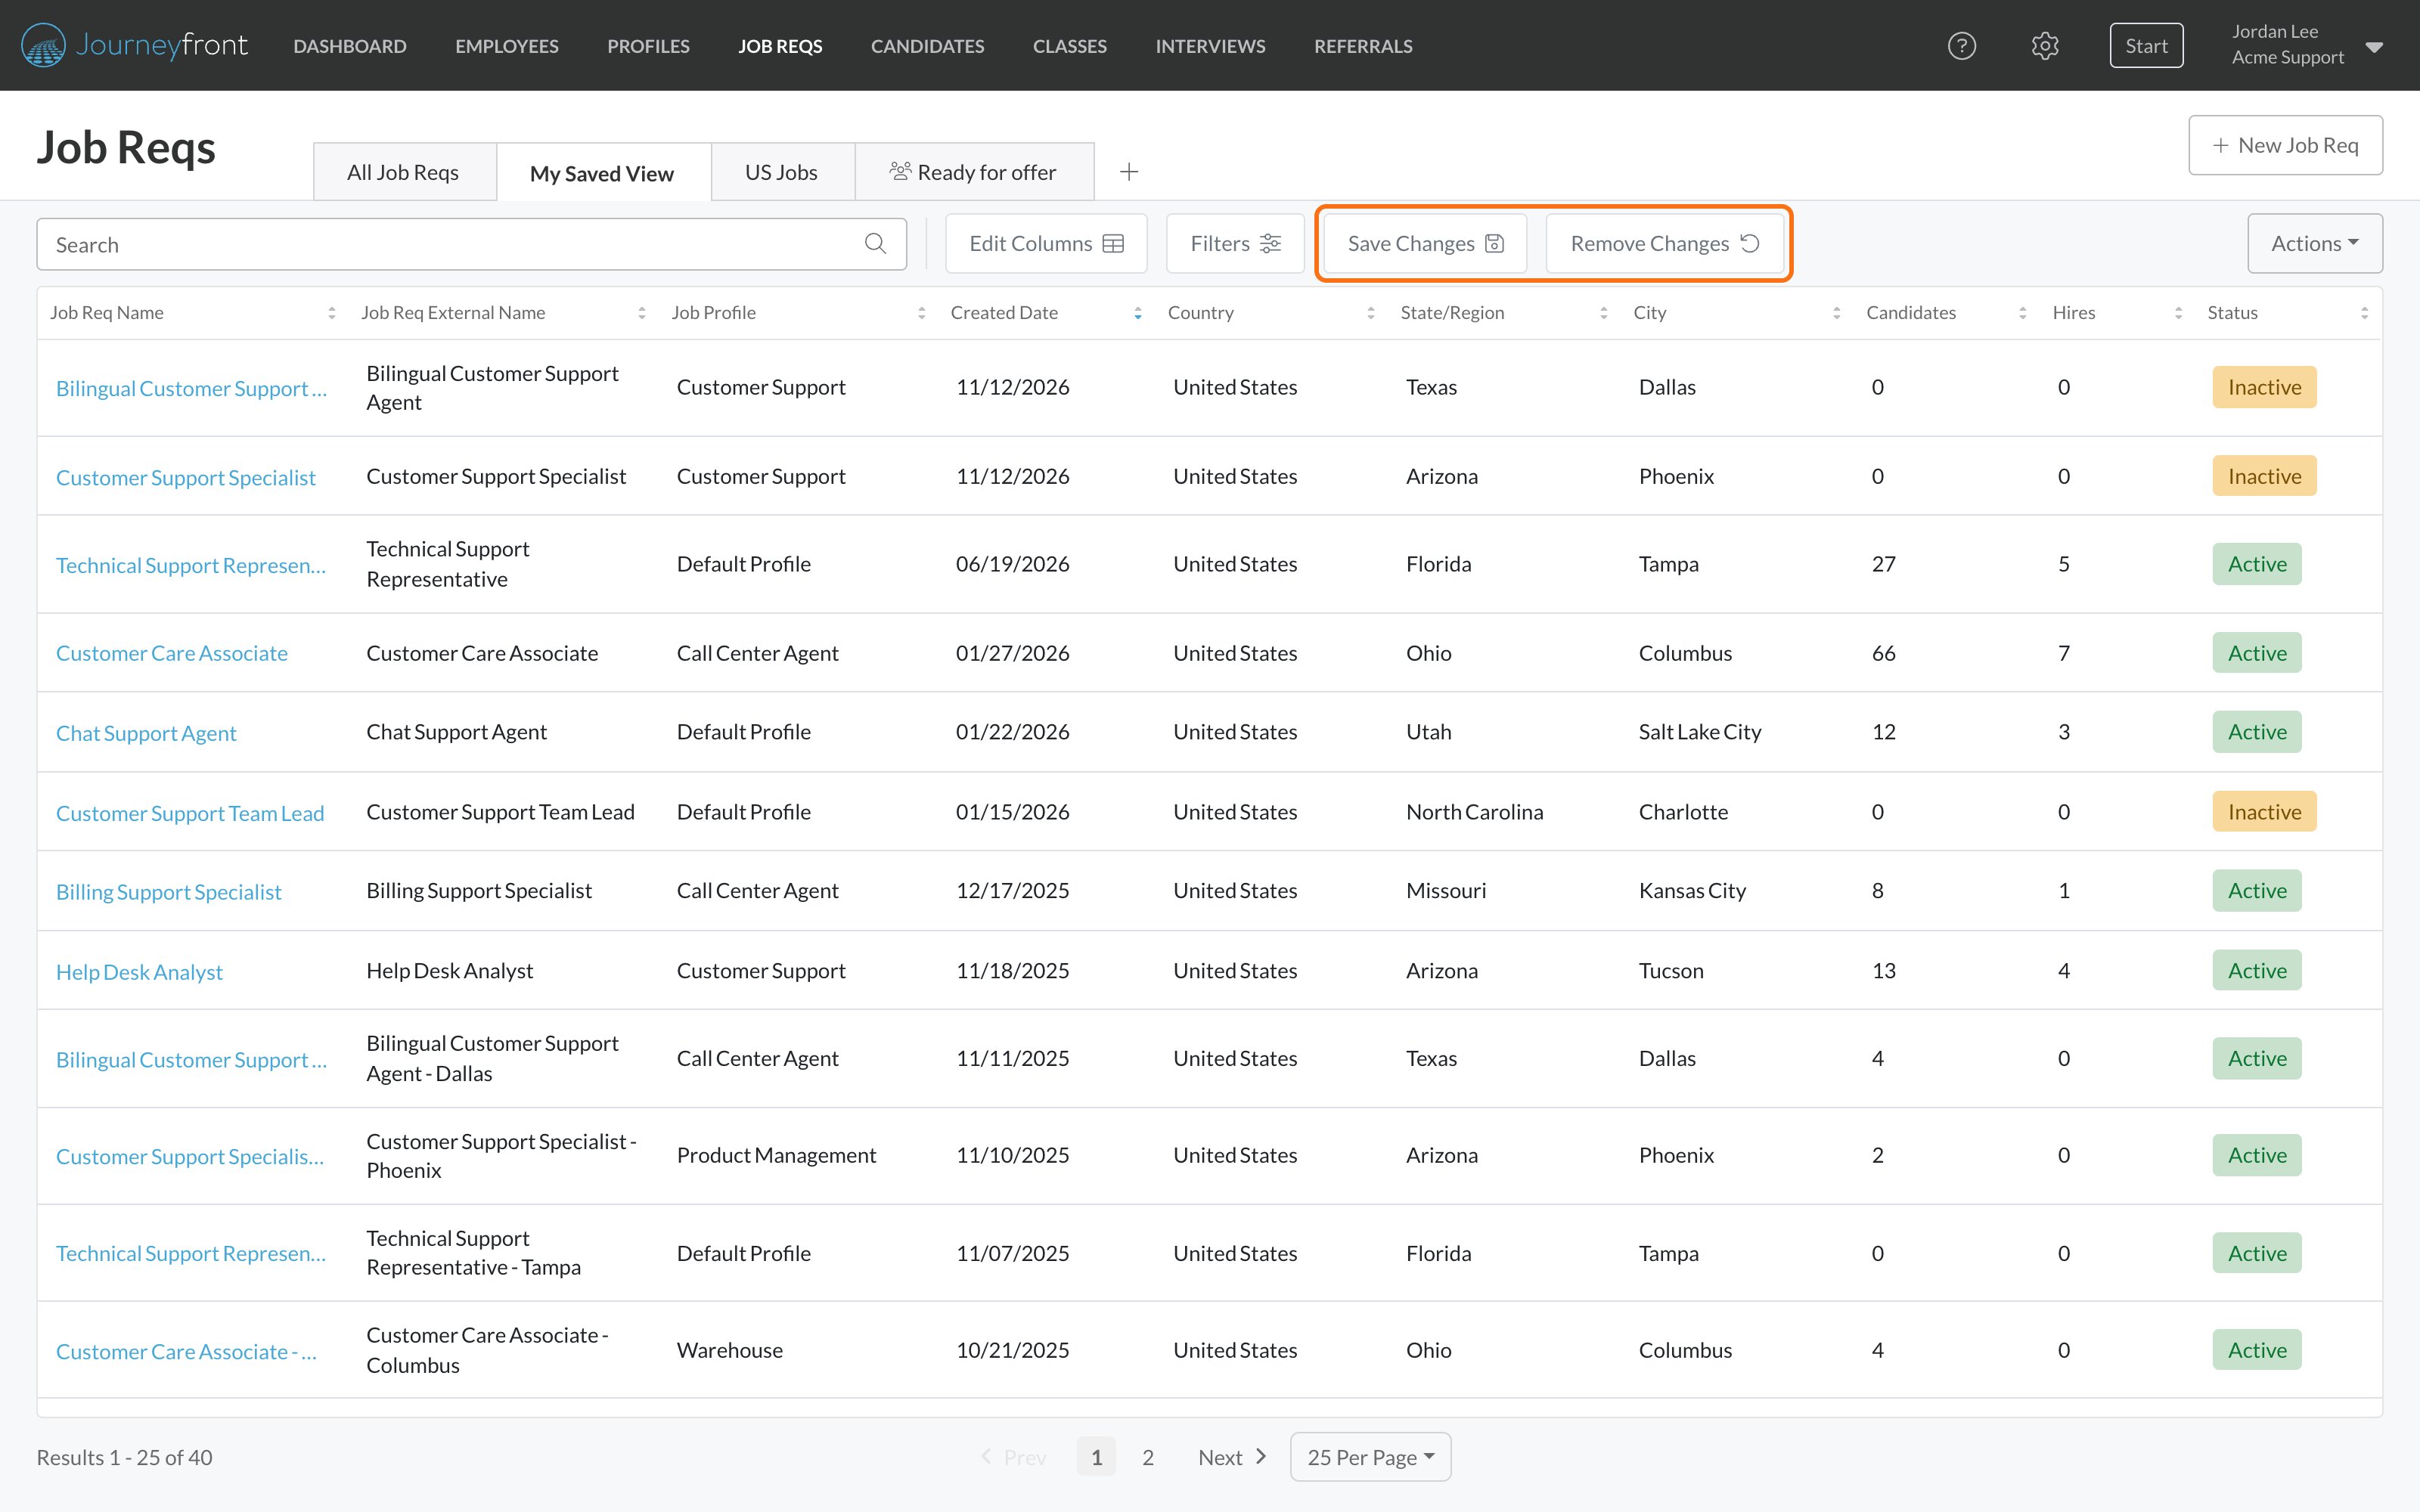
Open a view you own and change its filters, columns or sort order. The toolbar shows two buttons:- Save Changes updates the view.
- Remove Changes puts the list back to how the view was saved.
The Actions menu
Everything you can do to the open view is in Actions, at the right of the toolbar.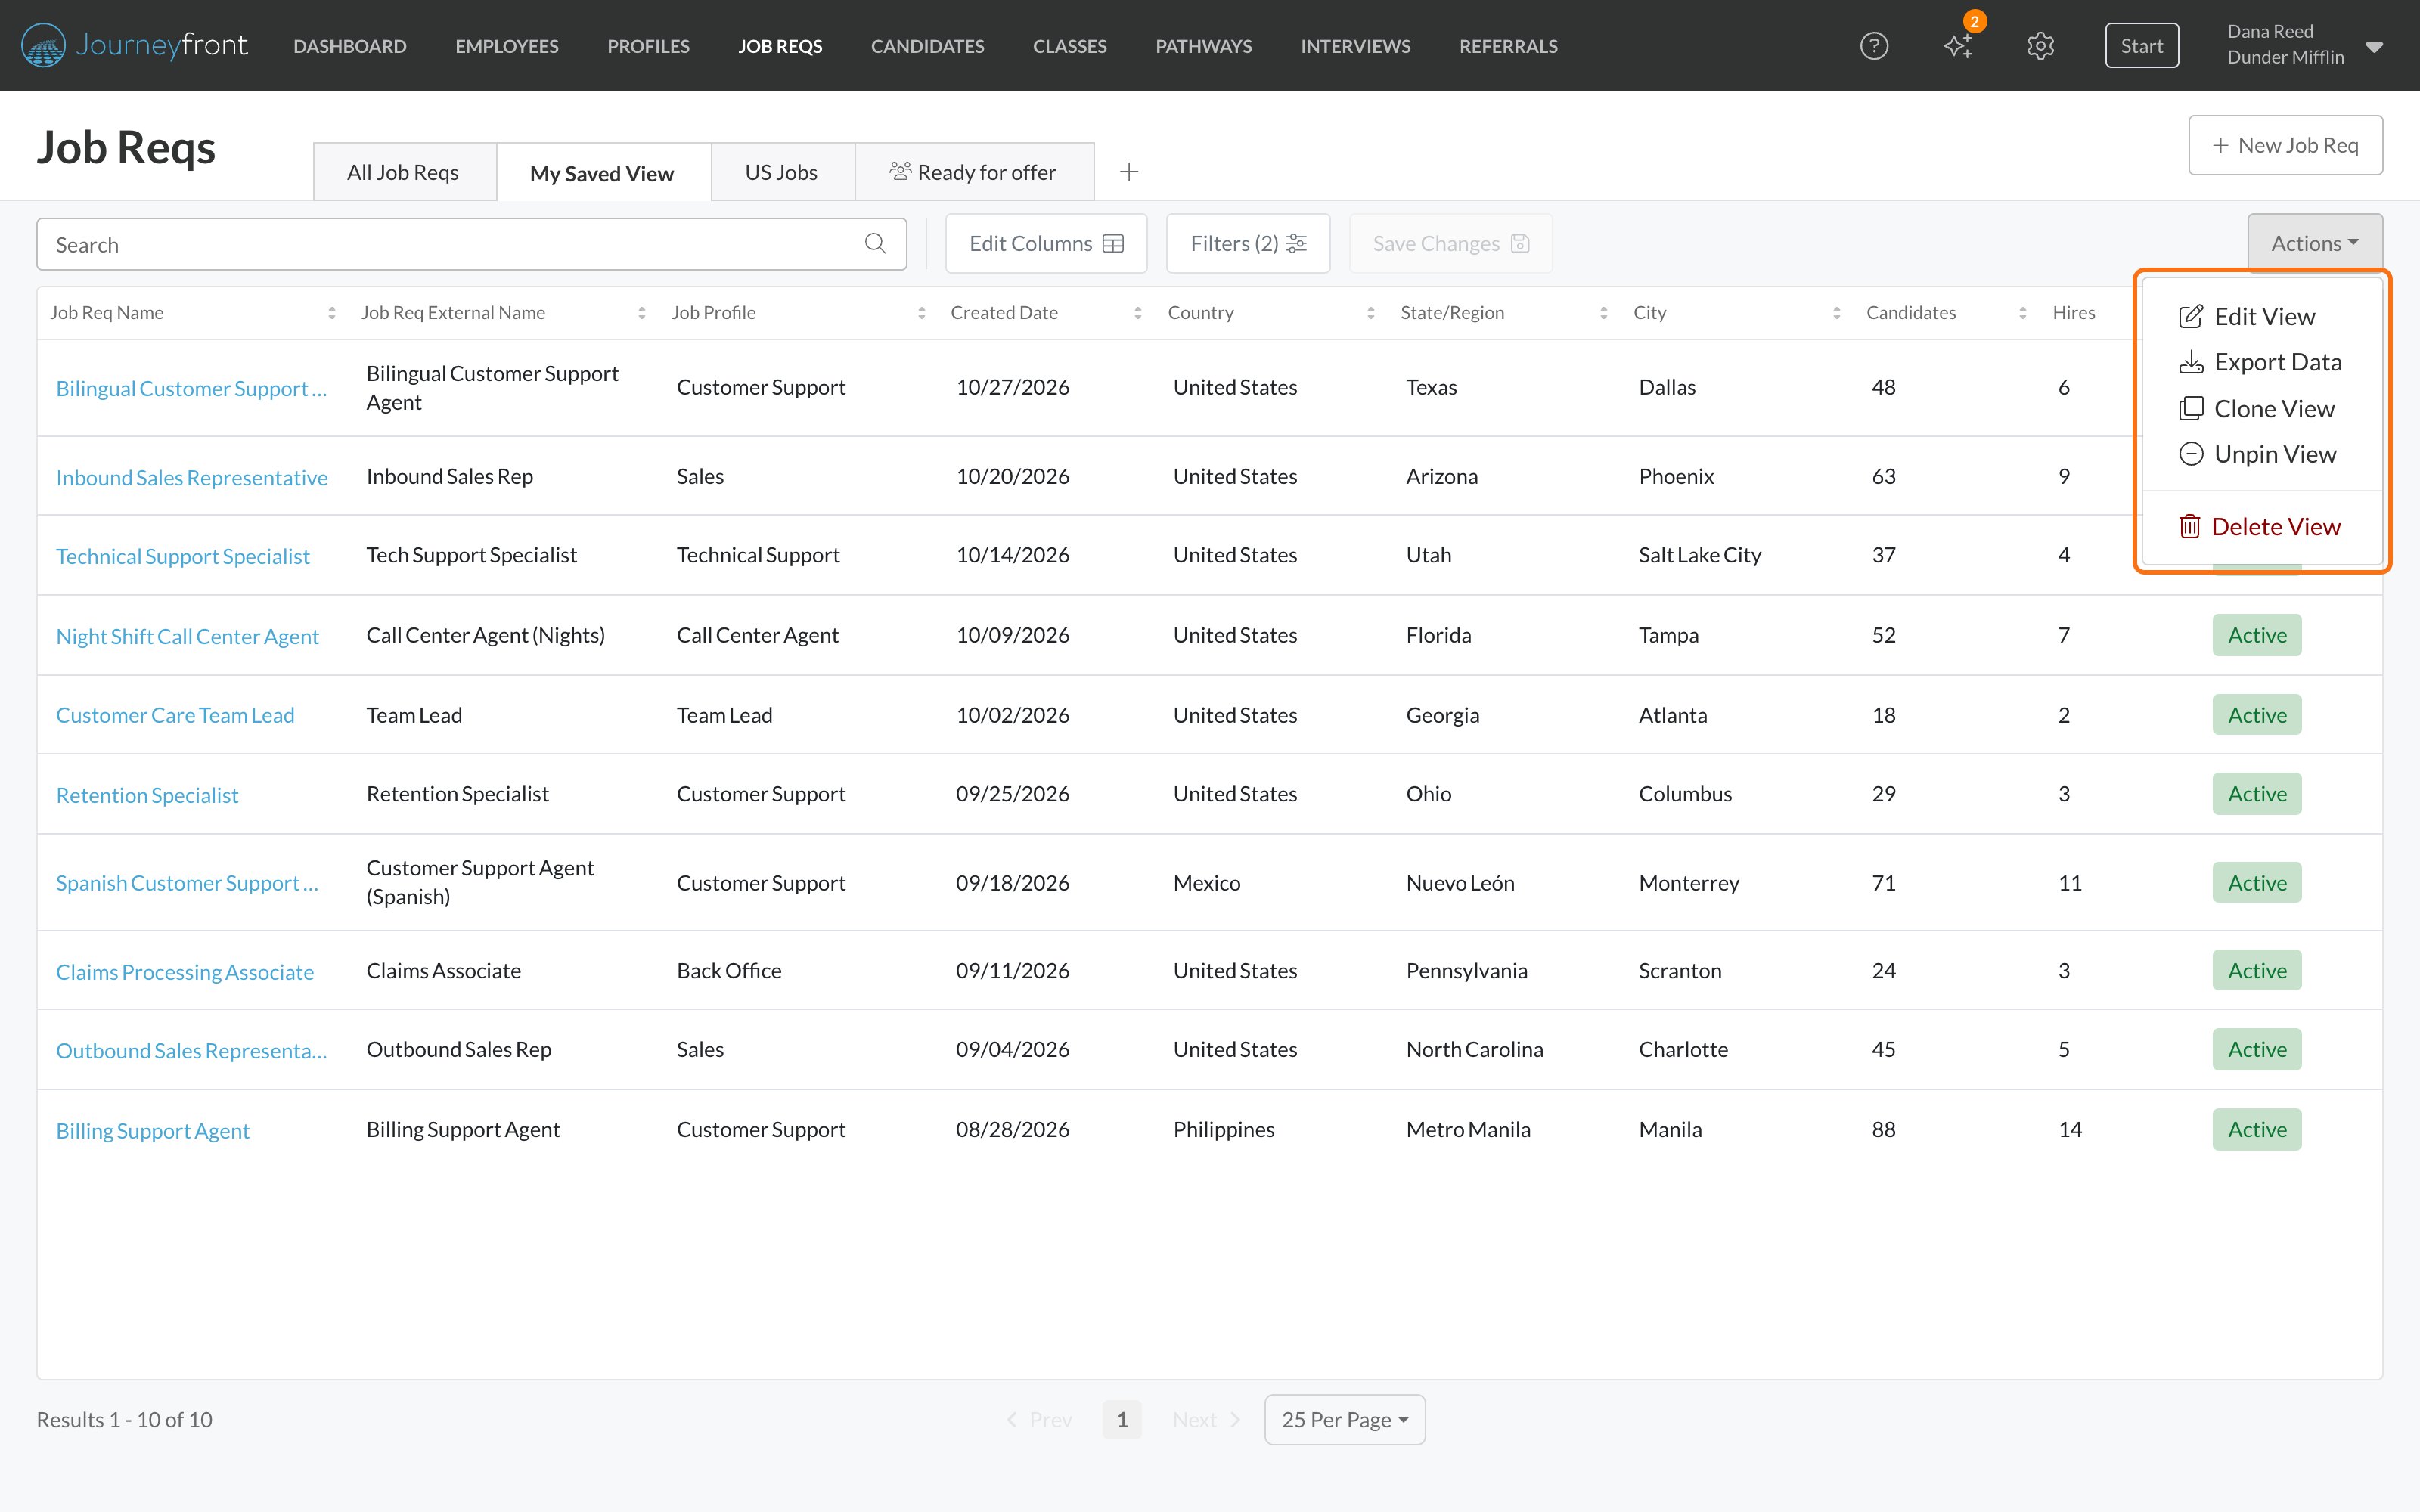
| Action | What it does |
|---|---|
| Edit View | Rename the view, make it your default, or change who can see it. On a view someone else shared with you, you can’t edit it, so this option is called View Details instead. See Views shared with you. |
| Export Data | Download the list as you see it, as a CSV or Excel file. See Export data. |
| Clone View | Make a private copy of the view, named “[view name] (clone)”, from what’s on screen right now, unsaved changes included. The copy opens straight away. |
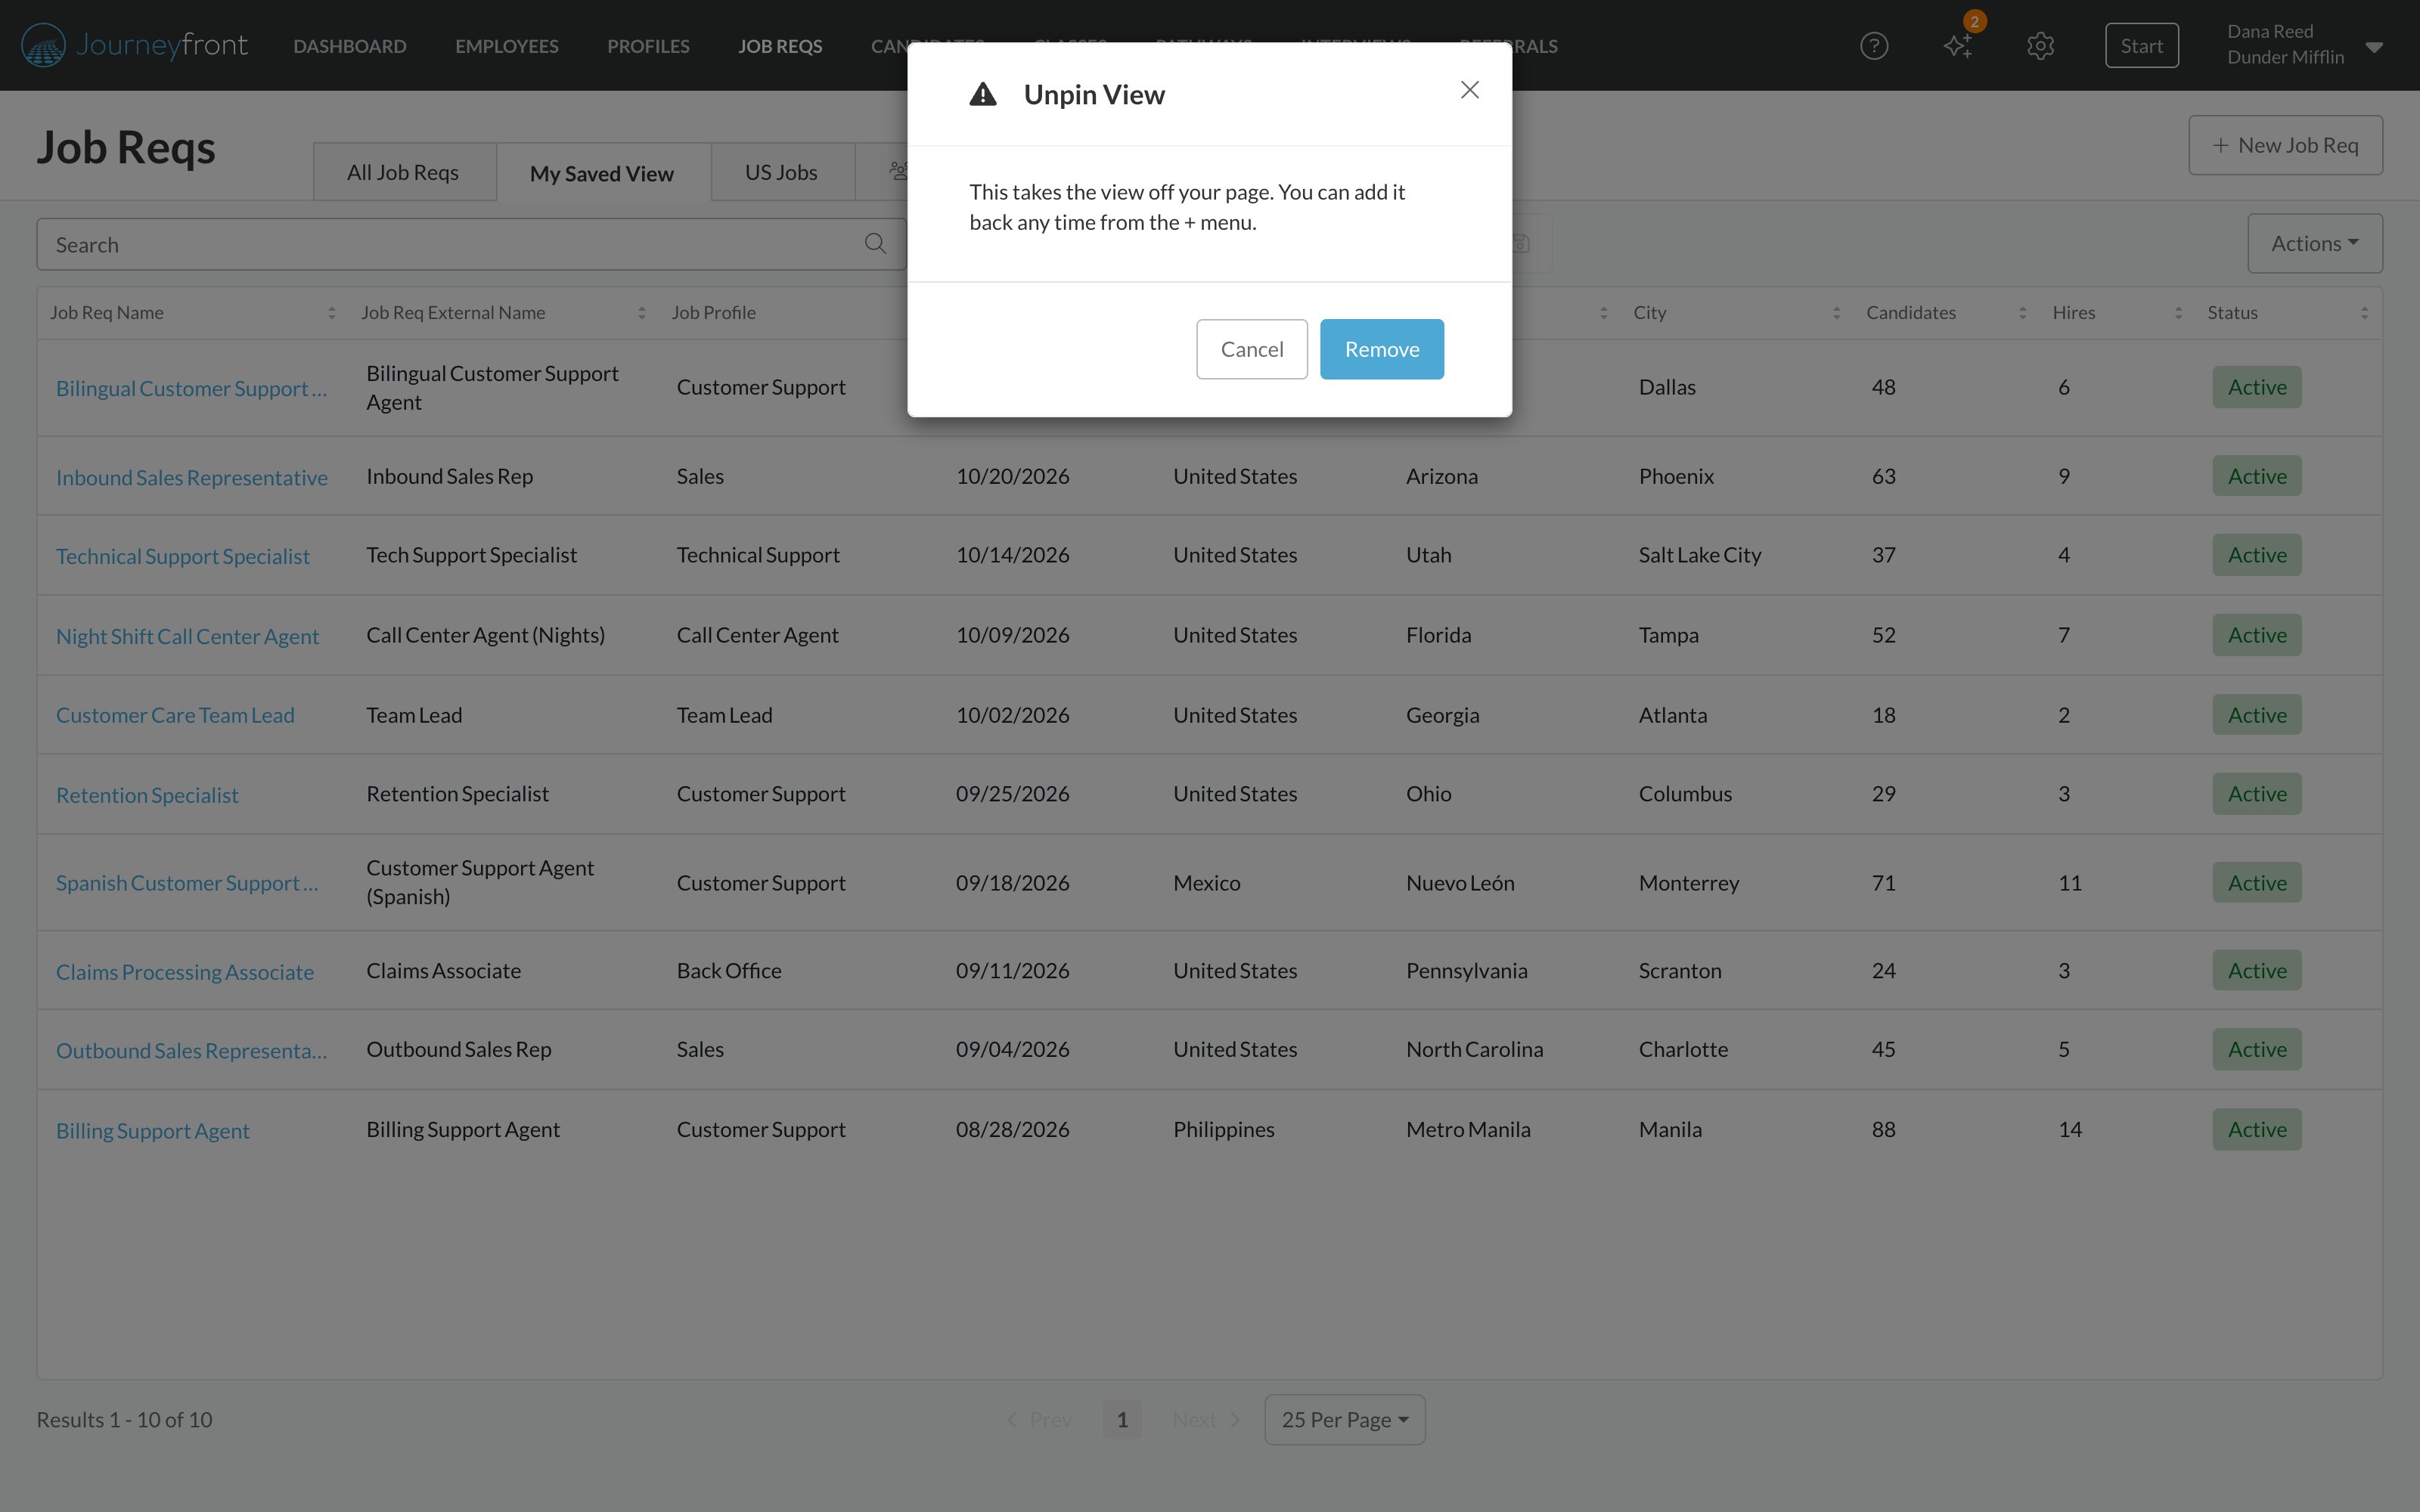
| Unpin View | Take the view off your tabs. See Choose your tabs. |
| Delete View | Delete a view you own, for everyone it’s shared with. This can’t be undone. |
Share a view
1
Open the view's settings
For a new view, use Save as New View or +, then Create a new view. For a view you already have, open it and click Actions, then Edit View.
2
Choose who can see it
Open Who can see this and pick an option.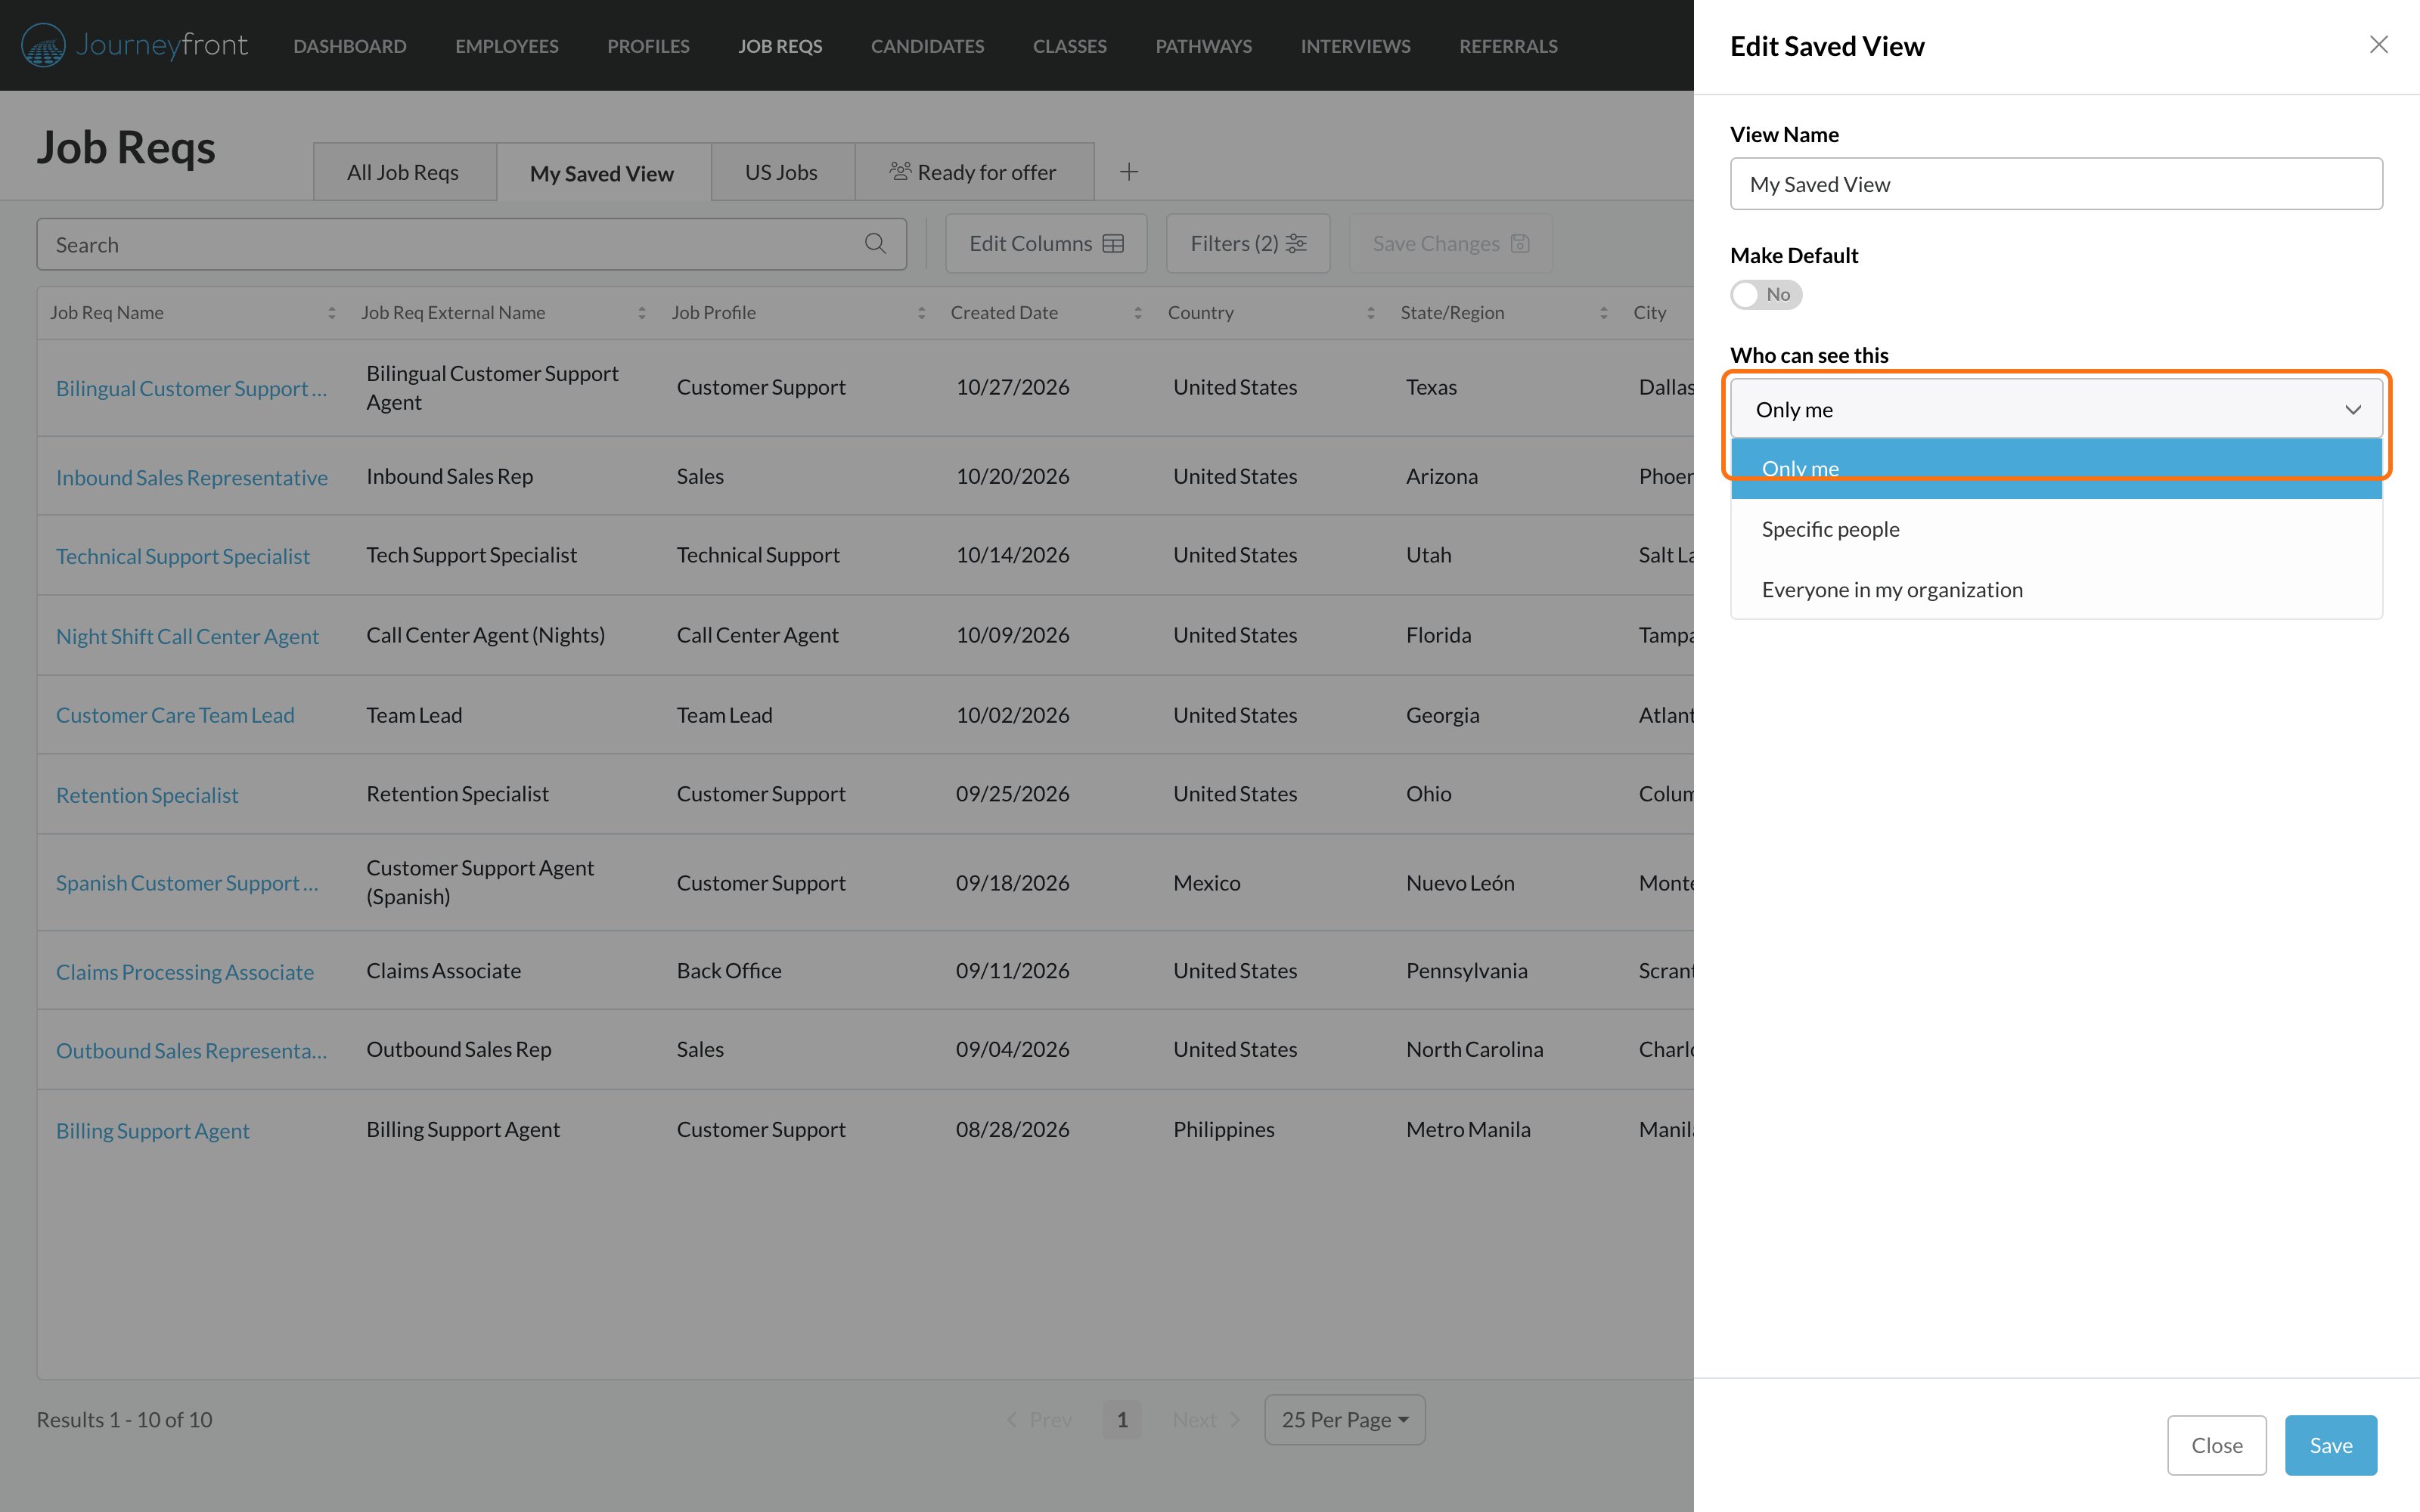
3
Name the people (Specific people only)
Under Share with, search by name or email and pick each person. You need at least one.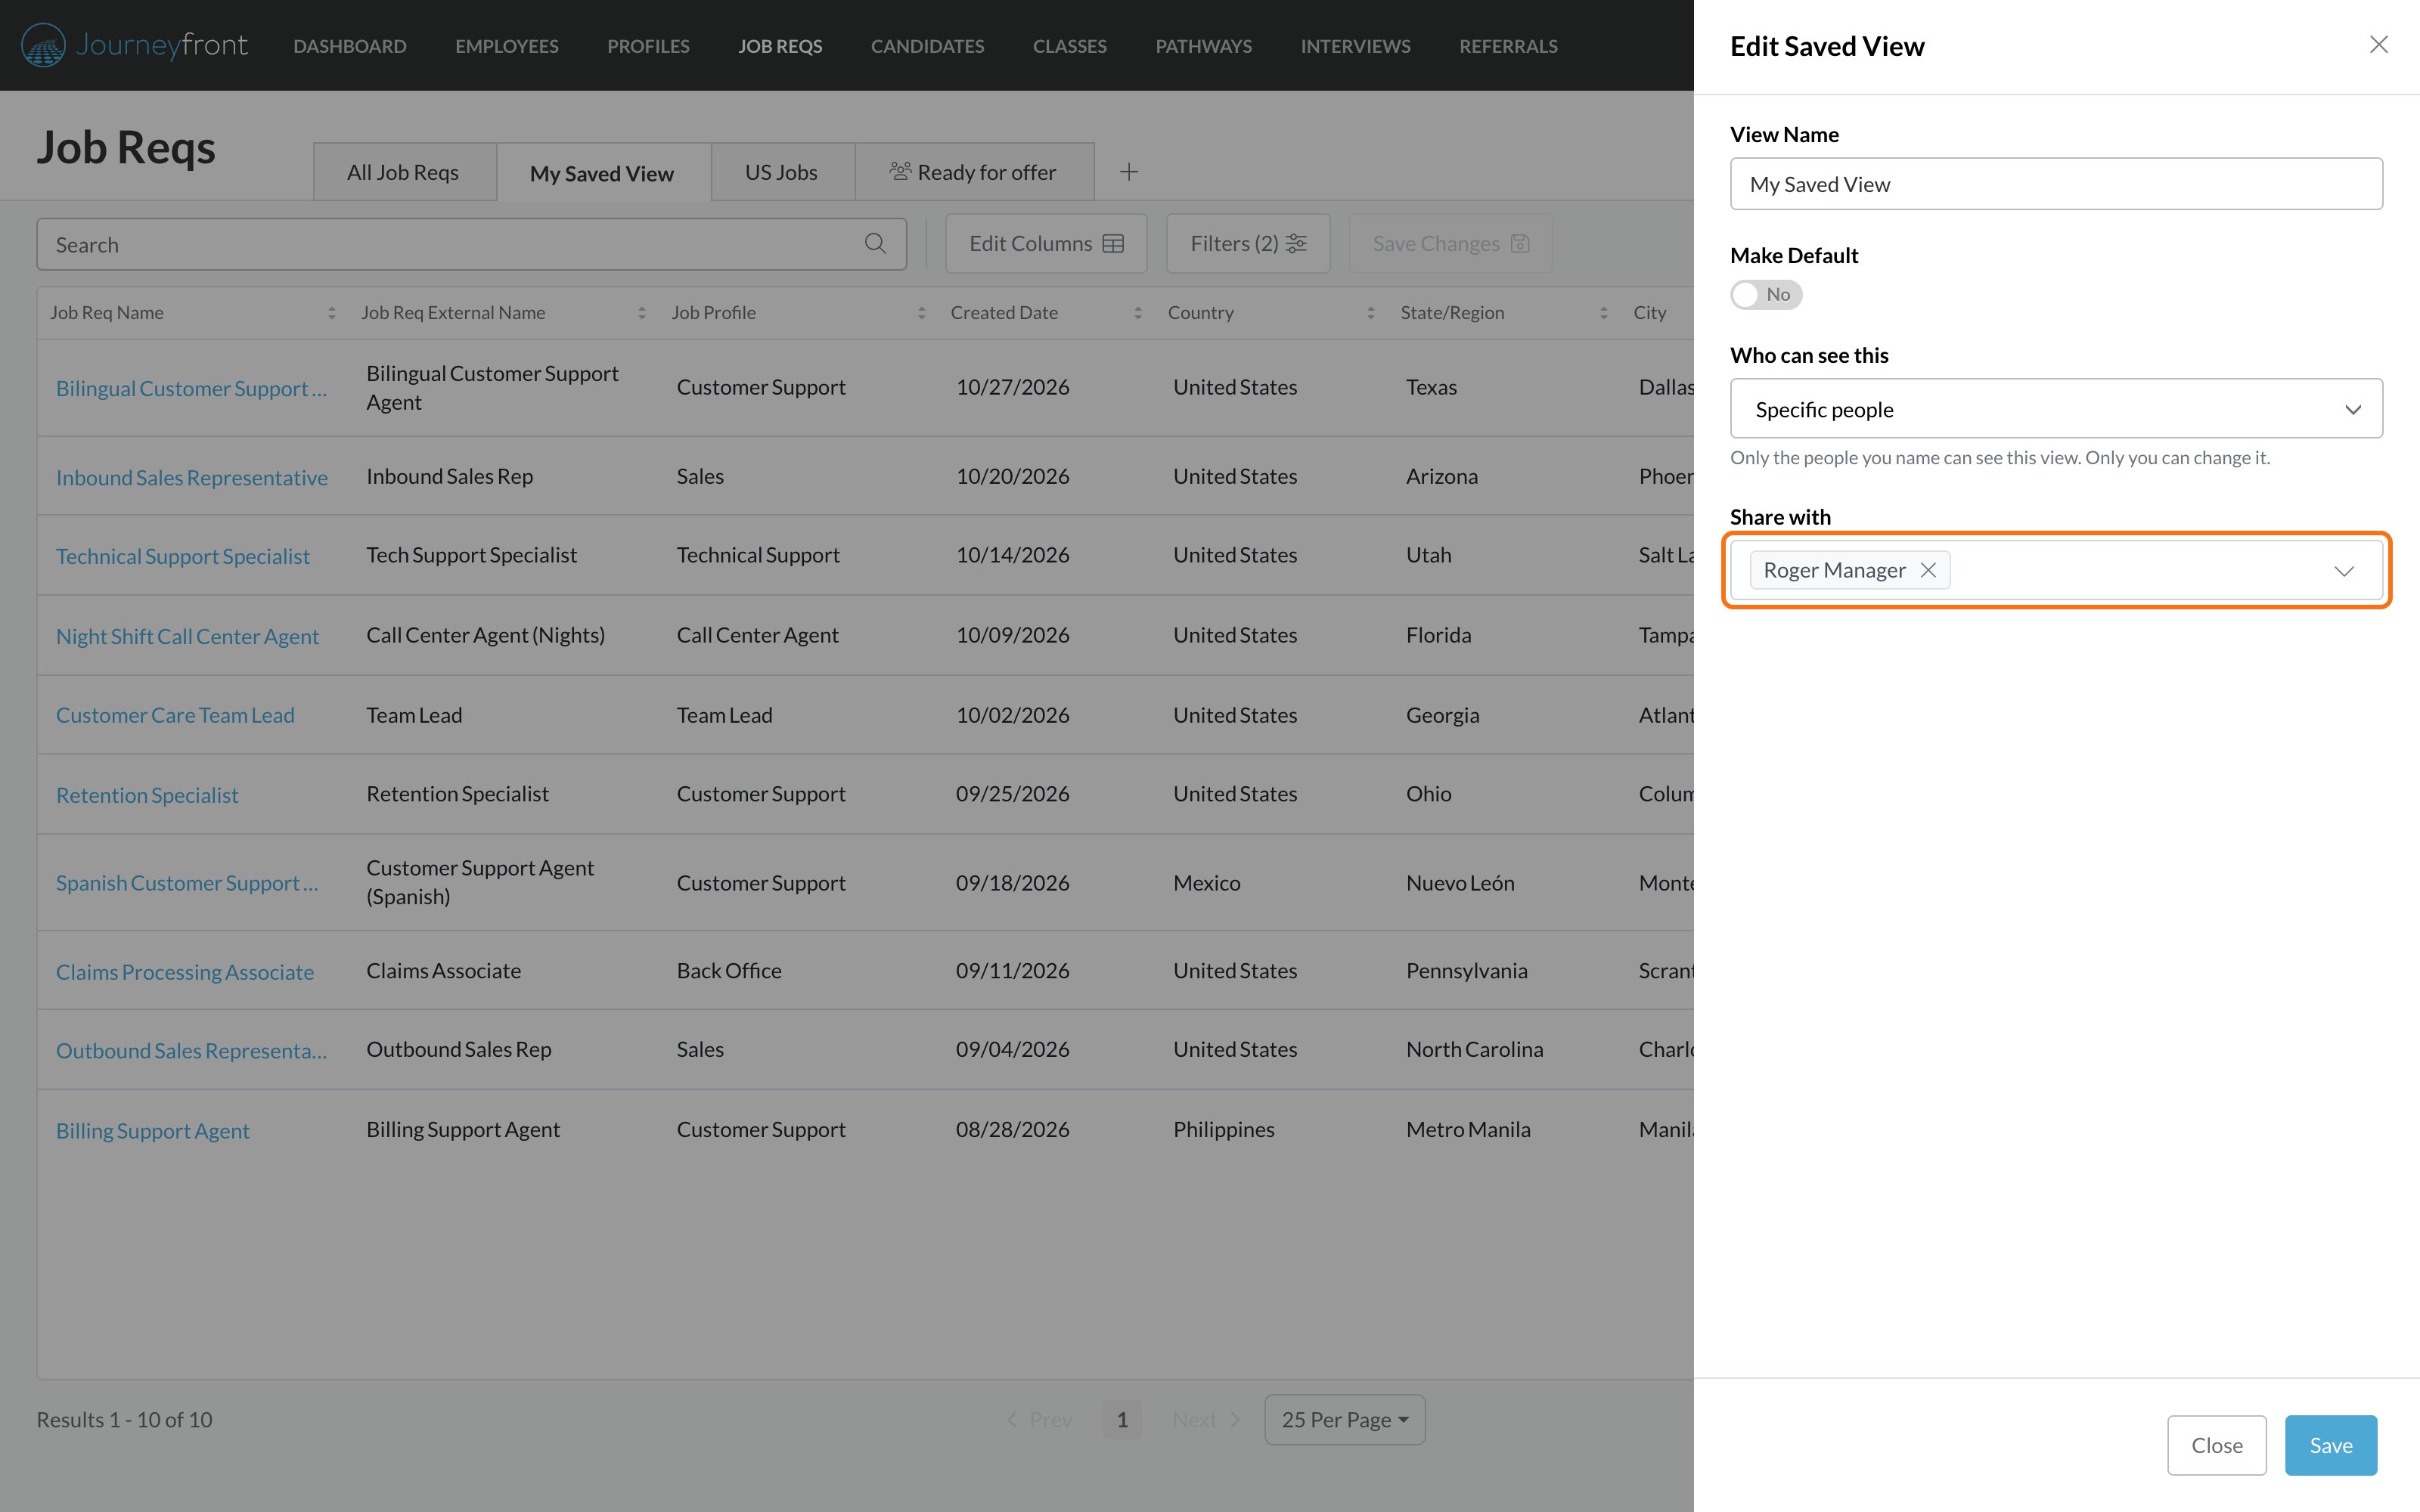
4
Click Save
The view’s tab gets the people icon. People you named see the view the next time they open the page.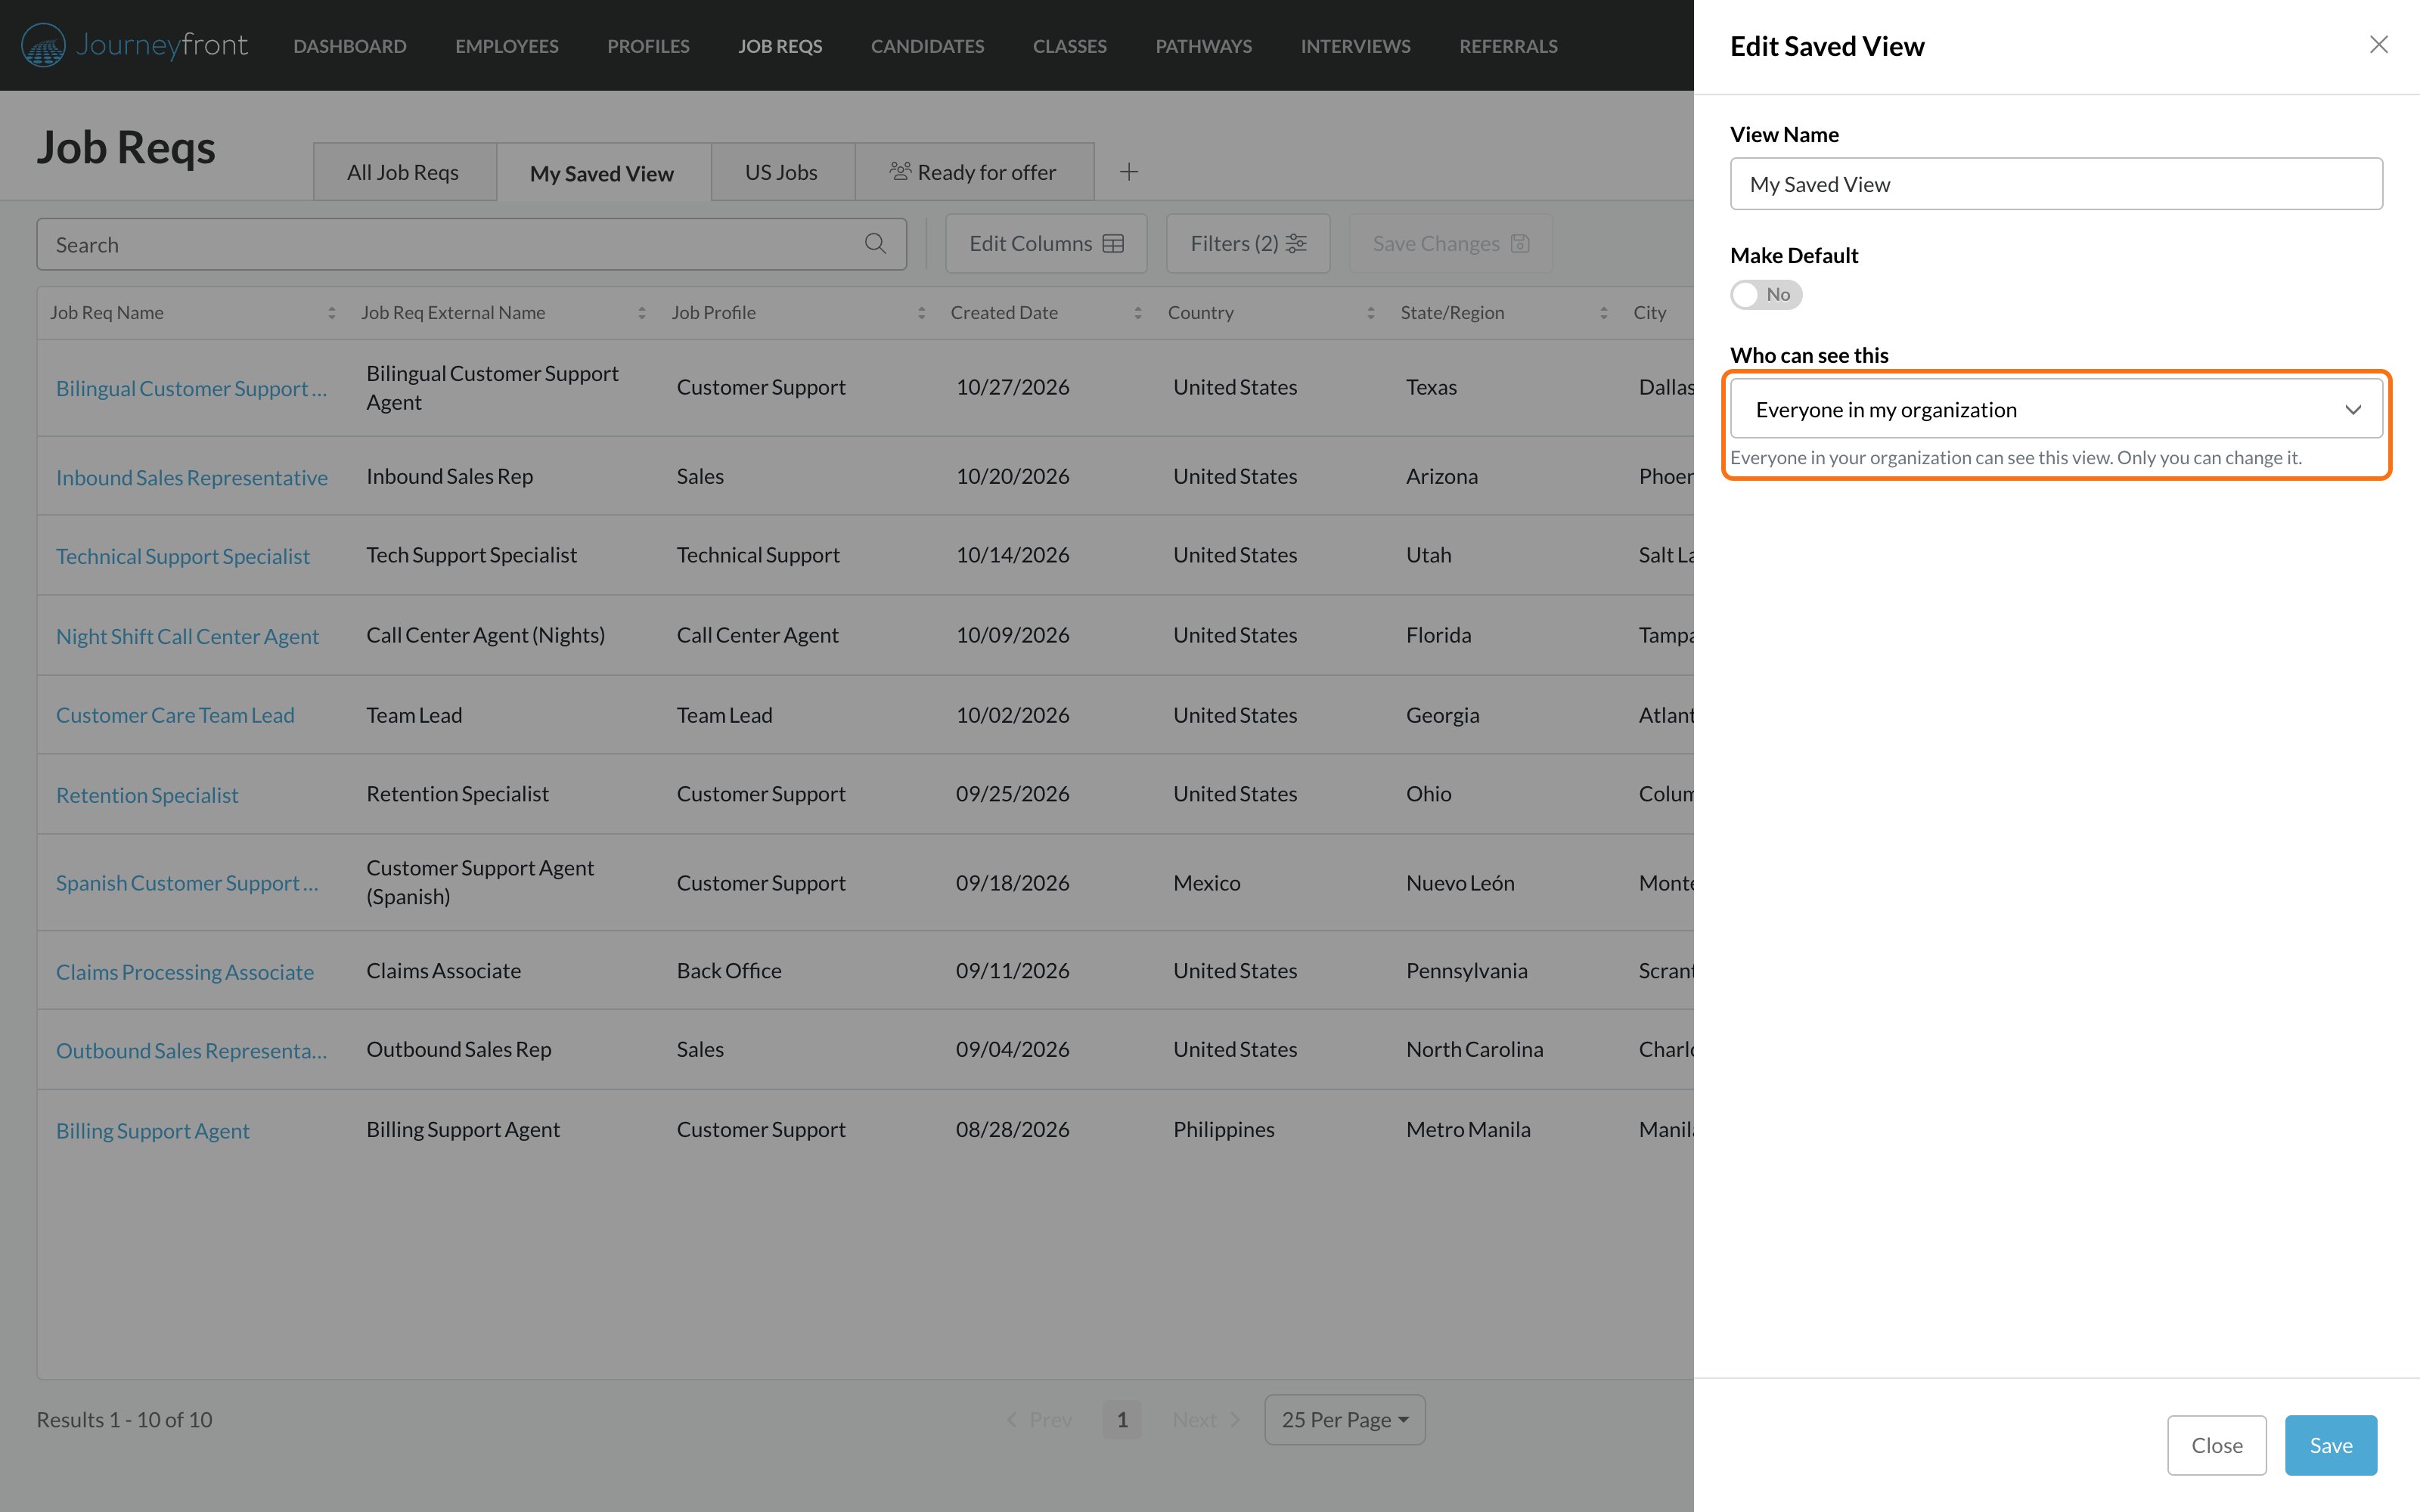
A shared view shares the filters and columns, never more access. If your view filters to job reqs a teammate isn’t on, those rows don’t appear for them, and the list explains why. People aren’t notified when you share a view with them.
Views shared with you
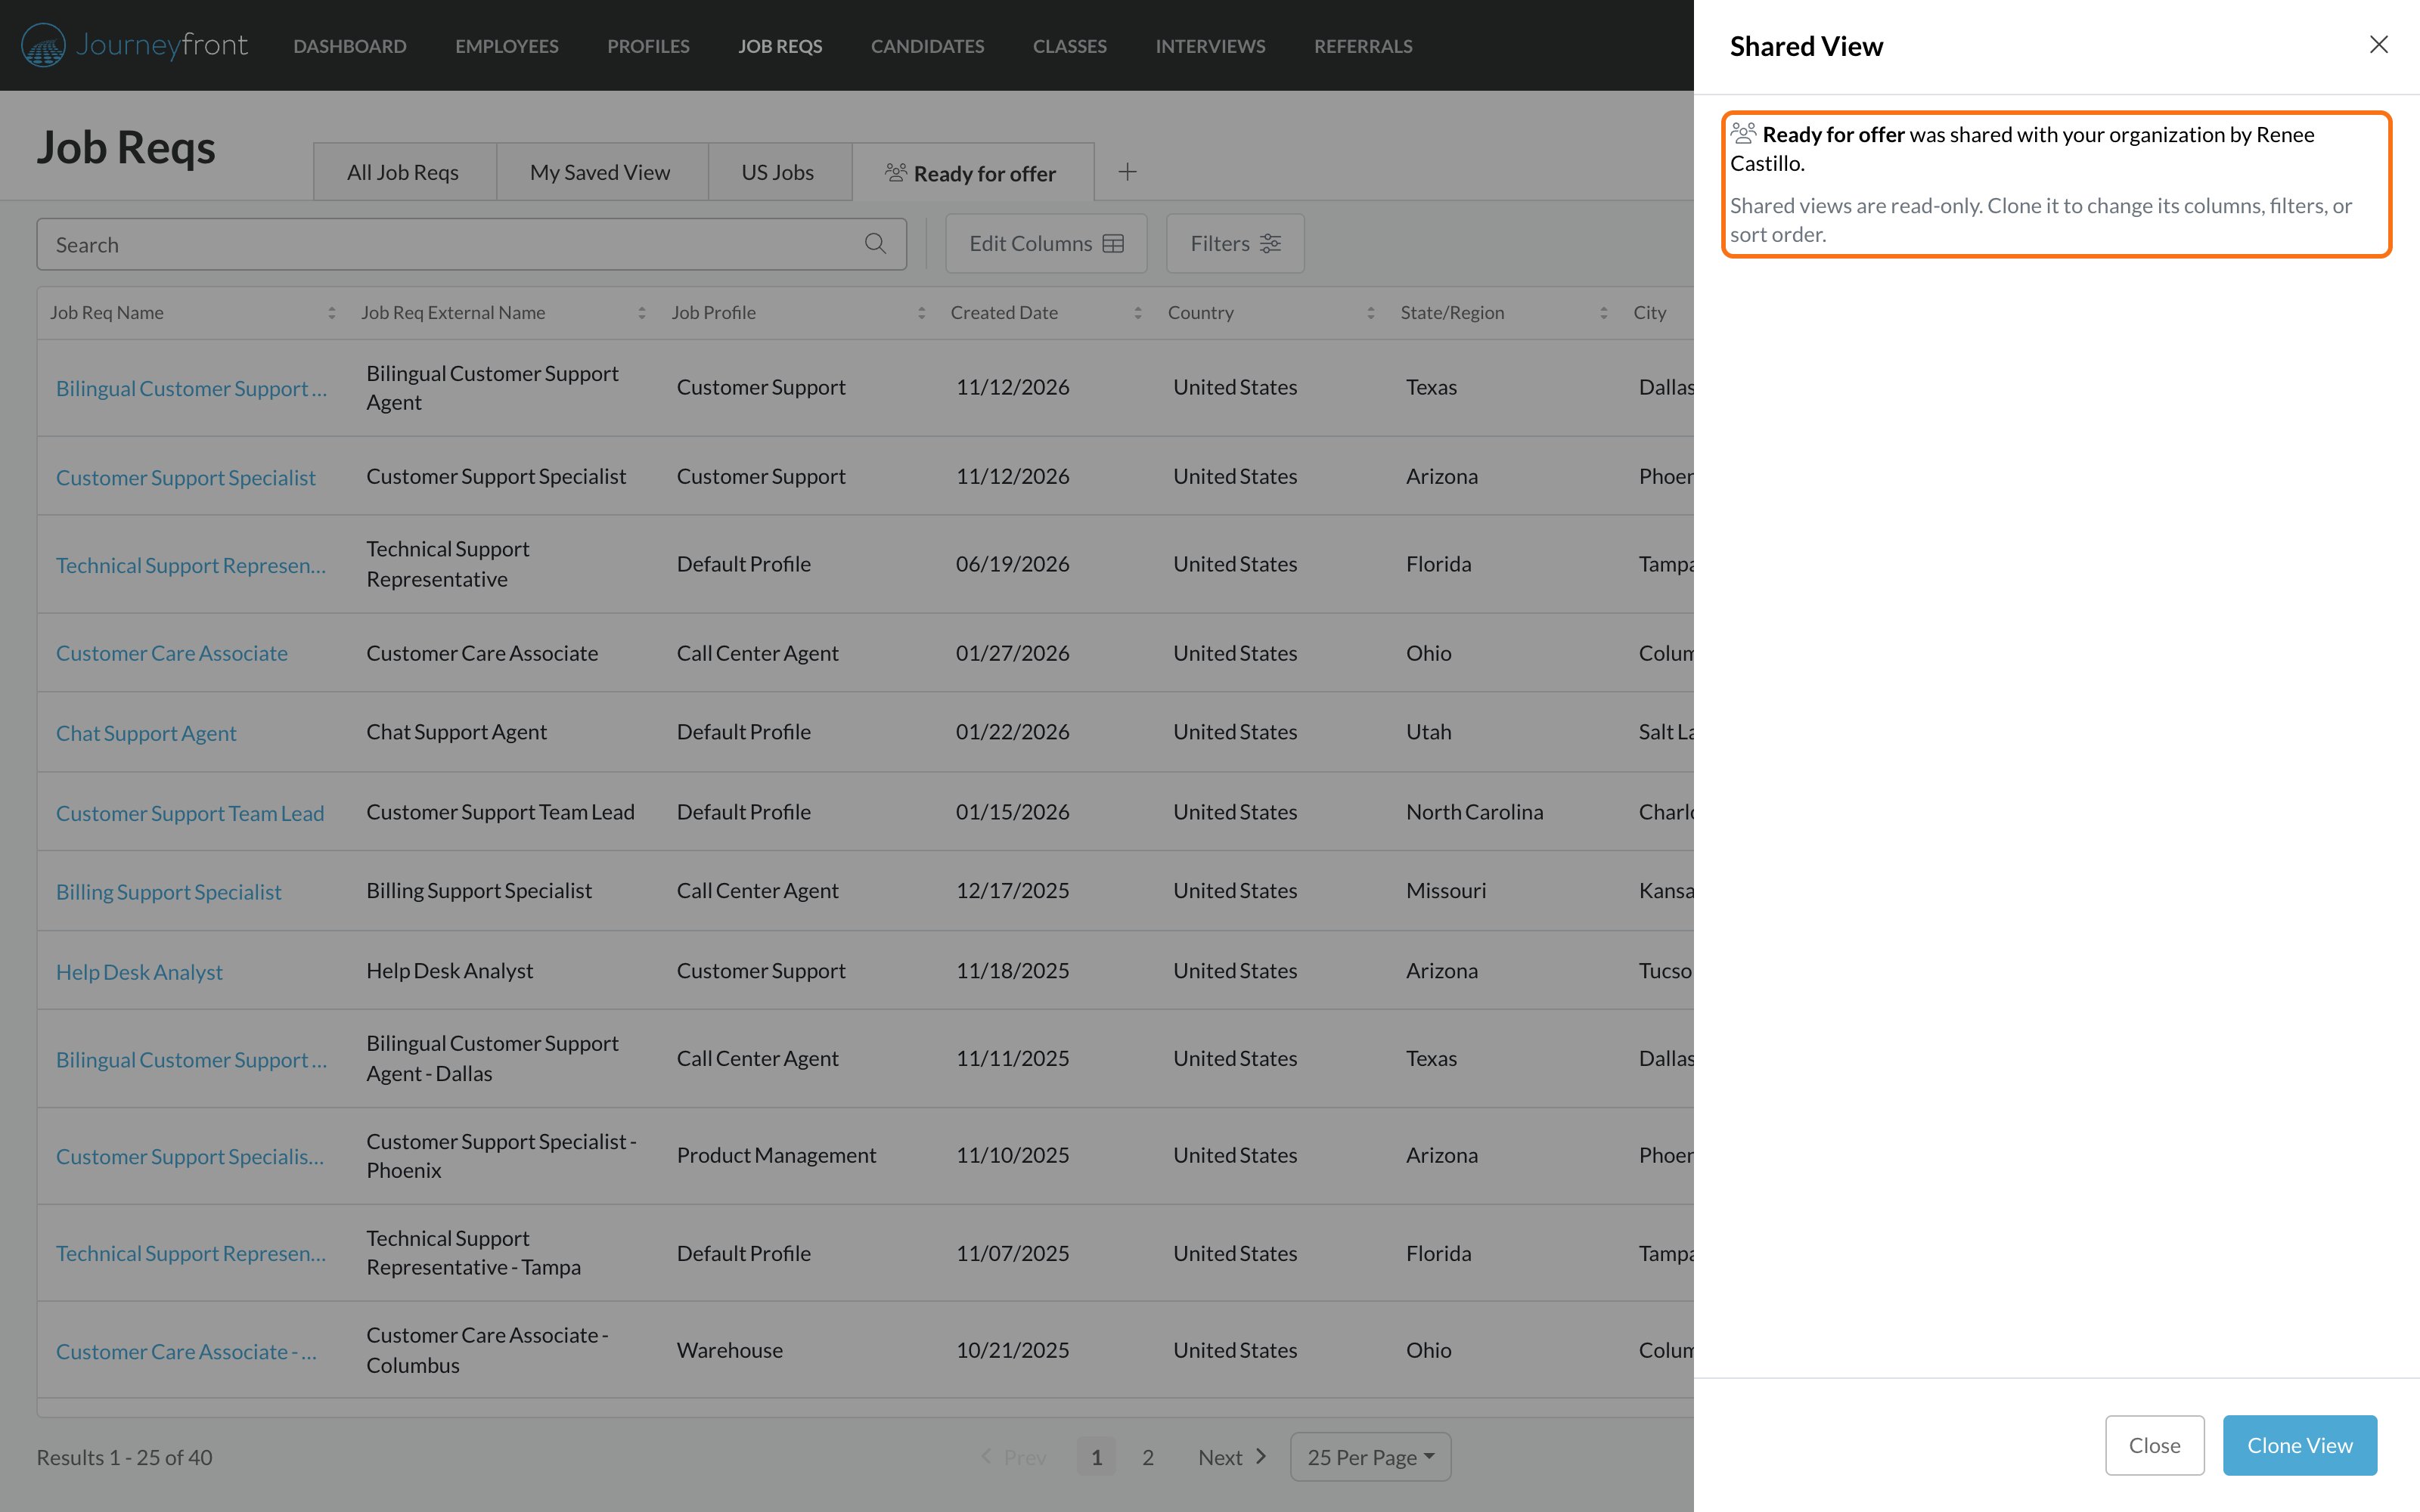
A view someone shared with you is read-only. You can open it, filter it for a quick look and export it, but you can’t save changes to it, rename it or delete it. Save Changes isn’t in the toolbar, and Actions shows View Details instead of Edit View.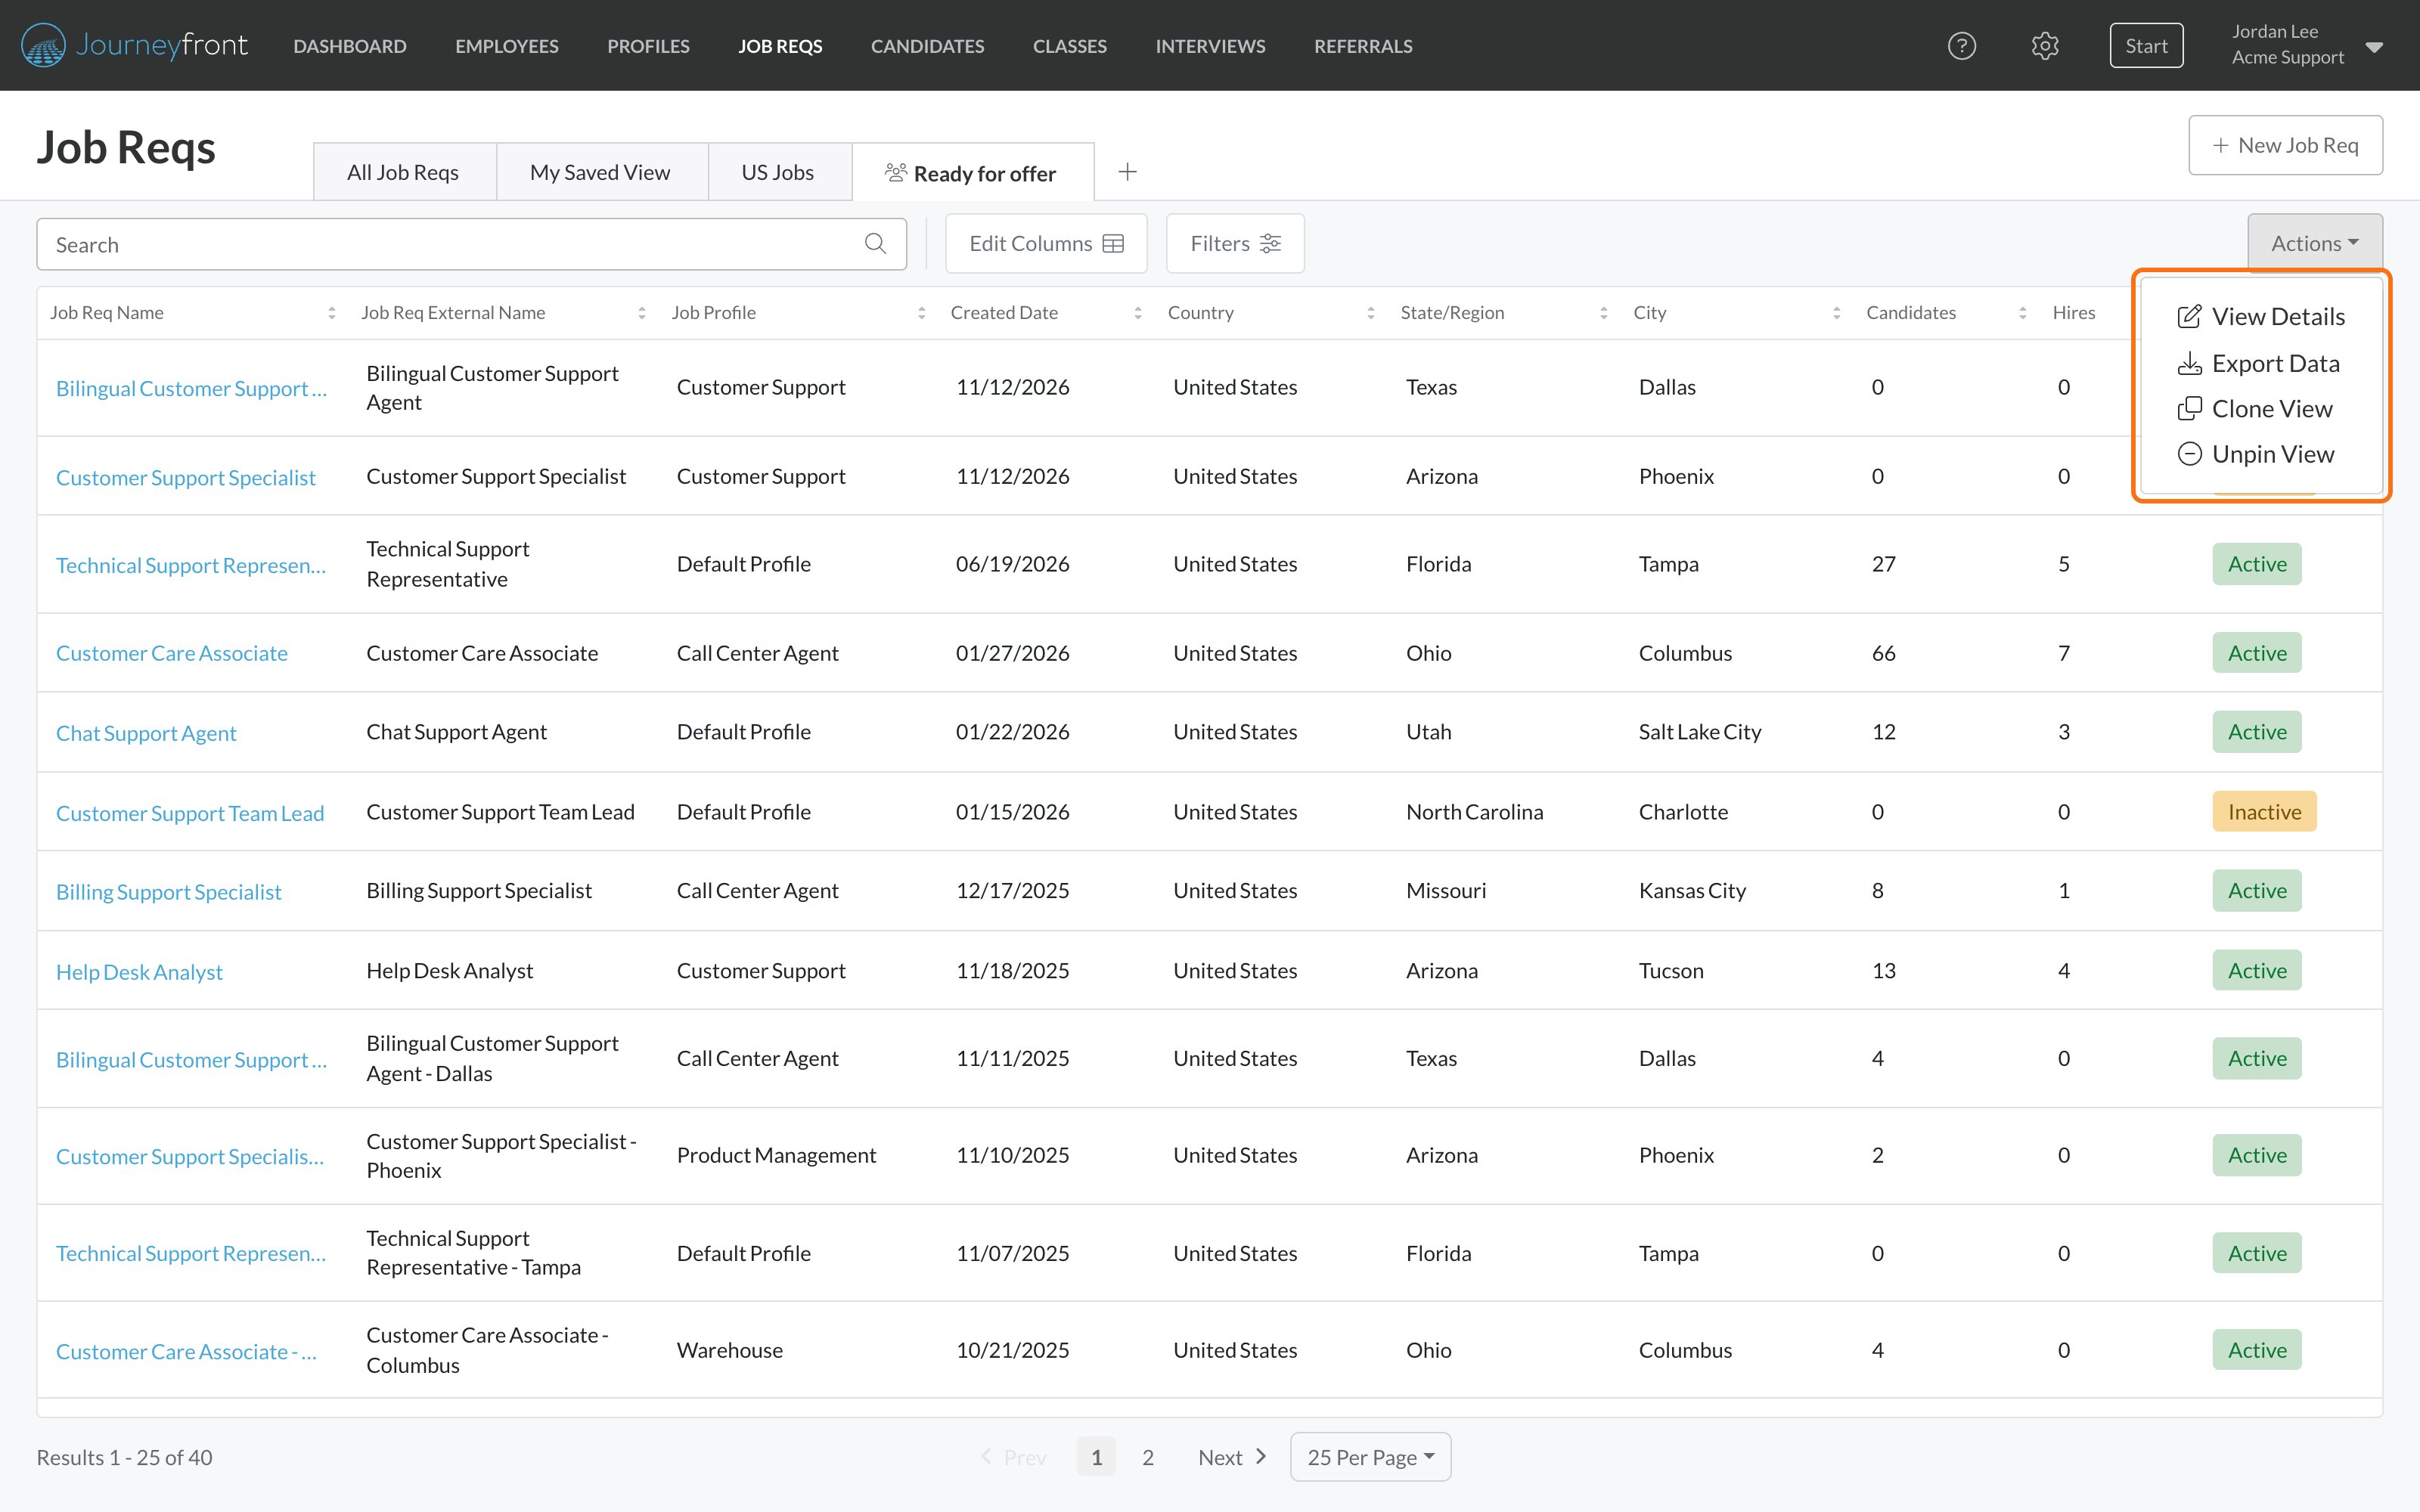
Choose your tabs
You decide which views sit on your tabs. Taking a view off your tabs doesn’t delete it. Remove a tab: hover over a saved view’s tab and click the x, or open the view and click Actions, then Unpin View. Confirm with Remove.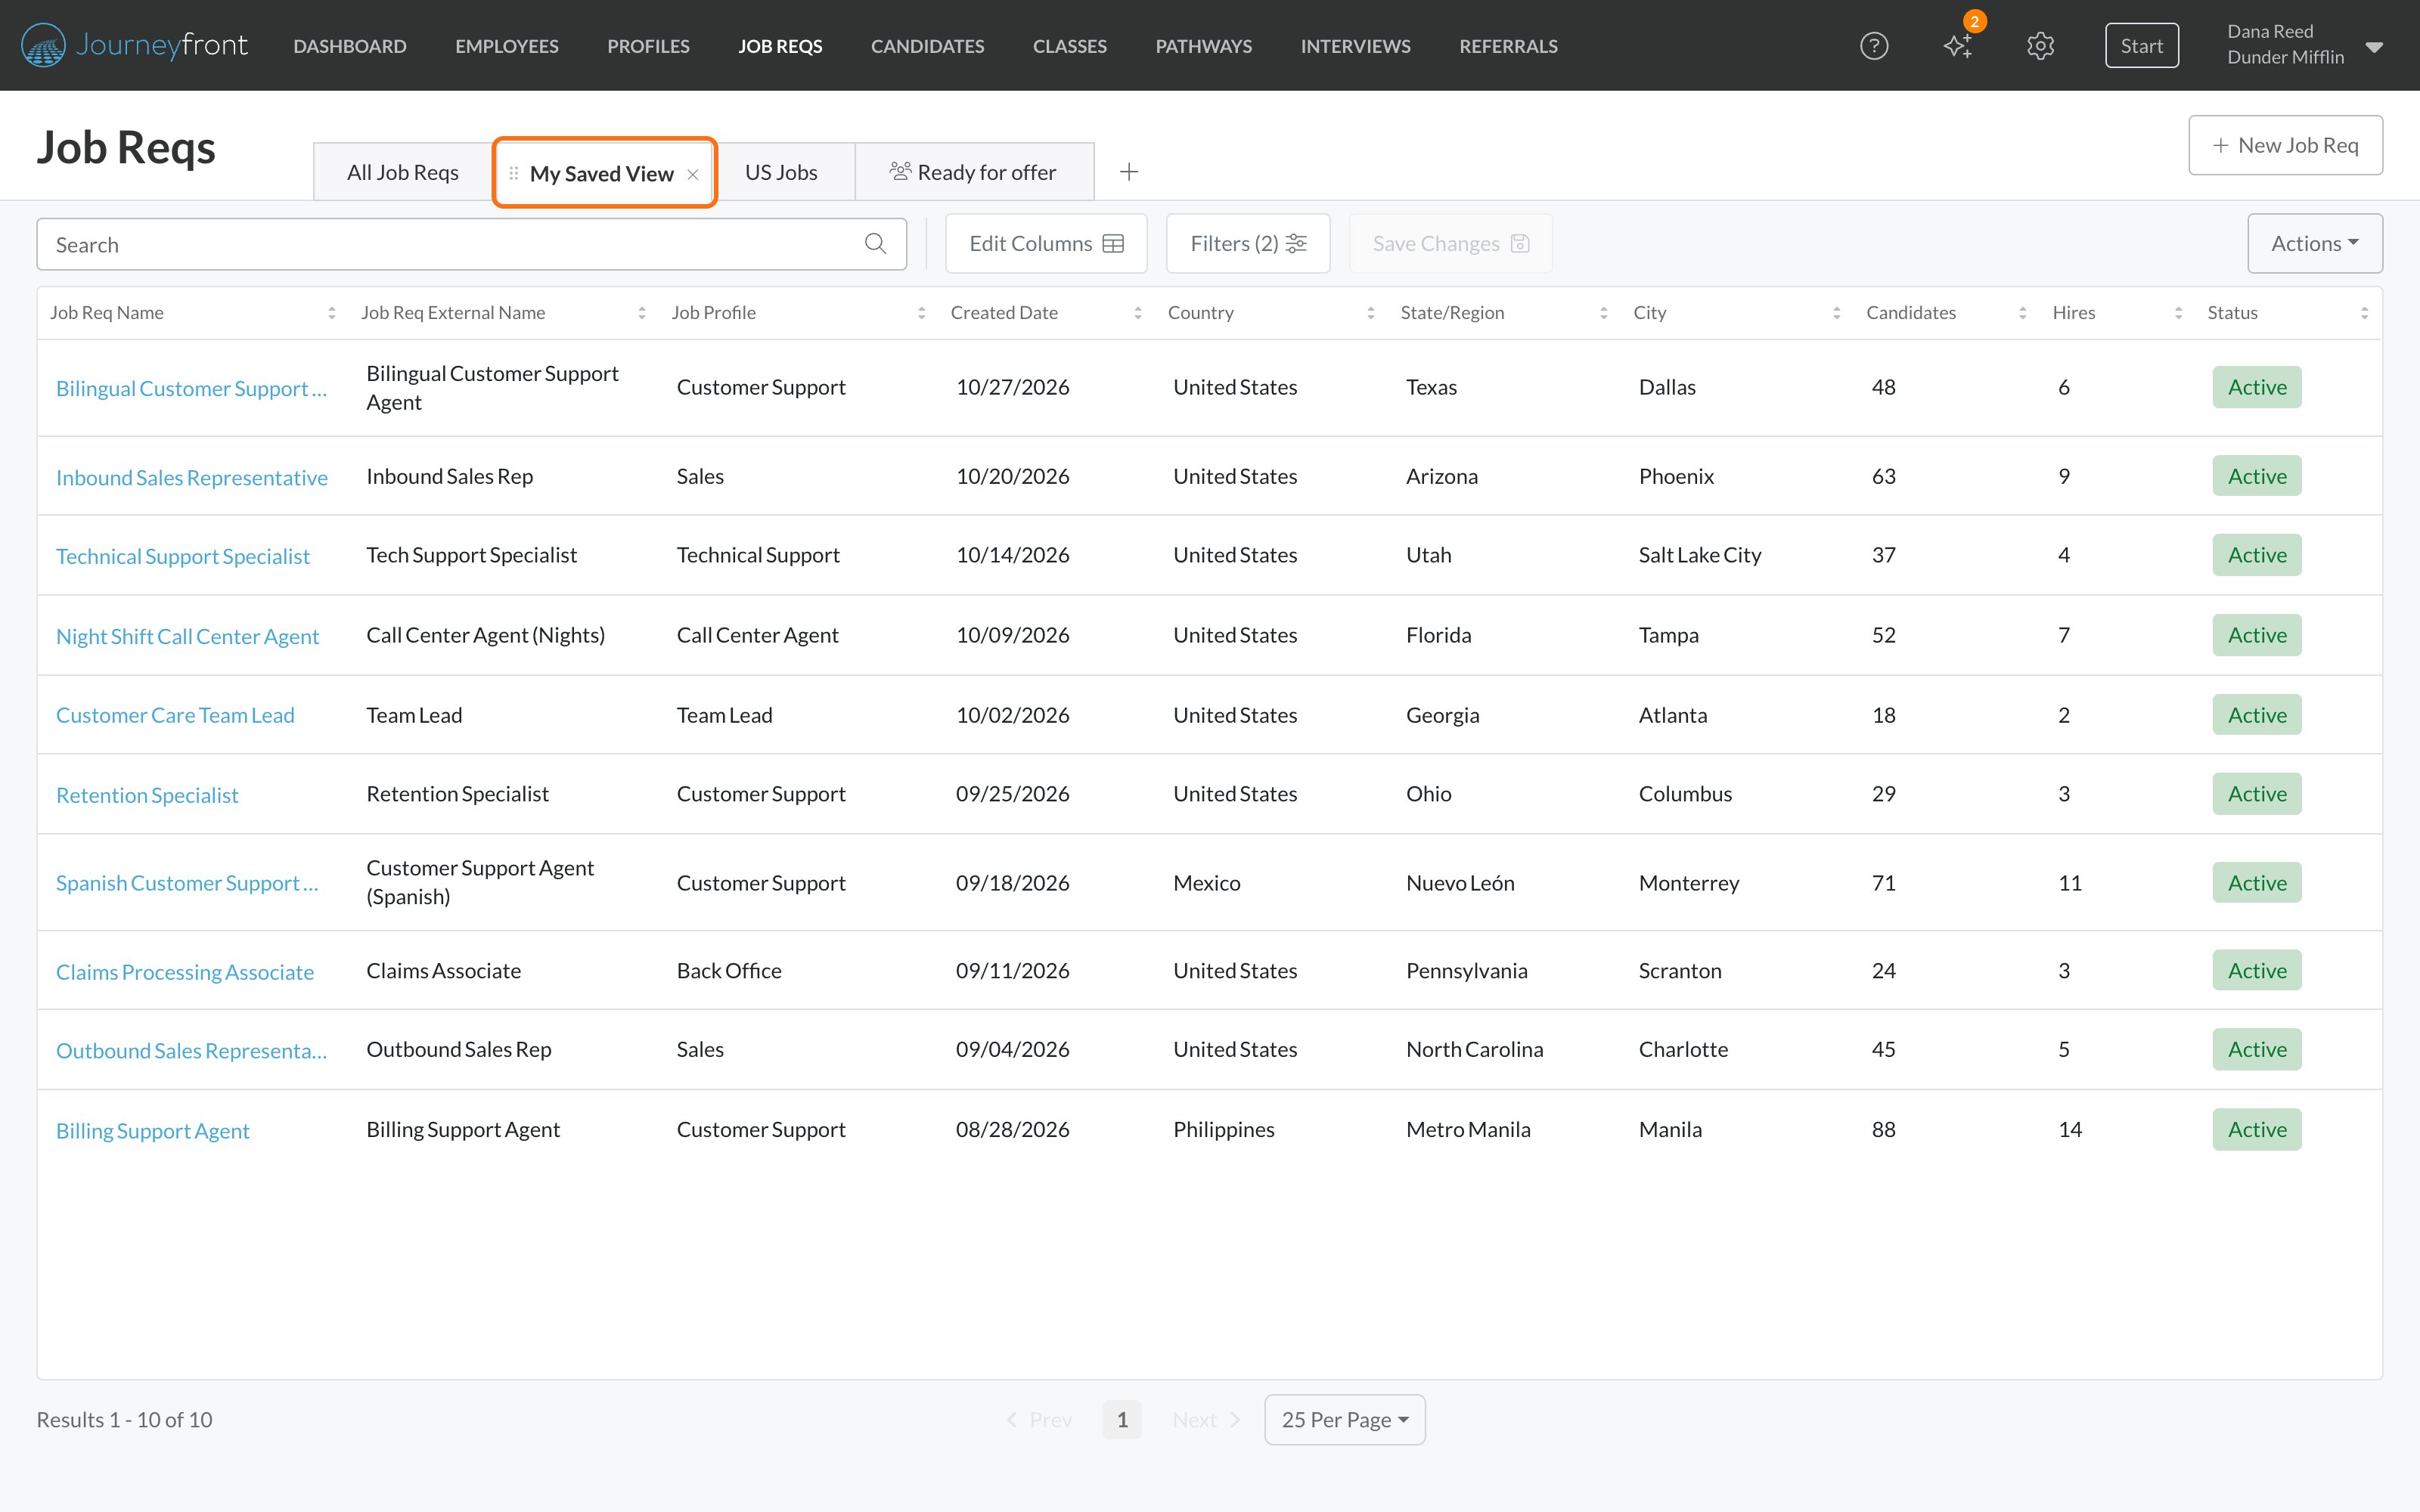
Views on a job req
A view you save on a job req’s Candidates or Hiring Classes tab belongs to that job req: it only appears there, and the + menu there only offers views saved on that job req. Sharing works the same way, but only people who can access the job req can see or add its views.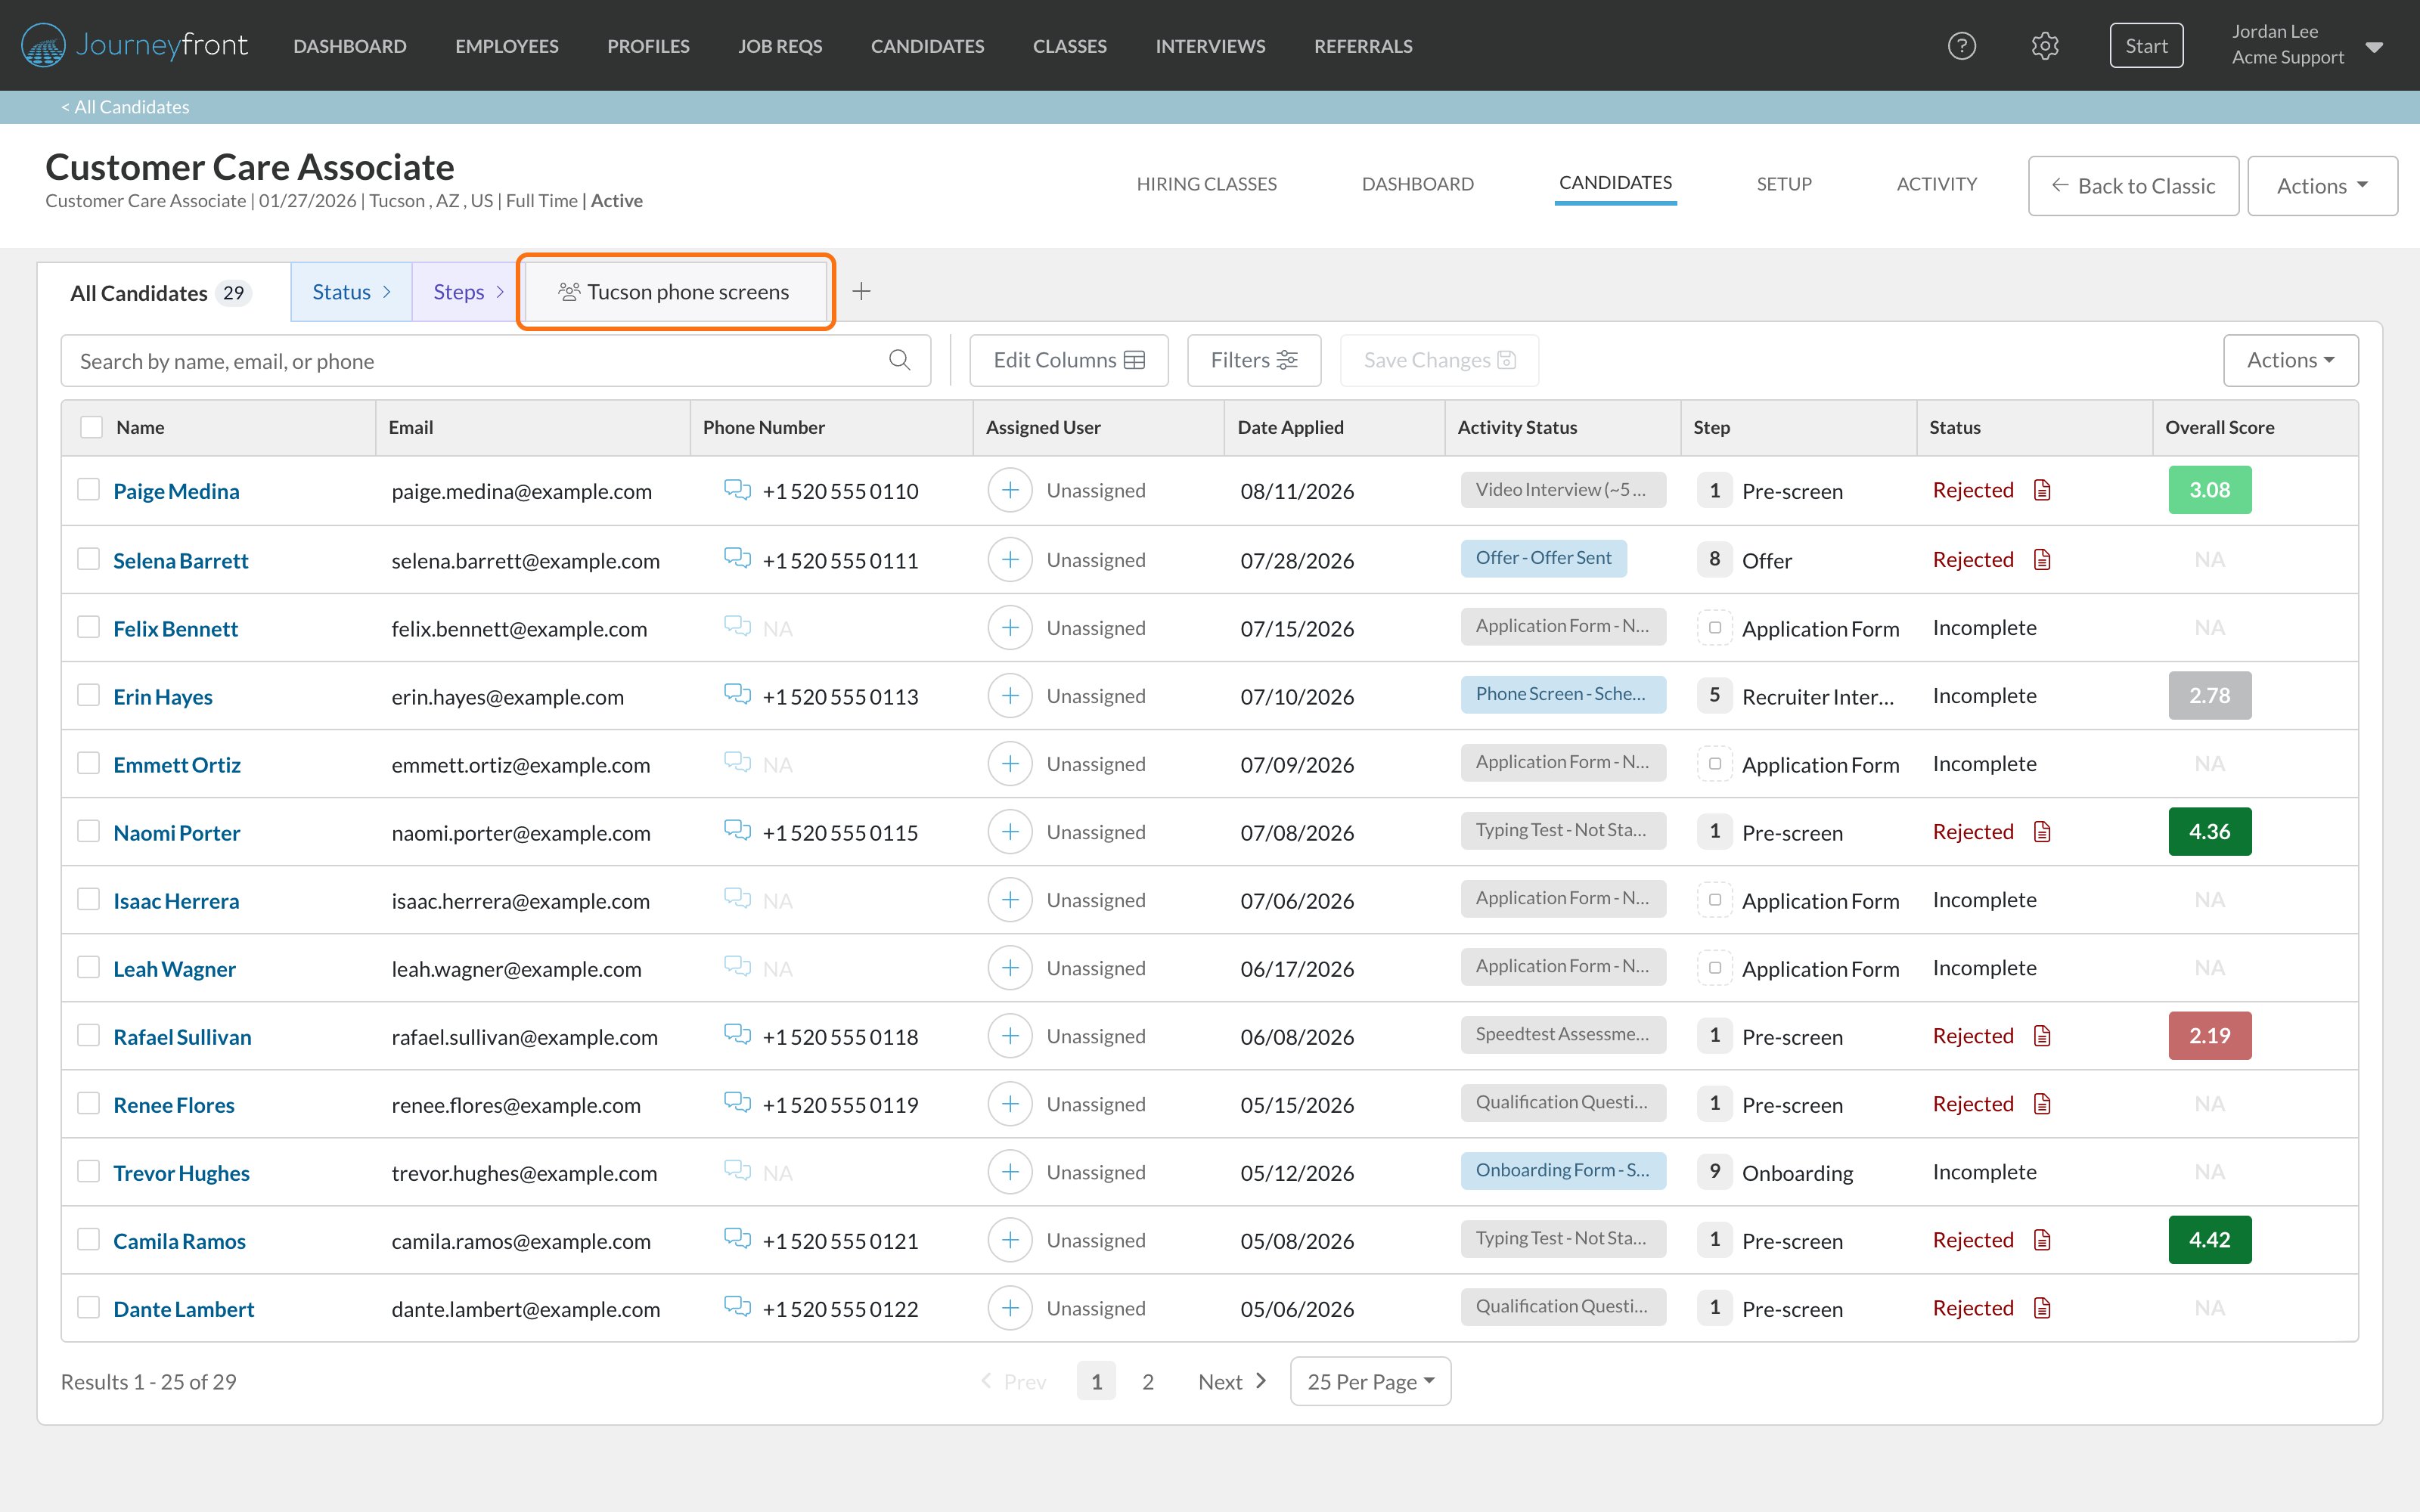
Hiring team
See who can access a job req, and so who can see the views saved on it.
FAQ
If I remove a view from my tabs, is it deleted?
If I remove a view from my tabs, is it deleted?
No. It only leaves your tabs. Add it back any time from the + menu. To delete a view you own for everyone, use Actions, then Delete View.
What's the difference between Clone View and Save as New View?
What's the difference between Clone View and Save as New View?
Save as New View appears on the starting tab once you’ve changed the list, and opens the panel so you can name the view and choose who can see it. Clone View is in Actions on a saved view, and makes a private copy of it straight away, named for you.
How do I change which view opens first?
How do I change which view opens first?
Open the view and click Actions, then Edit View. Turn on Make Default and click Save. You can only make your own views the default.
Related
The Candidates page
Filters and columns for candidates.
The Job Reqs page
Filters and columns for job reqs.
Export data
Download any view as a spreadsheet.
See who hasn't booked
A saved view your whole team can work from.