

Who can do this: Admins with the Company Settings Access permission.
Edit your company details
1
Open Company Details
Go to Settings (the gear icon at the top right), then Company Details. It’s the first page in Settings.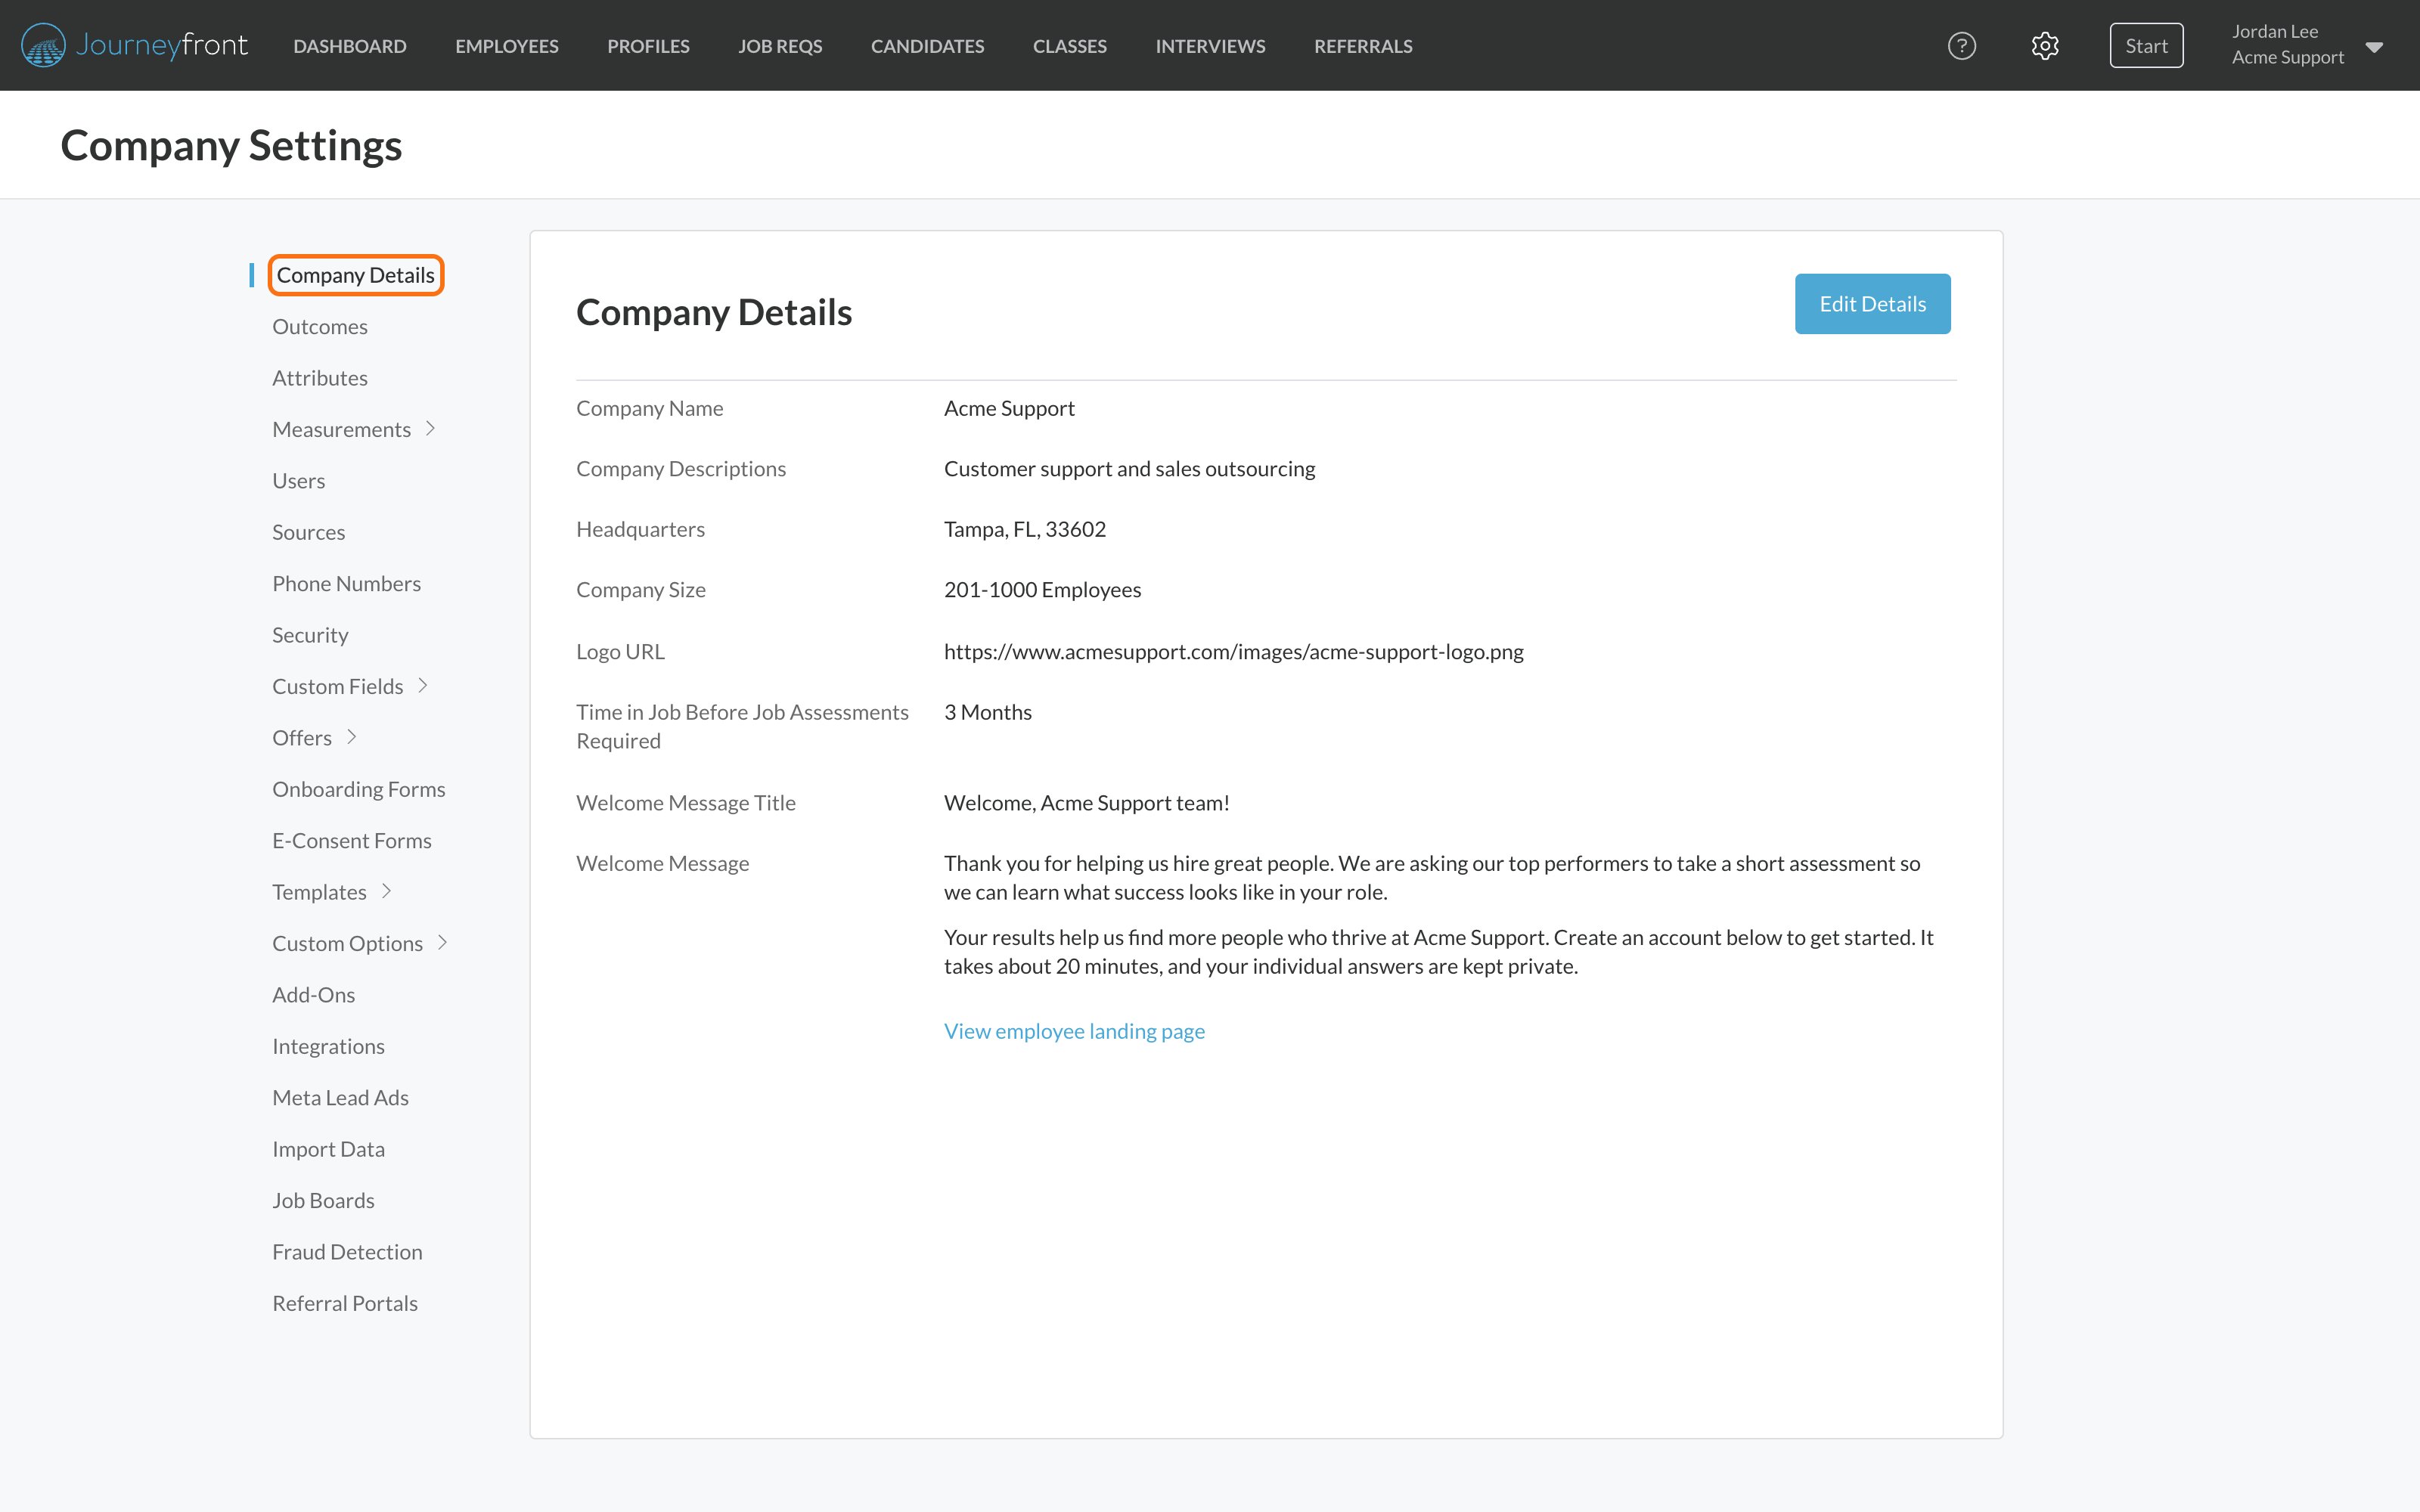
2
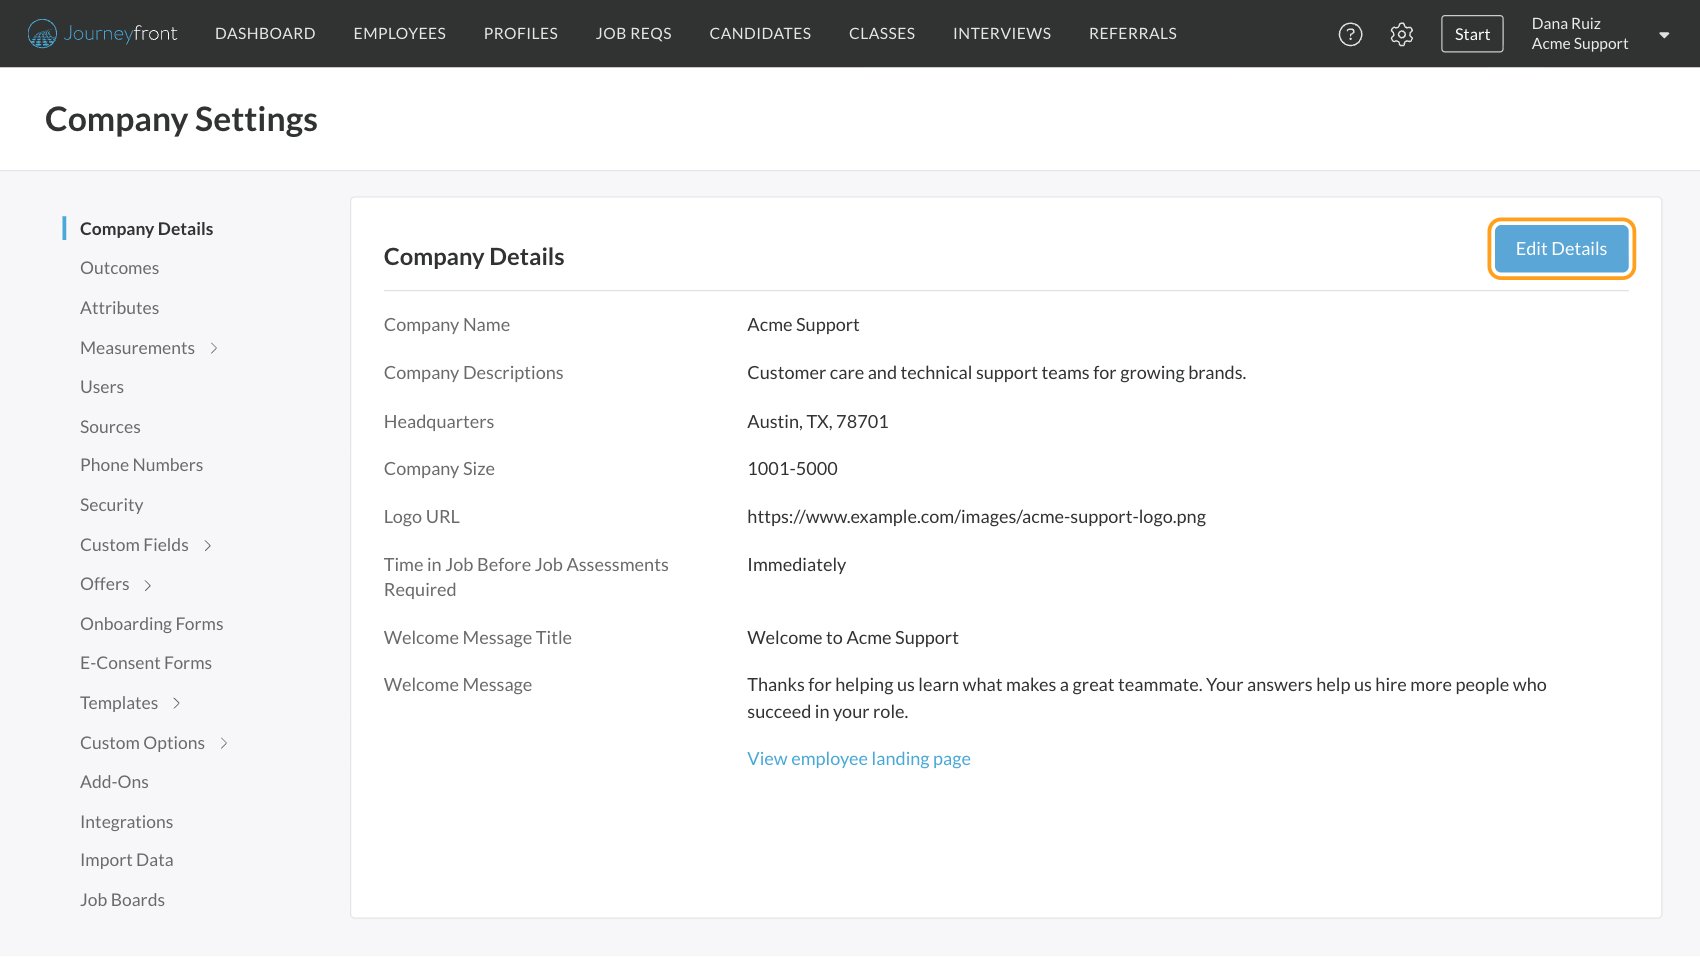
Click Edit Details
3
Make your changes
Company Name and Job Country are required. Everything else is optional.
4
Click Save
The Company Details page shows your new values.
Add your logo
Logo URL takes the web address of an image that’s already online, such as the logo file on your company website. You can’t upload a file here. Paste the full address, starting withhttps://.
Your logo appears:
- At the top of the sign-in page candidates see when they open a job req’s application link, unless that job req has its own image (see What candidates see).
- On the sign-in page your teammates see when they accept their invitation to Journeyfront.
- On your employee landing page.
The employee landing page
The employee landing page is the sign-in page your current employees open when you ask them to take assessments for a job profile. It shows your logo, your company name, and the Welcome Text Header and message you set here. See Job profiles. To see it the way your employees do, click View employee landing page at the bottom of Company Details.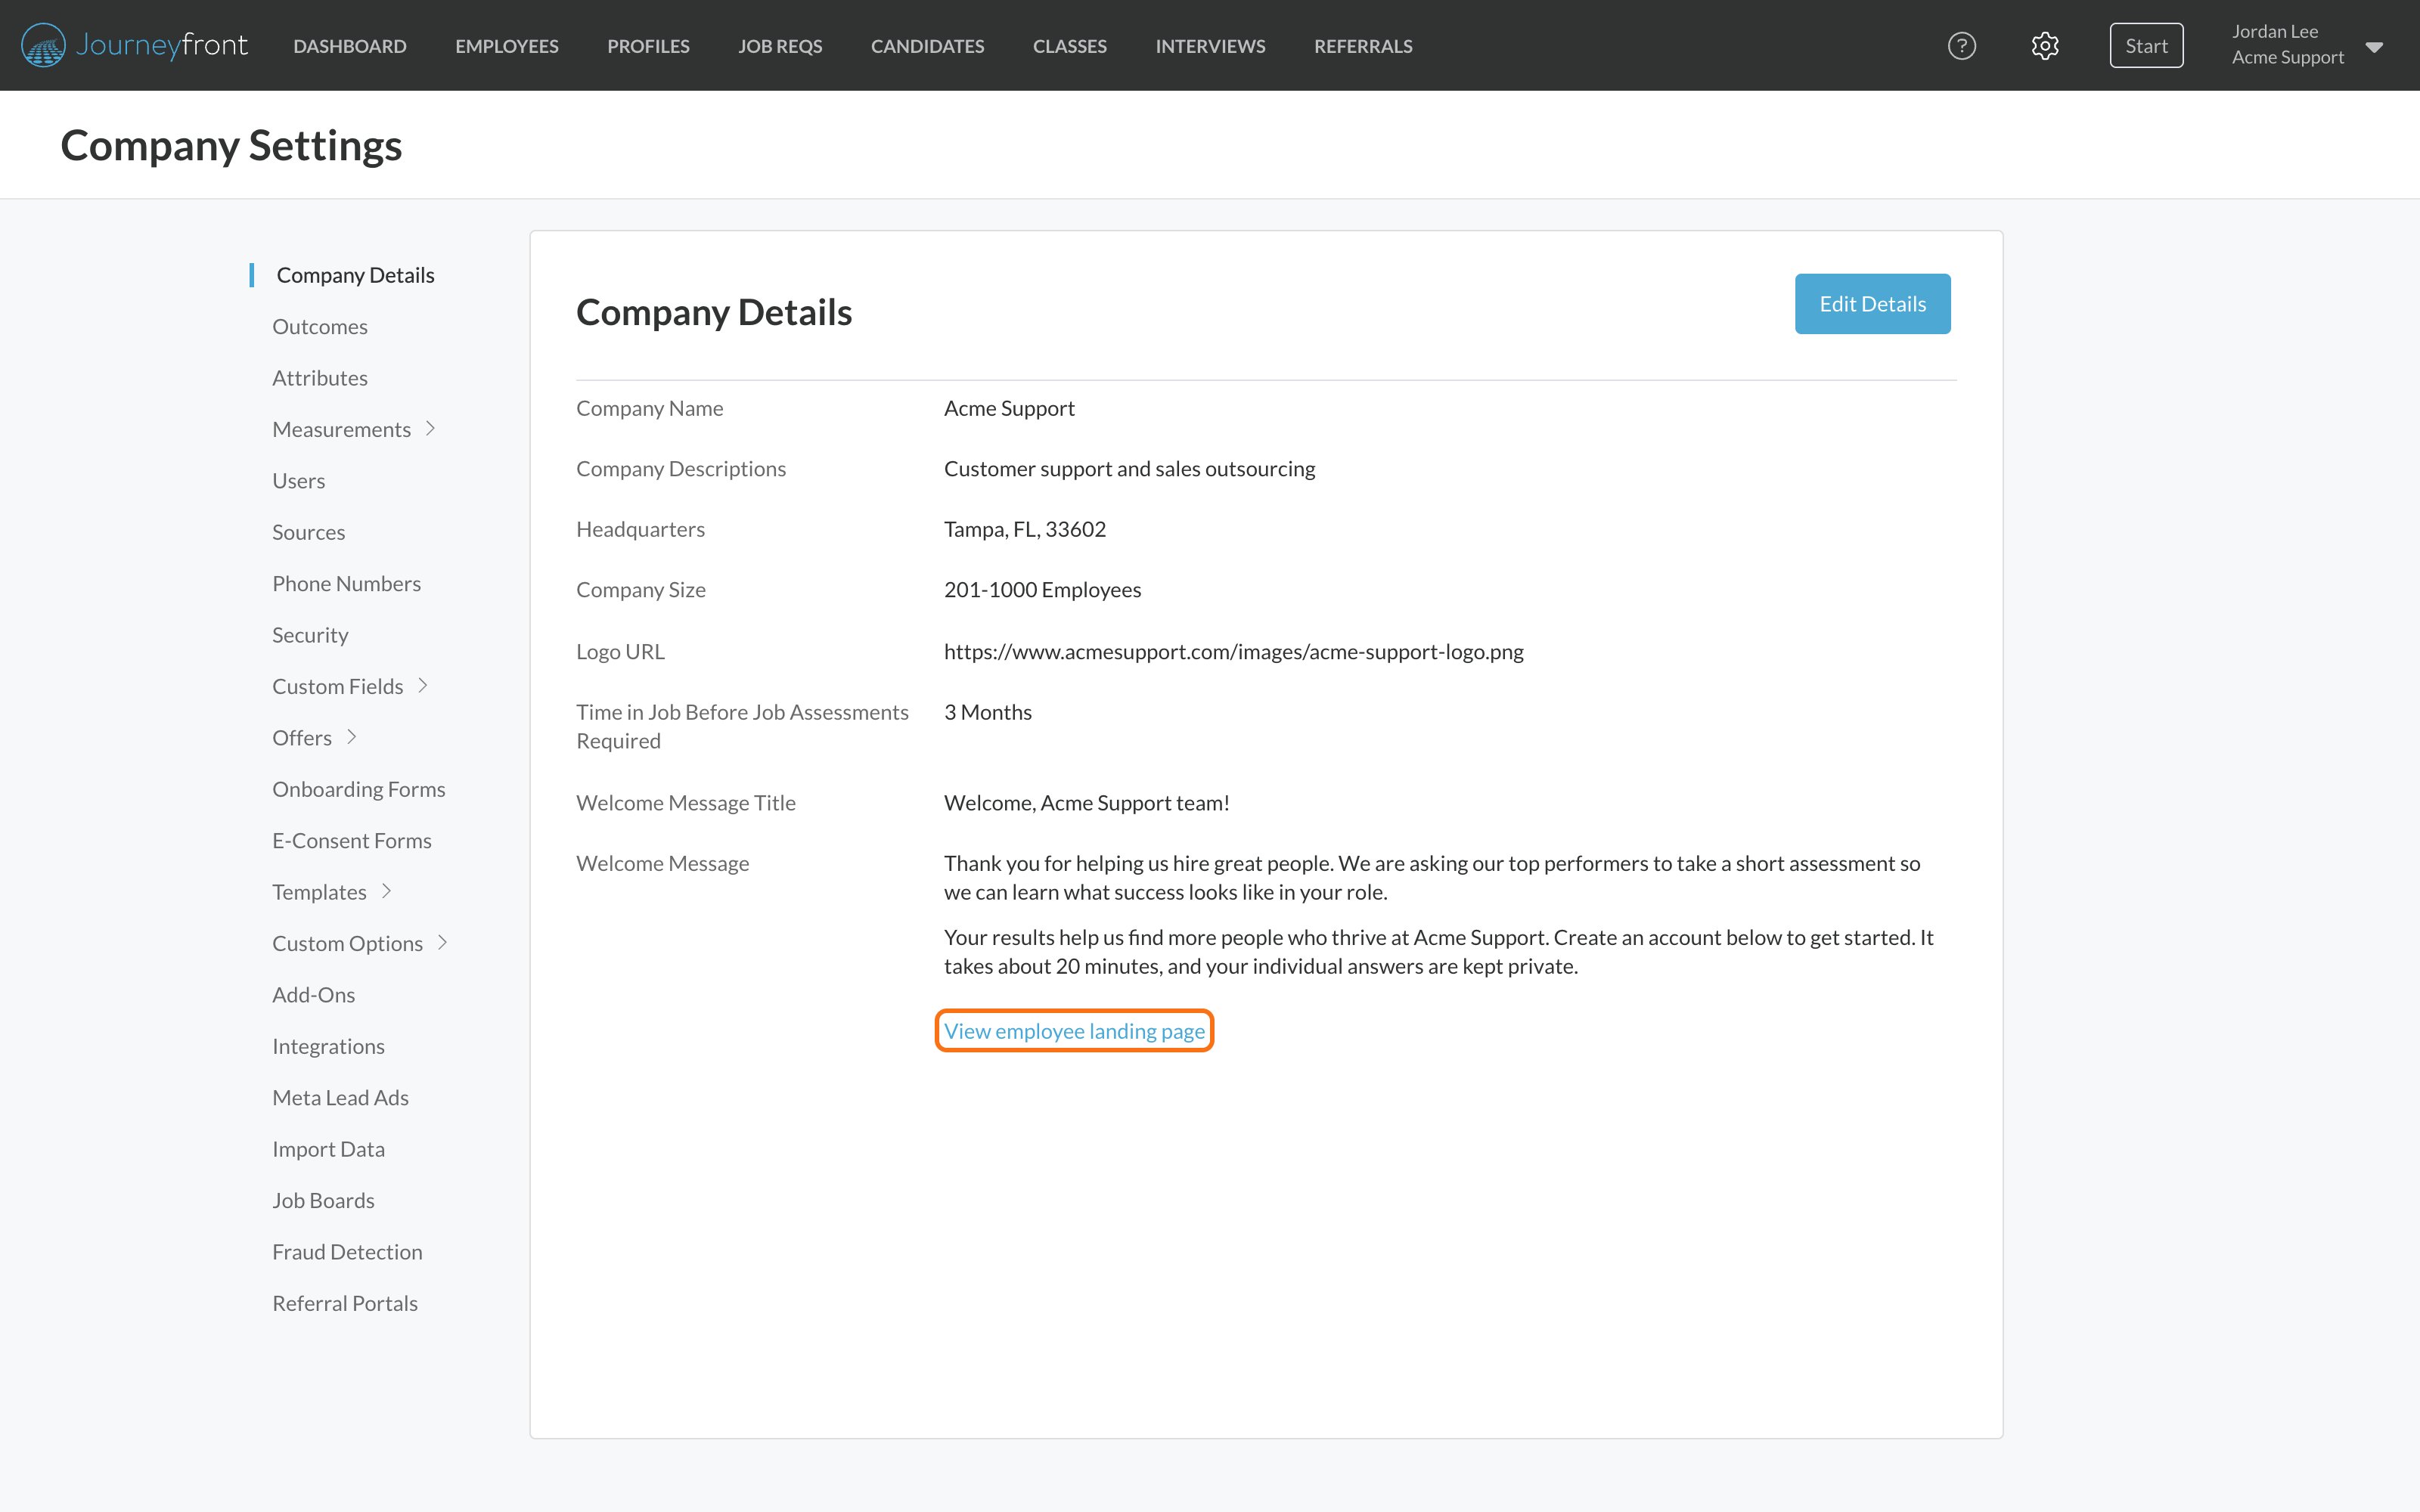
What candidates see
When a candidate opens a job req’s application link, the sign-in page shows:- Your logo at the top, or the job req’s own image if someone added one.
- The job req’s title, with your company name and the job req’s city and state underneath.
- The job req’s own message, if it has one.
FAQ
Can I upload our logo instead of using a link?
Can I upload our logo instead of using a link?
Not on Company Details. Logo URL needs the address of an image that’s already online. If your logo isn’t online anywhere, ask your web team for a link to it.
Why don't candidates see our logo on one job req?
Why don't candidates see our logo on one job req?
That job req has its own image. In the job req’s Invite Candidates window, an Image to display replaces your company logo on that job req’s sign-in page. Remove the image there to use your company logo again.
Do candidates see the welcome message?
Do candidates see the welcome message?
No. The welcome message only appears on the employee landing page. To show candidates a message, write a Candidate Message in a job req’s Invite Candidates window.
Where do the logos on our career site and referral portals come from?
Where do the logos on our career site and referral portals come from?
Each has its own logo. Set them in Settings, then Job Boards, or Settings, then Referral Portals. See Job boards and Set up a referral portal.
Can our logo replace the Journeyfront logo at the top of the app?
Can our logo replace the Journeyfront logo at the top of the app?
Yes, but it needs to be turned on for your account. Ask your Customer Success Manager. Once it’s on, the top bar shows the logo from Logo URL.
Why can't I find Company Details in Settings?
Why can't I find Company Details in Settings?
It needs the Company Settings Access permission. Ask an admin to check your security role. See Security roles and permissions.
Related
Users
Invite your team to Journeyfront.
Security roles and permissions
Decide who can change your company settings.
Invite candidates
Set the message and image candidates see for a job req.
Job boards (career site)
Brand the job boards candidates browse.