

Who can do this: Admins whose security role has both Company Settings Access and Manage Users.
The Users page
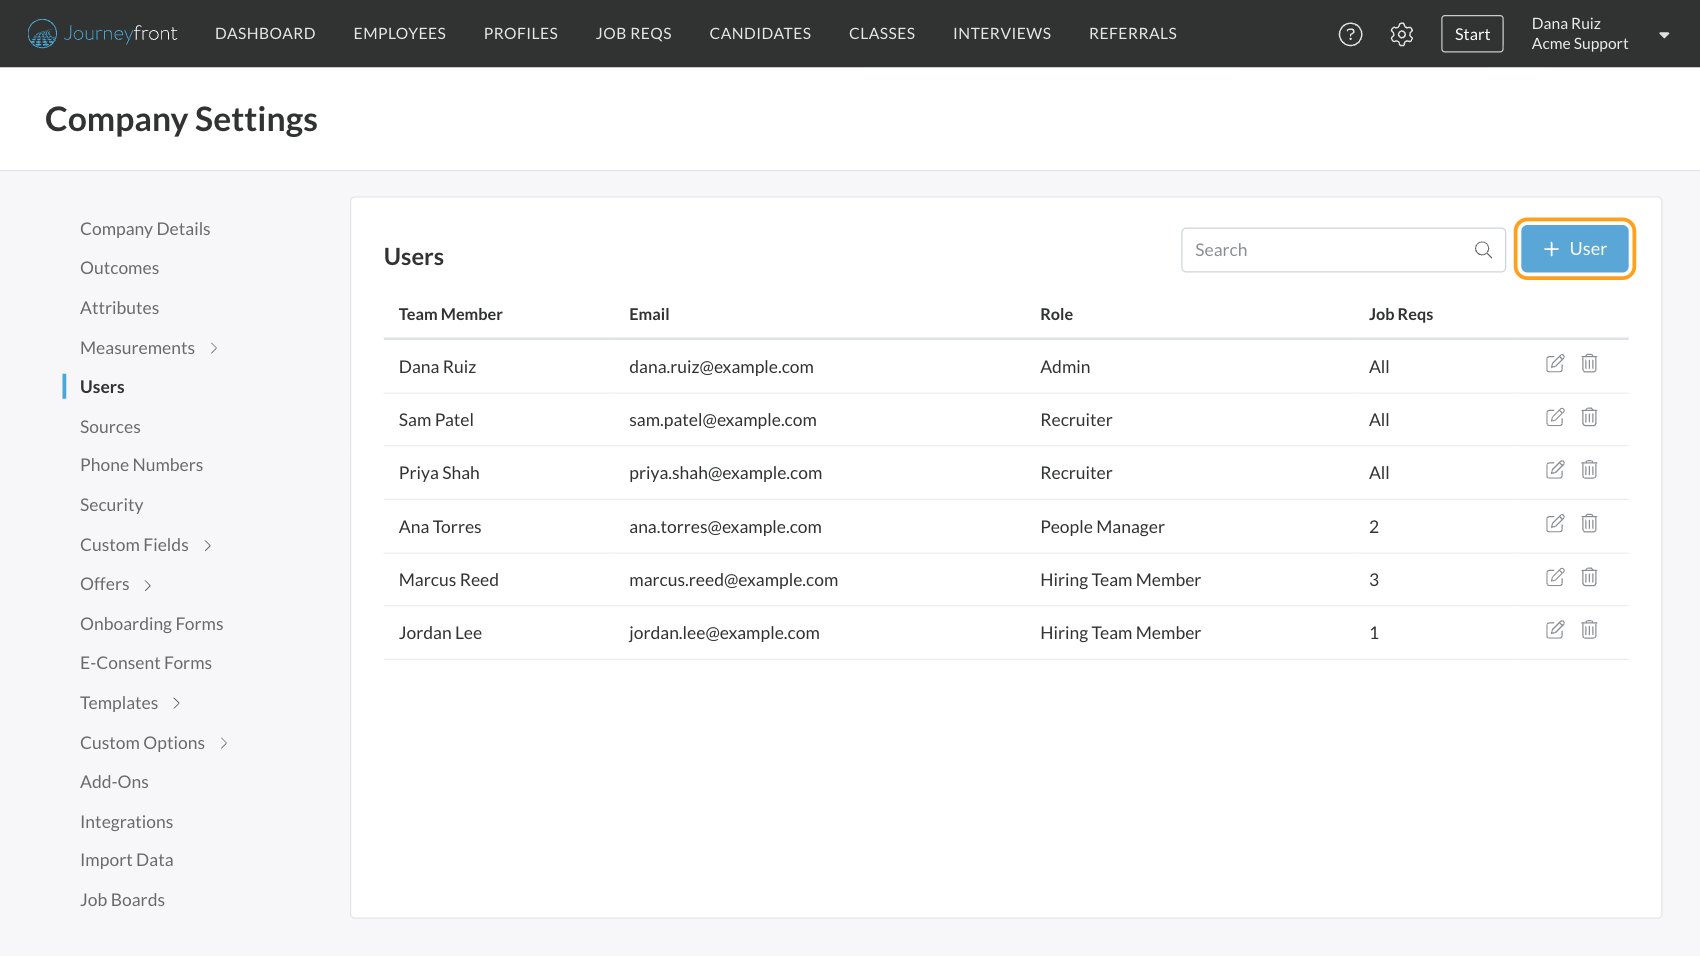
Go to Settings, then Users. The list shows every user in your account:
Use the search box to find someone by name, email or role, and click a column heading to sort by it. Each row has an edit icon and a trash icon.
Add a user
1
Click + User
On Settings, then Users, click User (with the plus) at the top right. The Add New User window opens.
2
Enter their email and role
Enter the User Email they’ll sign in with, pick a Security Role, and click Add.
3
Add their name (new people only)
If no one in Journeyfront has this email yet, you’re asked to Add a name for this user. Enter their first and last name (at least two characters each) and click Add Name.
Other ways people become users
When someone adds an email to a job req’s hiring team (on the job req’s Setup tab, under Team) and that person isn’t a user in your account yet, Journeyfront adds them as a user with your account’s Hiring Team Member role and emails them an invitation to the hiring team. See Hiring team.Give a user access to job reqs
People see the job reqs they’re on the hiring team for. People whose role has All Job Req Access see every job req.1
Edit the user
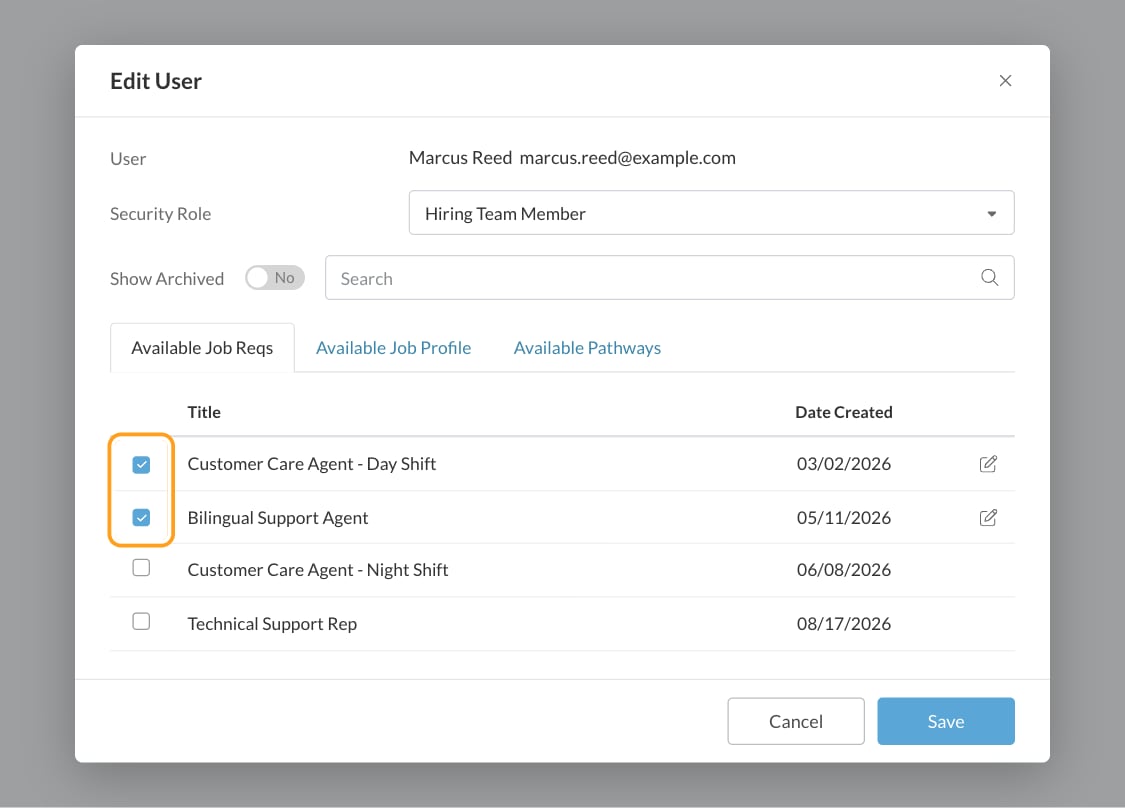
Click the edit icon on the person’s row. The Edit User window opens with their name, email and Security Role.
2
Pick their job reqs
On the Available Job Reqs tab, tick each job req they should work on and untick any they shouldn’t. Use Search to find a job req, and turn on Show Archived to include archived ones.
3
Pick their job profiles (optional)
On the Available Job Profile tab, tick the employee job profiles they should see.
4
Click Save
Ticking a job req adds the person to its hiring team; unticking removes them.
Change someone’s security role
Click the edit icon on their row, pick a new Security Role, and click Save. The Role column updates.Remove a user
Click the trash icon on their row. The Remove User window asks “Are you sure you want to remove this User?” Click Confirm. Removing someone:- Takes away their access to your account.
- Takes them off every job req hiring team they were on.
- Keeps their history. Comments, interview feedback and other activity they left stay on your candidates.
The invitation email
When you add a user, Journeyfront emails them:- From: Journeyfront
- Subject: “Your name has invited you to Journeyfront”
- What it says: that you’ve given them access to Journeyfront for your company, with a Click here to get started! link.
Troubleshoot invitations
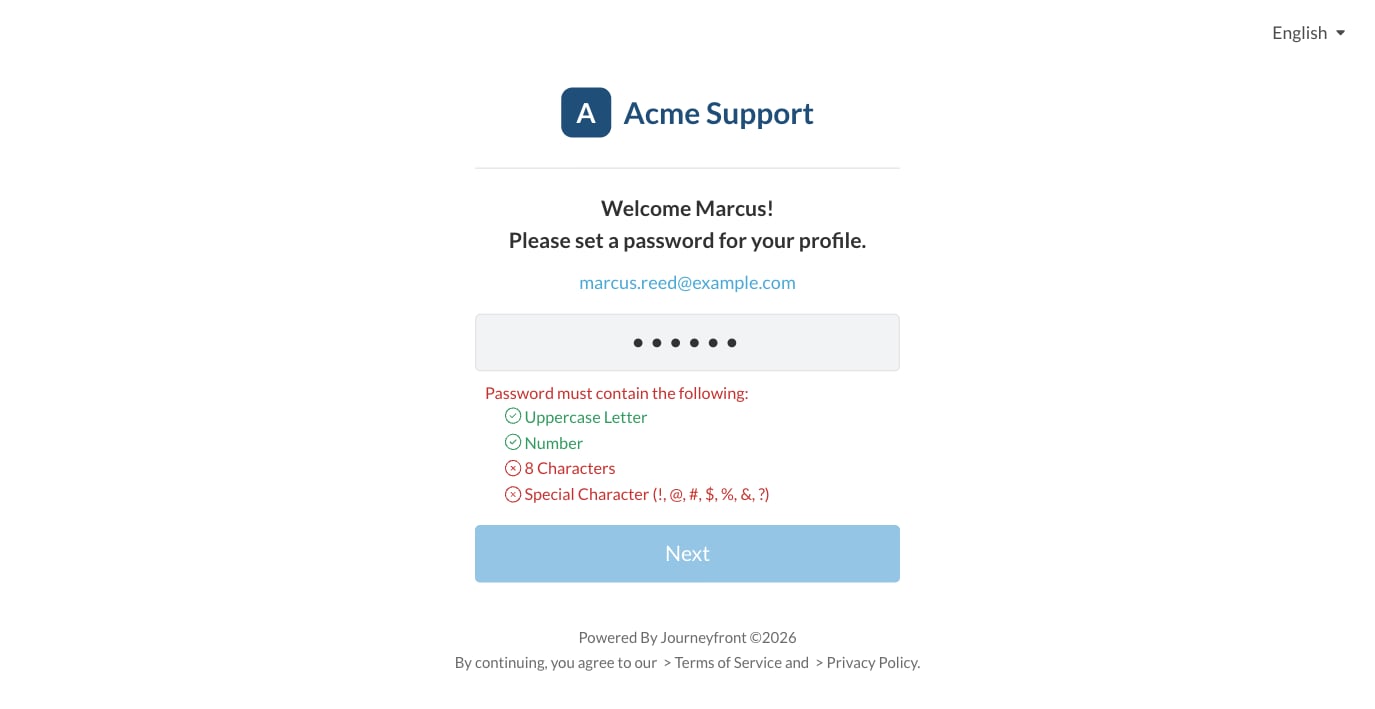
For more about signing in and passwords, see Logging in and passwords.
Change a user’s email
You can’t change a teammate’s email from Settings, then Users. Each person changes their own:- Click your name at the top right, then My Profile.
- Next to Primary Email, click Change.
- Enter the New Email and your current Password, then click Save.
FAQ
Why can't I see Users in Settings?
Why can't I see Users in Settings?
The Users page needs both Company Settings Access and Manage Users in your security role. Ask another admin to check your role. See Security roles and permissions.
Does a new user get an email?
Does a new user get an email?
Yes. Adding a user sends the invitation email straight away. Adding someone to a job req’s hiring team also sends them an email about that job req.
Can I add many users at once?
Can I add many users at once?
Not from the Users page; add them one at a time. If your company signs in with SSO, ask your Customer Success Manager how new people are set up for your account.
Can someone have more than one security role?
Can someone have more than one security role?
No. Each user has one role in your account. If someone needs a mix of permissions, create a role for it. See Security roles and permissions.
A hiring manager can't see a job req. What do I check?
A hiring manager can't see a job req. What do I check?
Edit them and make sure the job req is ticked on Available Job Reqs, or add them on the job req’s Team page. Archived job reqs only appear in the list when Show Archived is on.
Can I remove myself?
Can I remove myself?
Be careful: removing your own user takes away your access to the account immediately. Ask another admin to make the change instead.
Related
Security roles and permissions
What each permission lets someone see and do.
Hiring team
Add people to a job req’s team and set their notifications.
Logging in and passwords
Sign in, reset a password and use SSO.
Team emails and system emails
Edit the invitation email.