

Who can do this: Admins with the Company Settings Access permission connect and disconnect Checkr.Availability: You need your own Checkr account. Checkr bills you directly for each check; Journeyfront doesn’t add a fee.
How it works
- An admin connects your Checkr account to Journeyfront.
- You set up your packages, billing and compliance settings in Checkr.
- Your team adds the Checkr Background Check activity to a job req’s workflow.
- A recruiter orders a check from the Candidate Application, and Checkr invites the candidate.
- Checkr processes the report, and Journeyfront shows the current status, with Checkr’s report summary for people who have access in Checkr.
Connect Checkr
1
Open Checkr
Go to Settings, then Integrations, and open Checkr under Background Check.
2
Connect your account
Click Connect to Checkr.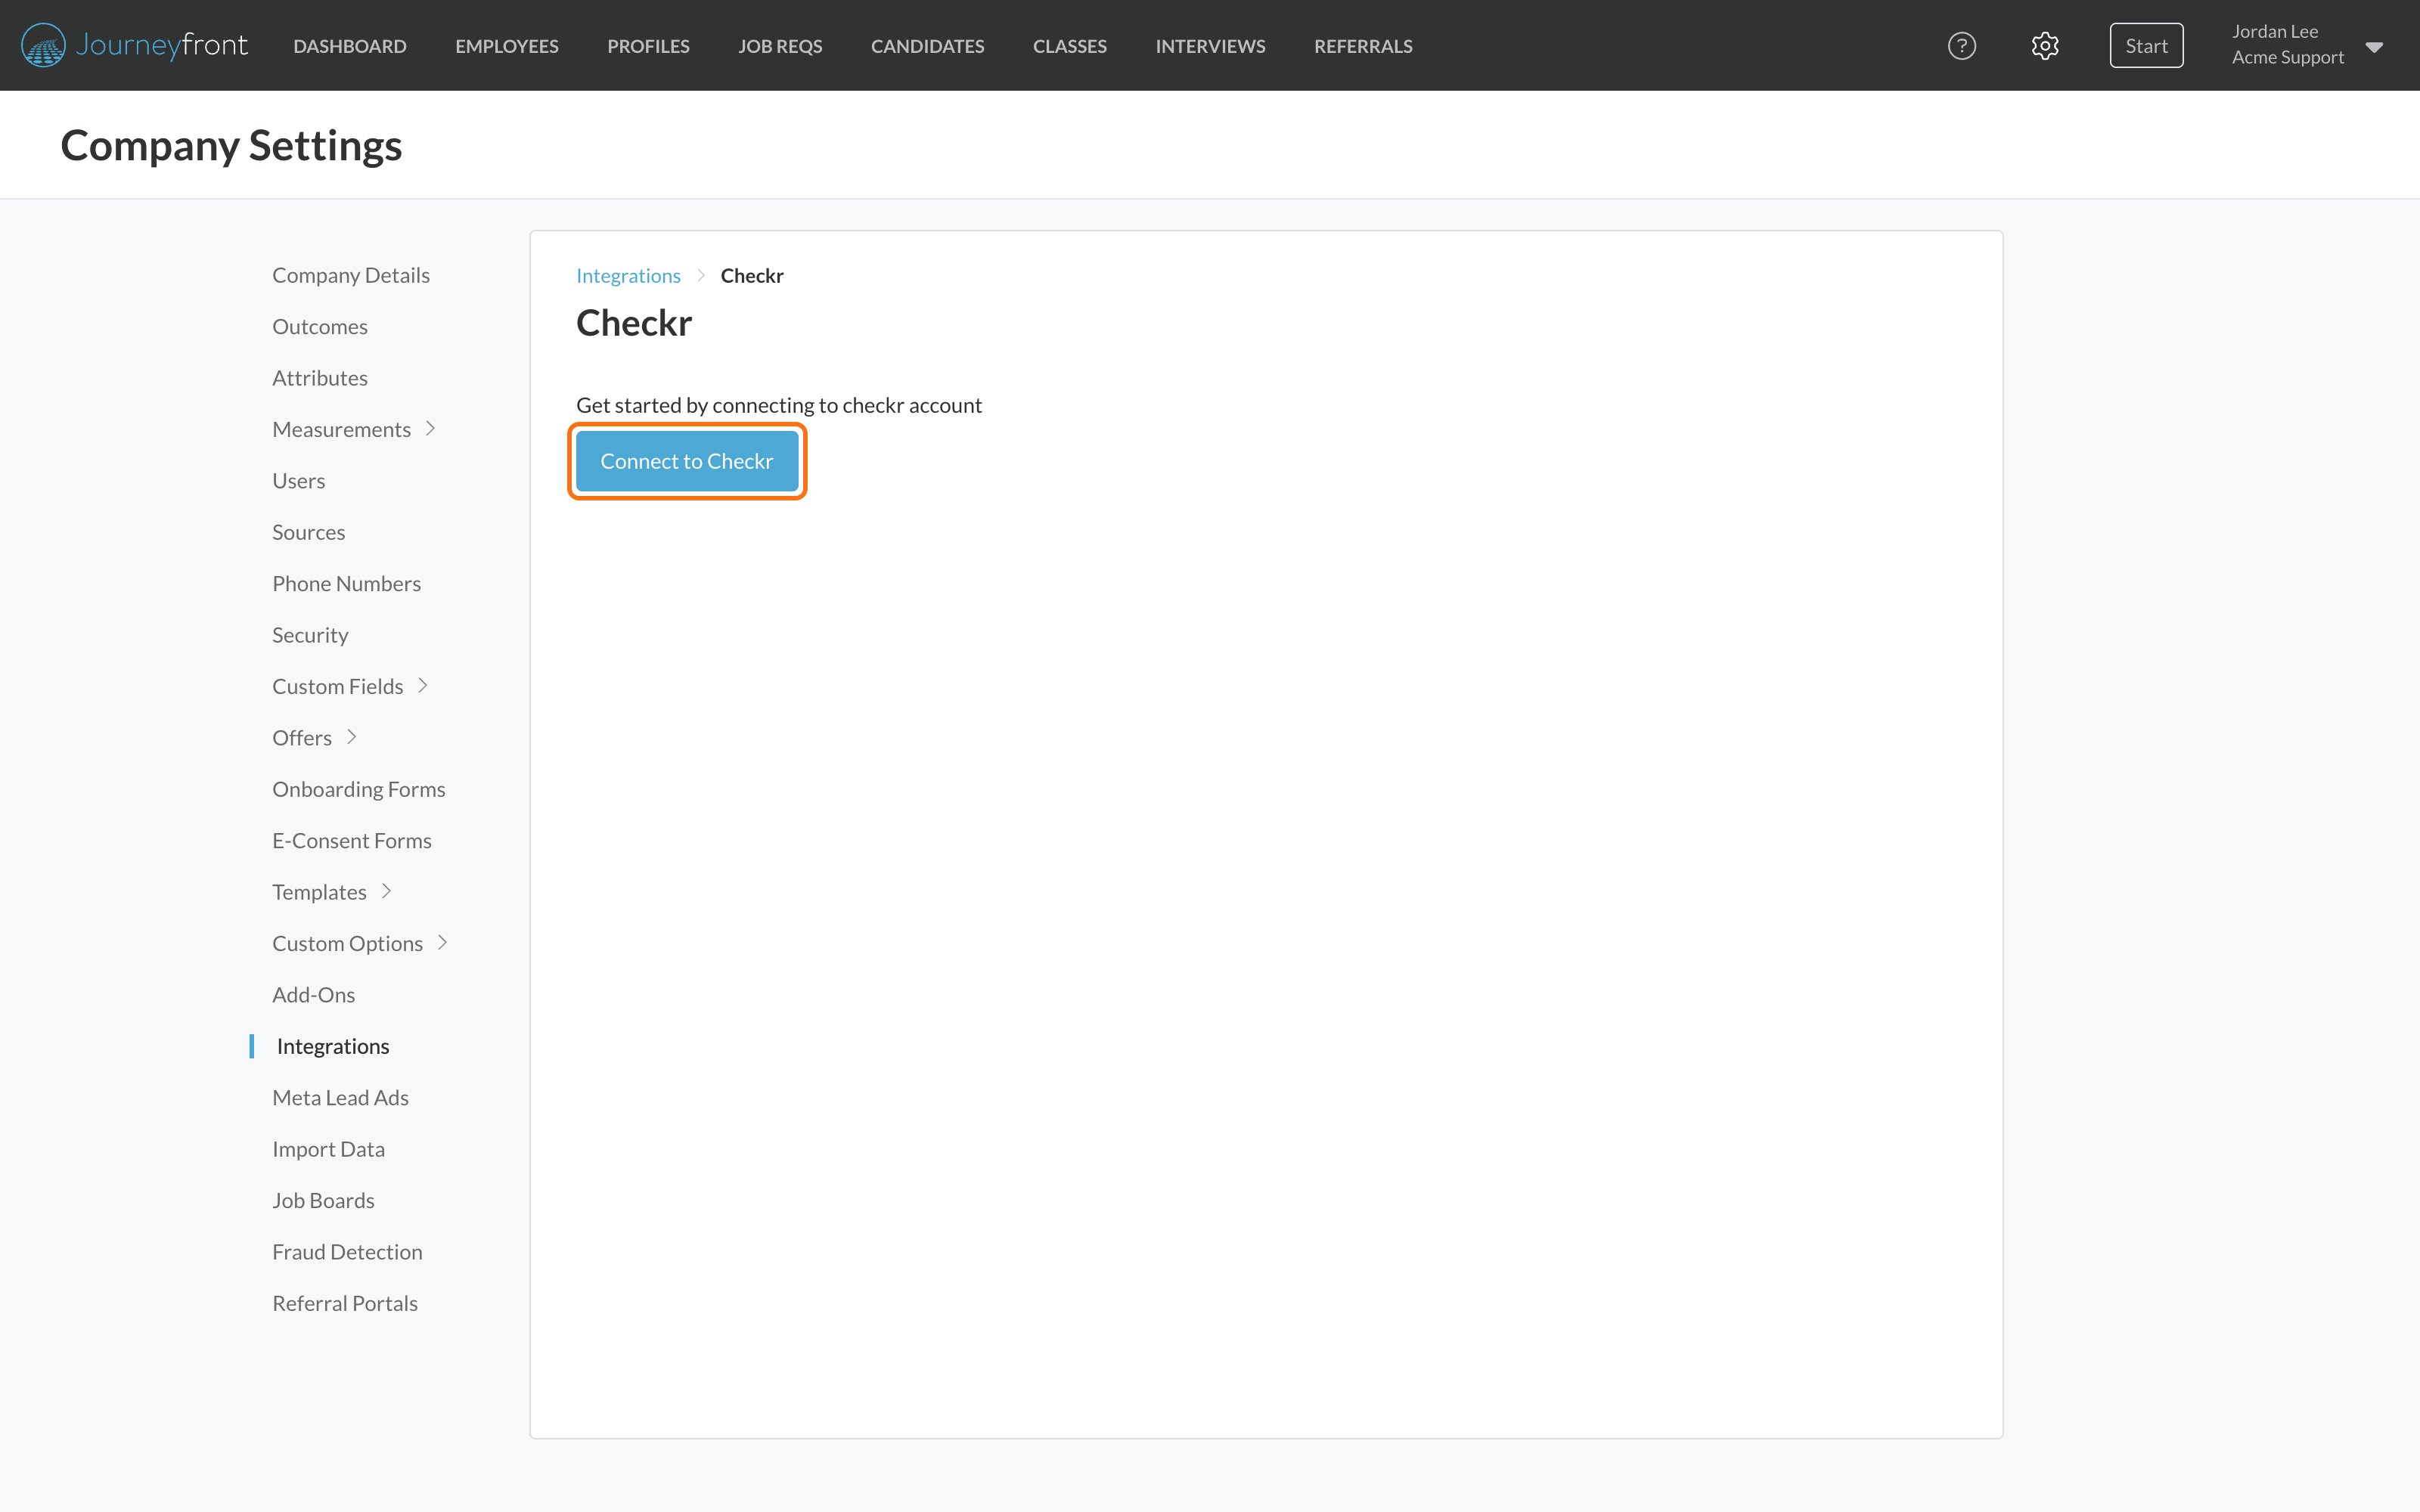
3
Sign in to Checkr
Sign in to your Checkr account, or create one if you don’t have one yet, and approve the connection.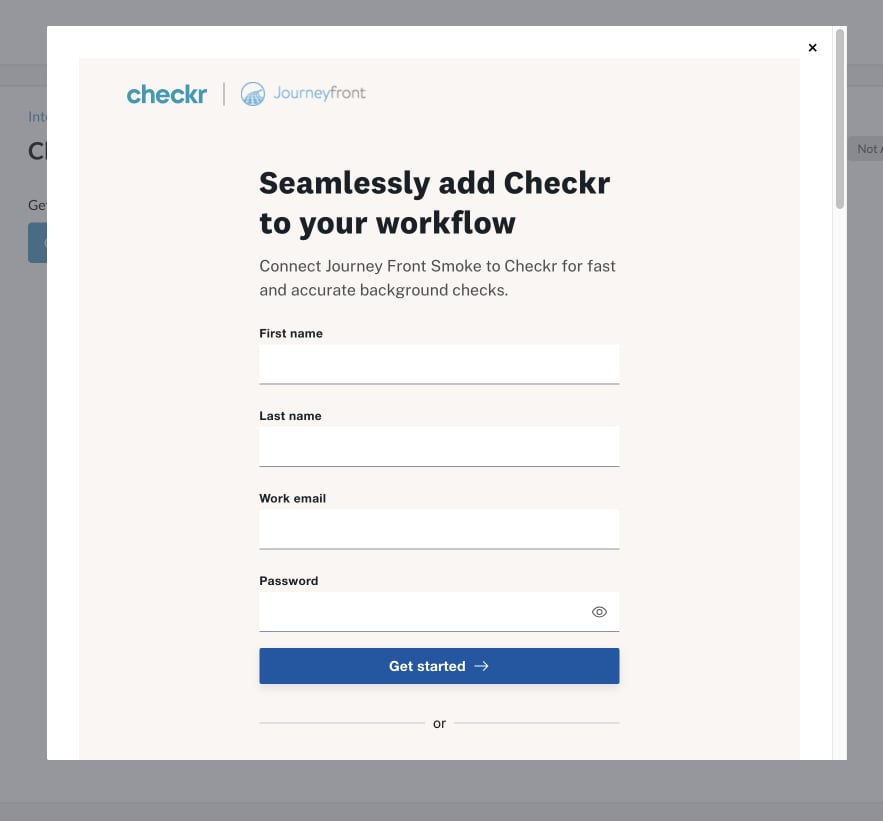
4
Wait for Activated
On the Integrations page, the Checkr tile shows Pending while Checkr finishes setting up your account, then Activated. You can order checks once it’s activated.
Set up Checkr
After you connect, sign in to Checkr directly to finish your setup there:- Packages: the background check packages your team can choose from when ordering.
- Billing: how Checkr charges you.
- Compliance and adjudication: your rules for reviewing results and any adverse action process.
Who can see reports
Everyone who can open a Candidate Application can see a background check’s status. To open the report details, a user also needs access in your Checkr account. People without Checkr access see the status only.What’s shared with Checkr
- Journeyfront sends Checkr only what it needs to start a check: the candidate’s email address and phone number, which fill in Checkr’s order window.
- Full reports and sensitive details stay in Checkr. Journeyfront stores the check’s status and order details, such as the package.
- Journeyfront doesn’t make eligibility or hiring decisions, and it doesn’t replace Checkr’s compliance and adjudication tools.
Disconnect Checkr
Go to Settings, then Integrations, open Checkr and click Disconnect Checkr. While Checkr finishes, the status may briefly show Disconnecting. Reports already in Checkr stay in your Checkr account.FAQ
Do I need my own Checkr account?
Do I need my own Checkr account?
Yes. If you don’t have one, you can create it while you connect.
Does Journeyfront charge for Checkr background checks?
Does Journeyfront charge for Checkr background checks?
No. Checkr charges per check and bills you directly. Journeyfront doesn’t add a fee for the integration.
Where do I change packages or pricing?
Where do I change packages or pricing?
In your Checkr account. Journeyfront shows the packages you set up there.
Related
Background checks
Add the activity to a workflow and order checks.
Background check integrations
How background check integrations work.