Follow these simple and effective steps to edit columns in the Job Req Candidate Tab and make your hiring process and applicant views more efficient and personalized!
- Sign in at https://app.journeyfront.com/login
- Click on the “Job Reqs” tab on the top navigation bar
- Choose the desired job req you want to edit columns:

- Once you select a Job Req, it will take you to the Candidate tab on the Job Req Page. You’ll note that the following columns appear by default: Name, Email, Assigned User, Date Applied, Step, Activity Status, Status, Interview Link, and Overall Score. This article will show you how customize the Job Req Candidate view for your specific needs.
- Click on the 'Edit Columns' button to access the 'Edit Columns options.

- The screen below will appear with the default fields on the right and optional columns on the left.

- Let's review the many options you have to customize the candidate page.
- For the default columns on the right hand side, you'll notice that 'Name' and 'Email' are greyed out. These two columns are unique identifiers throughout Journeyfront so they will always appear as the first two columns. We are unable to remove or move these two fields.
- All of the other fields on the right hand side we can either remove by clicking on the 'X' or we can adjust the order in which they display by clicking on the six dots icon and move them up or down in the order in which they will display.
- All of the fields on the left hand side are fields we can add to the Job Req Candidate page. Simply click on the "+add" text next to the field and they will show up on the right hand side where you can again adjust the order in which they will display.

- Below you can see the new arrangement of the columns you just customized
- Customizing the Job Req Candidate page allows you to view the data points that are most important to you and that will allow you to more effectively assess candidates.

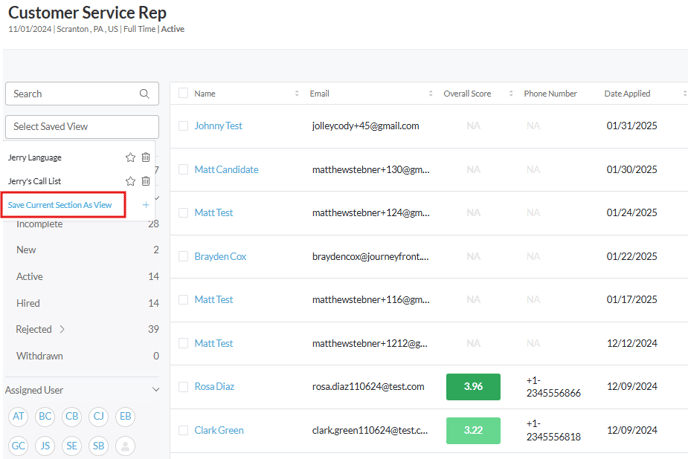
- If you want to see this view each time you log in be sure to use “Save Current Section As View” and save the New View:

For more information on creating views please check out this article How to Save View in Job Req