Adding Rejection Reasons
- Sign in at https://app.journeyfront.com/login
- Click on the gear icon in the top navigation bar.

- Scroll down to the "Custom Options" drop down, on the left side panel.
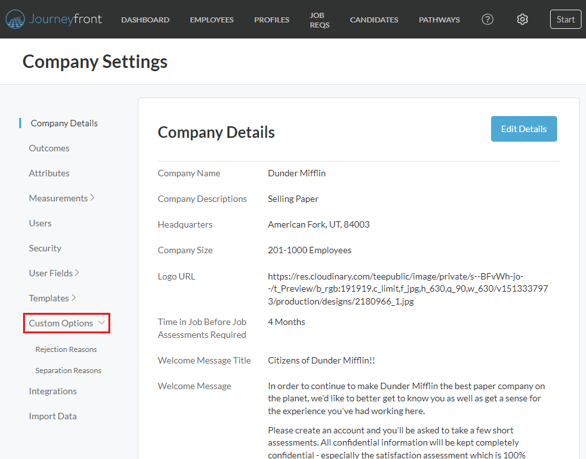
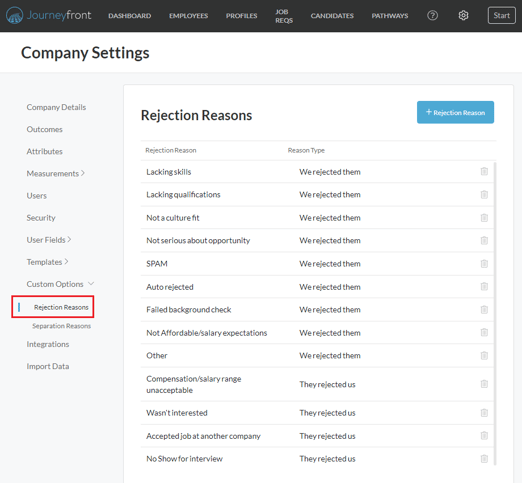
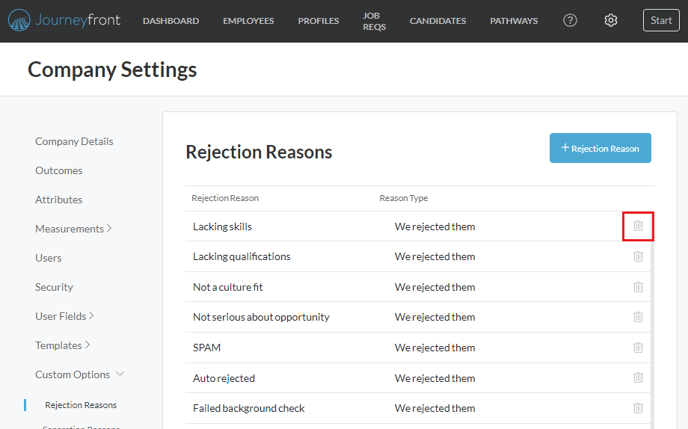
- Click on "Rejection Reasons" to see the full list of the Journeyfront general rejection reasons.
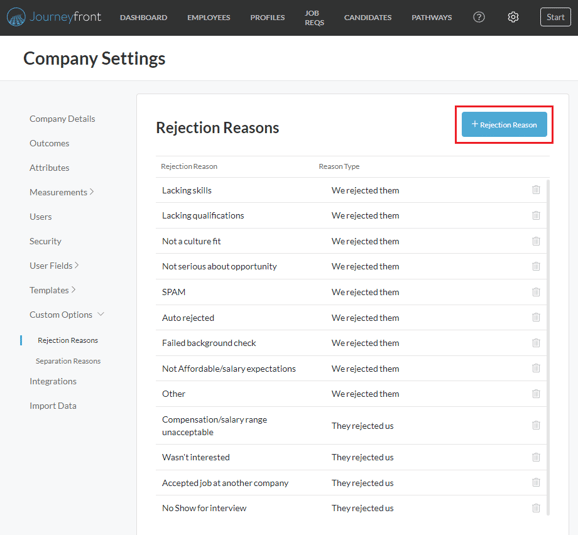
- To add a custom reason, click "+Rejection Reason".
- Fill in the required fields.
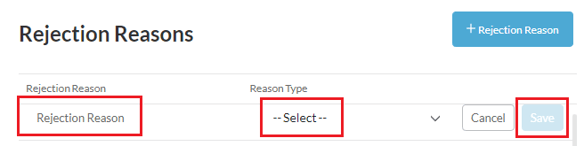
- Don't forget to click "Save".
Deleting Rejection Reasons
- To delete a rejection reason, simply click on the trash icon next to the reason.
- A pop-up box will appear asking you to select the rejection reason you want to remove.
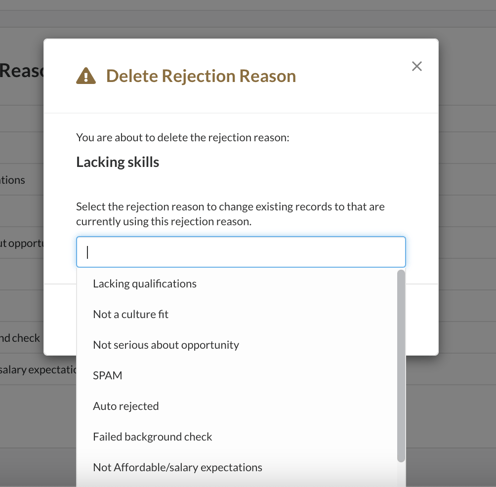
- Don't forget to click "Save".
Editing Rejection Reasons
- If you'd like to edit any of the existing fields, simply click on the rejection reason.
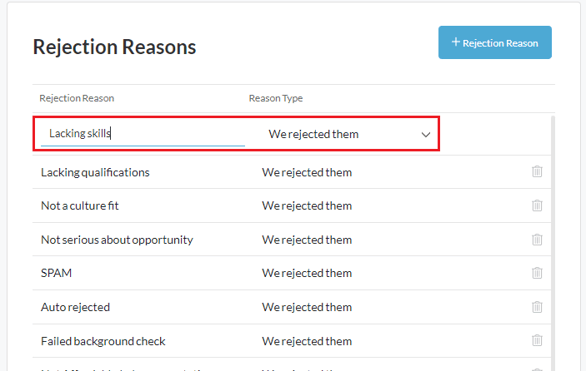
- Don't forget to click "Save" when you're finished.